
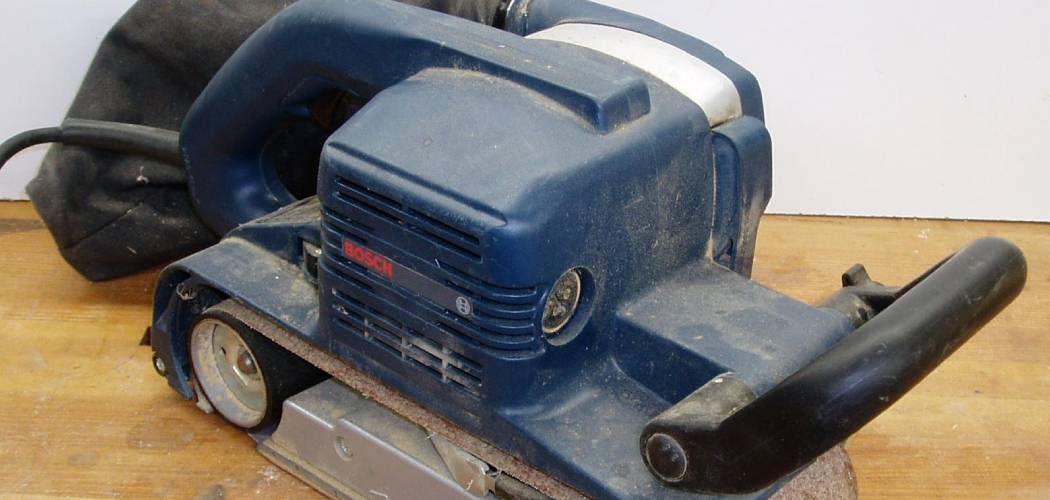
That old wooden table in your garage has seen better days. The finish is scratched, the surface feels rough, and hand-sanding it would take an entire weekend. This is exactly where a belt sander shines. Learning how to use a belt sander can turn hours of frustrating work into a quick, satisfying job. It’s one of the most powerful tools for fast stock removal, and once you get the hang of it, you’ll reach for it again and again.
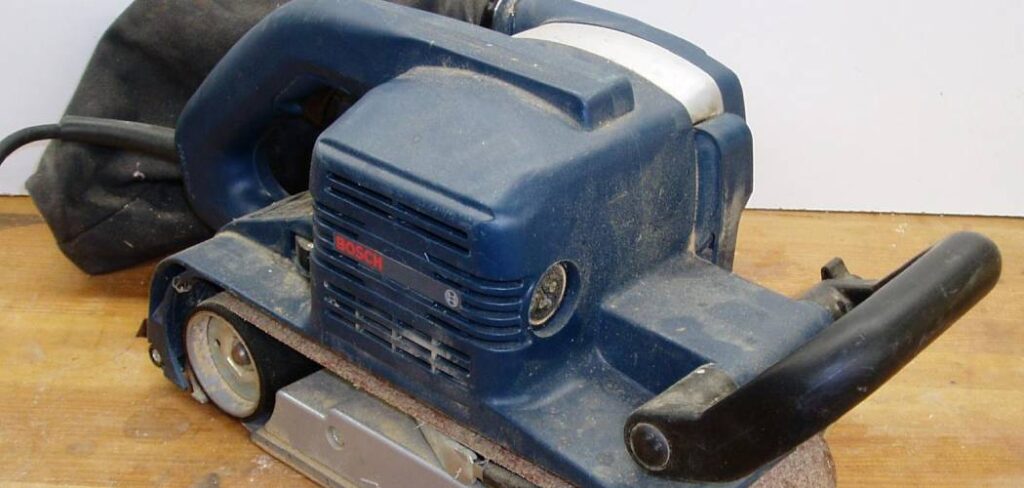
In this guide, you’ll learn everything from setup to finishing touches. We’ll cover the gear you need, walk through each step, and share pro tips that keep your projects looking clean. You’ll also get answers to common questions and safety concerns. Let’s get that wood surface smooth.
What You’ll Need
Before you fire up the motor, gather everything on this list. Being prepared keeps your project safe and smooth from start to finish.
- A belt sander (corded or cordless)
- Sanding belts in a range of grits (coarse, medium, and fine)
- Safety glasses to protect your eyes from flying debris
- A dust mask or respirator for fine particles
- Hearing protection, since these tools run loud
- Clamps to hold your workpiece steady
- A shop vacuum or the built-in dust collection bag
- Your wood or workpiece, cleaned of nails and staples
- A clean, well-lit work area with room to move
Step-by-Step Guide on How to Use a Belt Sander
Follow these steps in order. Each one builds toward a smooth, even finish without gouges or swirl marks.
Step 1: Set Up a Safe Work Area
Start by clearing your bench of clutter and giving yourself plenty of room. A belt sander throws a lot of dust, so open a window or work in a ventilated space. Set up good lighting so you can see the wood surface clearly as you work. Check your workpiece for any nails, screws, or staples, since hitting metal can rip a sanding belt instantly. Sweep the floor too, because sawdust makes surfaces slippery. A tidy space keeps you focused and safe.
Step 2: Choose the Right Sandpaper Grit
Picking the correct sandpaper grit sets the tone for the whole job. For rough stock removal or stripping old paint, start with a coarse belt around 40 to 60 grit. For general smoothing, a medium 80 to 120 grit works well. Save the fine 150 grit and higher for that final polish before finishing. A common mistake is starting too fine, which wastes time and clogs the belt. Match the grit to the task, and you’ll save yourself frustration.
Step 3: Install the Sanding Belt Correctly
Unplug the sander before you touch the belt. Look for the small arrow printed on the inside of the belt, which shows the correct direction of travel. Line that arrow up with the direction the belt spins on the machine. Release the tension lever, slip the belt over both rollers, then lock the tension back in place. Installing it backward causes the belt to fray or fly off mid-use. Double-check the alignment so the belt sits centered on the rollers.
Step 4: Secure Your Workpiece
A belt sander is powerful enough to shove a loose board across the room. Clamp your workpiece firmly to the bench before you start. If clamps get in your way, a bench stop or a non-slip mat can hold smaller pieces in place. Make sure nothing blocks the path you plan to sand. Loose material is the number one cause of gouges and uneven results. With everything locked down, you can focus on your belt sander technique instead of chasing the wood.
Step 5: Start the Sander Off the Wood
Here’s a habit that separates beginners from pros: never rest the sander on the wood before switching it on. Grip the tool with both hands, power it up, and let it reach full speed first. Then lower it gently onto the surface while it’s already moving. Starting it on the wood creates a deep dent that’s hard to fix. Lower the sander flat, so the whole belt touches at once rather than digging in with the edge.
Step 6: Sand With the Grain Direction
Always move the sander in line with the grain direction of the wood. Sanding across or against the grain leaves ugly scratches called sanding marks that show up badly once you apply finish. Guide the tool in smooth, overlapping passes from one end to the other. Keep it moving at all times, because pausing in one spot burns a hollow into the surface. Let the tool’s weight do the work, and glide along steadily. This single habit makes the biggest difference in your results.
Step 7: Use Light, Even Sanding Pressure
Resist the urge to press down hard. The weight of the sander itself provides plenty of sanding pressure for effective stock removal. Pushing too hard strains the motor, wears the belt faster, and creates uneven low spots. Instead, keep your hands relaxed and let the machine glide across the wood surface. Overlap each pass by about half the belt width so you cover the area evenly. Light and steady always beats forceful and rushed.
Step 8: Work Through the Grits
Once you’ve leveled the surface with a coarse belt, switch to a medium grit to erase the deeper scratches. Then finish with a fine grit for that silky-smooth feel. Between each belt change, wipe or vacuum the surface so leftover grit doesn’t scratch your fresh pass. Skipping grits leaves marks that only show up after staining, which means redoing the work. Progressing step by step gives you a flawless result. Patience here pays off in the final look.
Step 9: Manage Dust Collection
Sanding creates a surprising amount of fine dust. Most belt sanders come with a dust collection bag or a port for a shop vacuum. Empty the bag often, since a full one lets dust escape into the air and onto your project. Hooking up a shop vac keeps your view clear and your lungs safer. Good dust collection also helps the belt cut cleaner by clearing debris from the surface. Never skip your dust mask, even with collection running.
Step 10: Inspect and Finish Up
When you think you’re done, switch off the sander and lift it away while the belt is still spinning down, then set it on its side. Wipe the wood surface with a clean cloth and run your hand across it to feel for rough spots. Look at it under good light from different angles to catch any lingering sanding marks. Touch up trouble areas by hand with a sanding block if needed. Once it feels uniformly smooth, you’re ready for stain or paint.
Tips for Best Results
Want to level up your work? These insider tricks go beyond the basics and save you real headaches.
- Test on scrap wood first. Before touching your actual project, run the sander on a spare board. This lets you feel how aggressively the belt cuts and dial in your sanding pressure without risking your good piece.
- Keep the sander moving before it fully stops. When you lift off, the belt is still spinning. Set the tool on its side, never flat, so the moving belt doesn’t “walk” across your bench or a nearby surface and leave marks.
- Mark the surface with pencil scribbles. Lightly scribble across the wood before sanding. When the pencil marks disappear evenly, you know you’ve sanded the whole area to the same depth. It’s a foolproof way to spot low spots.
- Replace worn belts sooner than you think. A dull, clogged belt burns wood instead of cutting it. If sanding suddenly feels slow or the surface starts to glaze, swap in a fresh belt right away.
- Lock the trigger for long jobs. Many sanders have a lock-on button for continuous running. Use it for big, flat surfaces so your hand doesn’t cramp, but keep both hands firmly in control.
FAQ Questions
What Is the Best Grit to Start With on a Belt Sander?
It depends on how rough your surface is. For stripping paint or leveling uneven boards, start with a coarse 40 to 60 grit. For general smoothing on decent wood, an 80 grit is a safe starting point. Always work up to finer grits gradually for the smoothest finish.
Can I Use a Belt Sander on Painted Wood?
Yes, a belt sander strips paint quickly and efficiently. Use a coarse belt and light passes to avoid gouging the wood underneath. Be aware that older paint may contain lead, so check first and always wear a respirator. Good dust collection is essential when removing any finish.
Why Does My Belt Sander Leave Scratches?
Scratches usually happen when you sand against the grain direction or skip grits. Always move the tool in line with the wood grain and progress through coarse, medium, and fine belts in order. Leftover grit on the surface can also cause fresh sanding marks, so wipe between belt changes. Light, even pressure helps too.
Is It Safe to Use a Belt Sander Indoors?
You can use one indoors as long as the space is well ventilated. Fine dust builds up fast, so open windows and run a shop vacuum for dust collection. Always wear a dust mask and safety glasses to protect yourself. Clean up sawdust afterward, since it can be slippery and flammable.
How Do I Stop the Belt From Slipping Off?
A wandering belt usually means it needs tracking adjustment. Most sanders have a small tracking knob that centers the belt on the rollers. Run the sander briefly and turn the knob until the belt stays centered. Also check that you installed the belt in the correct direction and that the tension is set properly.
How Much Pressure Should I Apply While Sanding?
Very little. The weight of the sander provides enough sanding pressure on its own for effective stock removal. Pressing hard creates uneven dips, strains the motor, and wears the belt faster. Keep your grip relaxed and let the machine glide across the wood surface.
Conclusion
Now you know how to use a belt sander like someone who’s done it for years. The key takeaway is simple: keep the tool moving, sand with the grain direction, and let the machine’s weight handle the pressure. Master those habits and you’ll get smooth, professional results every time. If you haven’t picked one up yet, check out our recommended picks above to find a model that fits your projects. Ready for your next build? Explore our other guides for more hands-on tips and tool know-how.
