
You just picked up an old hand plane at a flea market. It’s covered in orange crust, but you can tell there’s a solid tool hiding underneath. Learning how to remove rust from antique tools is the key to bringing that treasure back to life. The good news? You don’t need fancy gear or years of experience.
In this guide, you’ll learn simple, proven methods to clean up rusty old tools without damaging them. We’ll cover the supplies you need, walk through each step, and share insider tips. By the end, you’ll feel confident tackling that pile of vintage finds sitting in your garage. Let’s get started.
What You’ll Need
Before you dive in, gather your supplies. Having everything ready makes the whole process smoother.
- Safety gloves (nitrile or rubber)
- Safety glasses to protect your eyes
- A wire brush (brass or steel)
- Fine steel wool (grade 0000)
- White vinegar for a soaking method
- Naval jelly or a commercial rust remover
- A plastic tub or container large enough to submerge your tools
- Baking soda to neutralize acid
- Clean rags or old towels
- A soft toothbrush for tight spots
- Sandpaper (various grits, 220 to 600)
- Machine oil or paste wax to protect the finished metal surface
- Distilled water for rinsing
You may already have half of these at home. If not, most are cheap and easy to find at any hardware store.
Step-by-Step Guide on How to Remove Rust from Antique Tools
Follow these steps in order. Take your time, especially with delicate or valuable pieces.
Step 1: Set Up a Safe Work Area
Find a well-ventilated spot like a garage or open workbench. Rust removal can get messy, so lay down newspaper or an old towel first. Put on your gloves and safety glasses before you touch any chemicals. Good lighting helps you spot every bit of oxidation on the surface. If you’re using naval jelly or a strong rust remover, keep a window open or work outside. A little prep here saves you a big cleanup later.
Step 2: Inspect and Sort Your Tools
Take a close look at each tool before you start. Some antique tools have a natural patina that collectors actually value, so decide what you want to keep. Light surface rust is easy to remove, but deep pitting may need extra care. Separate tools with wooden or leather handles, since those parts shouldn’t get soaked. Knowing what you’re working with helps you pick the right method. This quick check prevents you from over-cleaning a piece and losing its character.
Step 3: Remove Loose Rust and Grime
Start by knocking off the loose stuff. Use your wire brush to scrub away flaky rust and caked-on dirt. Work in one direction so you don’t scratch the metal randomly. For carved details or tight corners, switch to a soft toothbrush. This first pass reveals how much rust you’re really dealing with. Don’t press too hard, since aggressive scrubbing can damage softer metals underneath.
Step 4: Choose Your Rust Removal Method
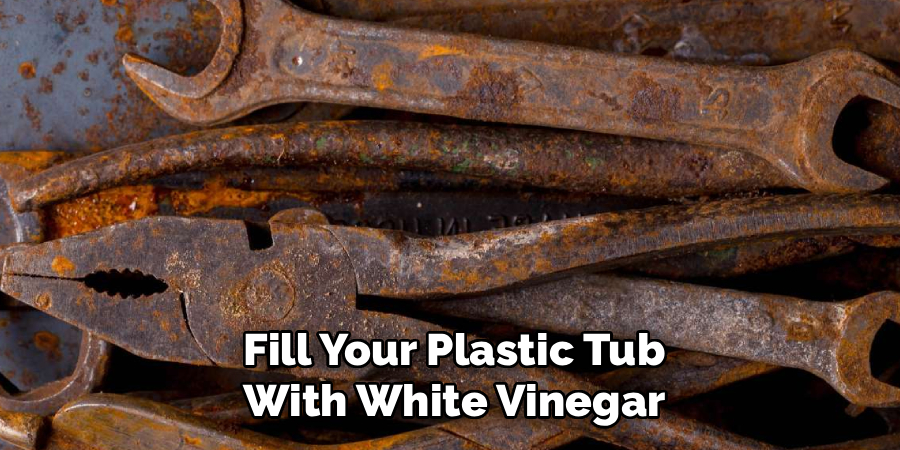
Now pick how you’ll tackle the deeper rust. For most tools, a vinegar soak works wonders and costs almost nothing. Fill your plastic tub with white vinegar and submerge the metal parts fully. For faster results on tough spots, apply naval jelly directly with a brush. Both methods break down oxidation without harsh scrubbing. Match the method to the tool: gentle vinegar for delicate items, stronger rust remover for heavily corroded ones.
Step 5: Let It Soak
Patience pays off here. If you’re using vinegar, let your tools sit for several hours or overnight. Check them every hour or so to see how the rust loosens. You’ll notice the liquid turning cloudy and orange as the reaction works. For naval jelly, follow the label, usually 5 to 10 minutes is plenty. Don’t leave tools in acid too long, or you risk etching the metal surface. Set a timer so you don’t forget.
Step 6: Scrub and Rinse
Pull your tools out and get scrubbing. The softened rust should come off easily now with steel wool or your wire brush. Work over the sink or a bucket to catch the mess. Once the rust is gone, rinse each tool with distilled water. Then dunk it briefly in a baking soda and water mix to neutralize any leftover acid. This step stops the acid from eating into the metal after cleaning.
Step 7: Dry Thoroughly
Water is your enemy now, so dry everything fast. Wipe each tool with a clean, dry rag right away. Pay attention to hinges, joints, and any crevices where moisture hides. You can even use a hairdryer on low heat to reach tricky spots. Damp metal will flash-rust within minutes, undoing all your hard work. Make sure every part feels completely dry before you move on.
Step 8: Smooth and Polish
Time to refine the surface. Use fine steel wool or sandpaper to smooth out rough patches and any remaining spots. Start with a coarser grit, then work up to finer paper for a clean finish. Move gently to preserve the tool’s original shape and markings. This is where a rough antique starts looking like a proper restoration. Wipe away the dust with a dry cloth when you’re done.
Step 9: Protect the Metal
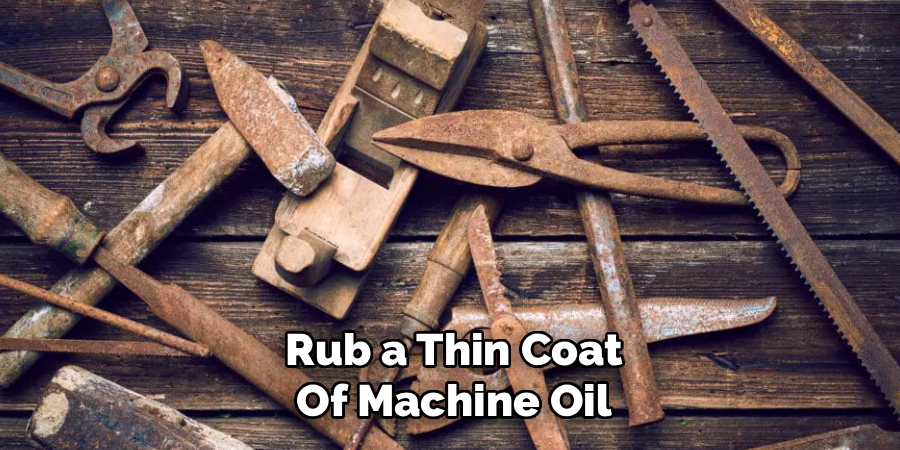
Don’t skip this final step. Bare metal will rust again quickly if you leave it exposed. Rub a thin coat of machine oil or paste wax over the entire metal surface. This creates a barrier that keeps moisture out. For tools you’ll use often, oil works great. For display pieces, wax gives a nice protective shine that lasts longer.
Tips for Best Results
Here are a few insider tricks that make a real difference.
- Test on a hidden spot first. Before soaking a rare tool, try your method on a small, out-of-sight area. This shows you how the metal reacts without risking the whole piece.
- Save the patina when it matters. Not all discoloration is bad. That warm, aged look on old brass or bronze adds value and charm, so clean gently around it.
- Reuse your vinegar wisely. A vinegar soak stays effective for several batches. Strain out the debris and keep using it until it stops working.
- Store tools with silica gel packs. Toss a few desiccant packets into your toolbox. They absorb moisture and keep freshly cleaned tools rust-free for months.
- Oil wooden handles separately. Use linseed oil on wood to keep it from drying and cracking. Just keep it away from the metal-cleaning process.
Frequently Asked Questions
Can I Use Coca-Cola to Remove Rust?
Yes, cola can loosen light rust thanks to its mild acids. It works best on small tools you can fully submerge for a day or two. That said, it’s slower and stickier than vinegar or a dedicated rust remover. For serious rust, stick with proven methods that give cleaner results.
Is It Safe to Remove Rust from Valuable Antique Tools?
It can be, but proceed carefully with collectible pieces. Aggressive cleaning may lower a tool’s value if it strips away original markings or patina. When in doubt, use the gentlest method possible or consult a collector first. For everyday finds, though, a full restoration is perfectly fine and often improves usability.
How Do I Stop Tools from Rusting Again?
The trick is keeping moisture away from bare metal. After cleaning, always apply a protective layer of oil or paste wax. Store your tools in a dry space and add silica gel packs to soak up humidity. A quick wipe-down after each use also goes a long way.
What’s the Best Natural Rust Remover?
White vinegar is the top pick for a natural, budget-friendly option. It’s safe, easy to find, and dissolves oxidation with just a simple soak. Lemon juice mixed with salt works too, though it’s a bit weaker. Both beat harsh chemicals when you want a gentle approach on the metal surface.
How Long Should I Soak Tools in Vinegar?
Most tools need somewhere between a few hours and overnight. Check on them regularly, since soak time depends on how much rust you’re fighting. Light rust may lift in an hour, while heavy corrosion takes longer. Just don’t leave them in too long, or the acid can start damaging the metal.
Will a Wire Brush Scratch My Tools?
A steel wire brush can leave marks on softer metals like brass. For delicate pieces, switch to a brass brush or fine steel wool instead. Always brush in one direction and use light pressure. This keeps the surface smooth while still clearing away rust and grime.
Conclusion
Bringing an old tool back to life is one of the most rewarding parts of any restoration hobby. Now that you know how to remove rust from antique tools, you can turn rusty flea-market finds into working treasures. Just remember the golden rule: clean gently, dry fast, and always protect the metal afterward. If you haven’t stocked up on supplies yet, check out our recommended picks above to get started. Ready to tackle your next project? Explore our other guides on tool care and restoration to keep building your skills.
