
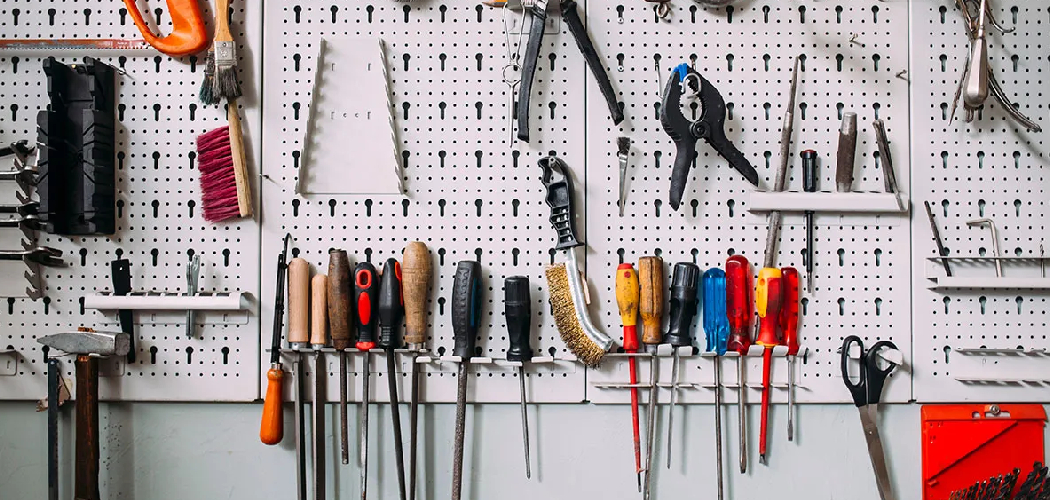
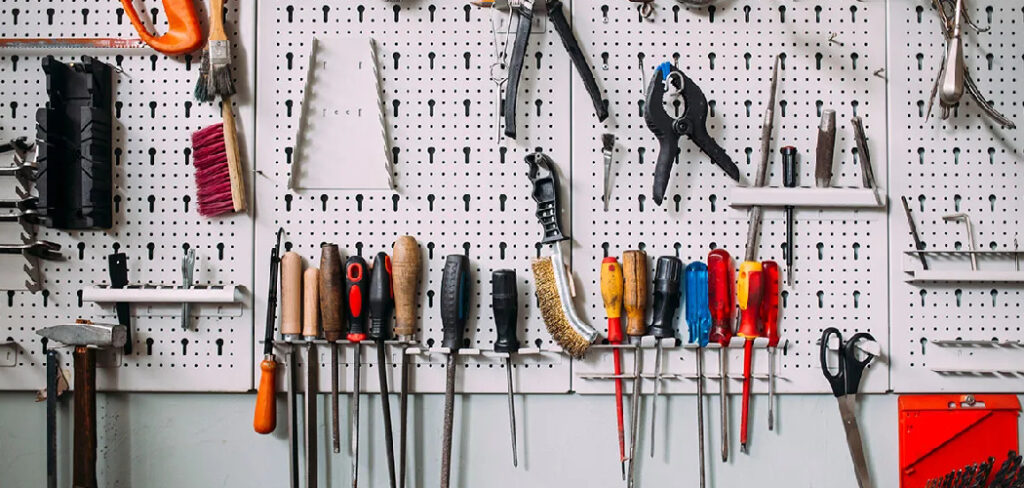
Ever reached for your needle-nose pliers only to find them buried under a pile of screwdrivers, tape rolls, and half-empty glue bottles? A cluttered bench eats up time and patience. Learning how to hang pliers on pegboard fixes that mess fast. When every tool has its own spot on the wall, you grab what you need and get straight to work.
In this guide, you’ll learn exactly what supplies to gather, how to pick the right hooks, and how to lay out your pliers so they stay put and stay visible. You’ll also pick up a few insider tricks for keeping your tool wall neat long-term. By the end, your workshop will feel calmer, cleaner, and a whole lot more efficient.
What You’ll Need
A little prep makes this project smooth and quick. Gather these items before you start so you’re not pausing halfway through.
- Pegboard panel — sized to fit your wall space and tool collection
- Pegboard hooks — a mix of single, double, and curved styles
- Your pliers — all types you want to display, from linesman to needle-nose
- A pencil and tape measure — for planning your peg board layout
- A level — to keep rows straight and tidy
- Locking hook clips or hook lockers — to stop hooks from lifting out
- A marker or painter’s tape — for tracing tool outlines (optional)
- Mounting hardware — if your pegboard isn’t installed yet
Lay everything out on your bench so it’s within reach. Having your supplies ready keeps the momentum going and makes tool organization feel effortless.
Step-by-Step Guide on How to Hang Pliers on Pegboard
Follow these steps at your own pace. There’s no rush — a thoughtful setup now saves you time on every project down the road.
Step 1: Take Stock of Your Pliers Collection
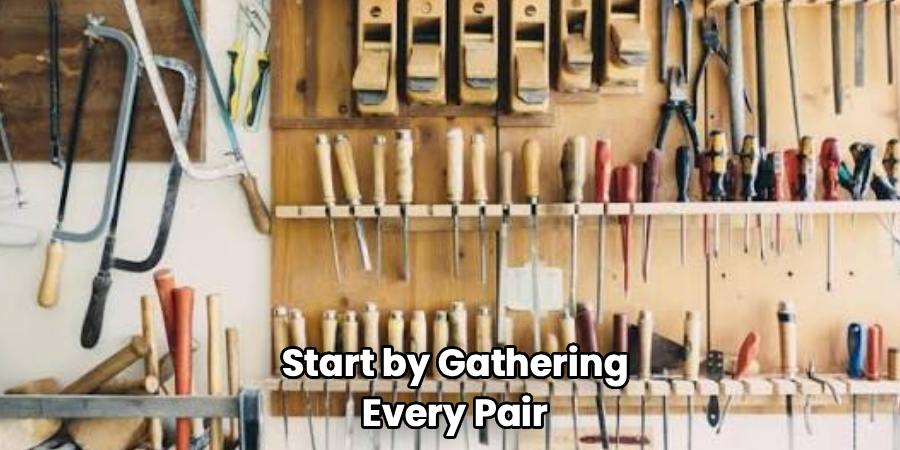
Start by gathering every pair of pliers you own in one spot. Sort them by type: needle-nose, linesman, slip-joint, locking, and cutters. Seeing them all together helps you understand how much space you’ll need on your tool wall. You might even find duplicates or a rusty pair worth tossing. Grouping similar tools now makes the layout stage far easier. This quick sort sets the foundation for a clean, logical system.
Step 2: Plan Your Peg Board Layout
Before hanging anything, sketch a rough plan on paper or map it out lightly with a pencil on the board. Decide which tools you reach for most and keep those at eye level. Group your pliers together so they’re easy to find in a hurry. Leave a little breathing room between each pair so you can lift one out without knocking others loose. A smart peg board layout turns a wall of tools into a system you’ll actually use. Planning first beats rearranging everything three times later.
Step 3: Choose the Right Pegboard Hooks
Not every hook suits every tool, so match the style to the job. Single straight hooks work well for pliers with a hanging hole in the handle. Curved or double hooks cradle pliers by the joint and hold heavier pairs securely. For pliers you use constantly, pick a hook that lets you grab and replace them in one smooth motion. The right pegboard hooks keep your tools stable and prevent that annoying slide-off. Buy a small variety pack so you have options as you go.
Step 4: Test the Fit Before Committing
Hang each pair of pliers on your chosen hook and give it a gentle tug. Check that the tool sits balanced and doesn’t tip forward or twist sideways. If a pair feels wobbly, swap to a different hook style until it feels solid. This quick test saves you from tools crashing to the floor later. It also helps you confirm your spacing looks right. A minute of testing now prevents a mess of fallen tools tomorrow.
Step 5: Install Your Hooks Into the Board
Push each hook’s prongs firmly into the pegboard holes at your planned spots. Most hooks angle in from the top, so seat them fully so they don’t pop out. Line up your rows using a level to keep everything straight and easy on the eyes. Straight rows aren’t just about looks — they help you spot a missing tool at a glance. Press each hook home until it feels snug. Take your time here, since neat rows make the whole workshop storage setup feel intentional.
Step 6: Hang Your Pliers in Order
Now comes the satisfying part. Place each pair of pliers on its hook, working from your most-used tools outward. Keep matching types together so your eye knows exactly where to look. Angle the handles so they’re easy to grip without fumbling. Step back every few tools to check your spacing and balance. When you hang pliers on pegboard with a clear order, grabbing the right pair becomes second nature.
Step 7: Lock Your Hooks in Place
Here’s a step many people skip, and they regret it. Every time you lift a tool off a standard hook, the hook wants to lift out with it. Add hook locking clips or hook lockers behind each one to keep them anchored. This small upgrade stops hooks from falling out and tools from crashing down. It’s cheap insurance for a frustration-free tool wall. Once locked, your setup will hold strong through daily use.
Step 8: Outline Your Tools for Easy Returns
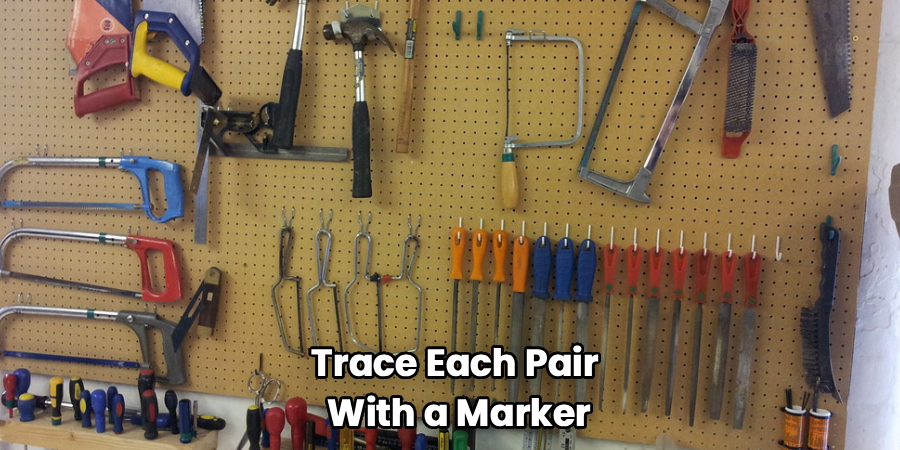
If you want a shop that stays tidy, trace each pair with a marker or painter’s tape. These outlines act like a map, showing exactly where each tool belongs. When a pair goes missing, the empty outline reminds you to put it back. This trick works wonders if you share your space with family or coworkers. It takes a few extra minutes but pays off every single day. Your future self will thank you.
Step 9: Do a Final Review and Adjust
Step back and look at your finished tool wall as a whole. Check that similar tools sit together, heavy pairs feel secure, and nothing crowds its neighbor. Reach for a few pliers to confirm they come off and go back easily. If anything feels awkward, move a hook or two now while it’s fresh. A quick final tune-up locks in a layout you’ll love using. Good tool organization is worth that last look.
Tips for Best Results
Want your setup to stay sharp for years? These field-tested pointers go beyond the basics.
- Leave room to grow. Don’t pack every hole on day one. Save some open space for new pliers and tools you’ll pick up down the road, so you won’t have to redo the whole board later.
- Group by task, not just by type. Keep the tools you use together in the same zone. If you always grab wire cutters and needle-nose pliers for electrical work, hang them side by side for faster grabbing.
- Use double hooks for heavy pairs. Big linesman or locking pliers can pull a single hook out of the board. A double-pronged hook spreads the weight and holds far more securely.
- Keep the board slightly off the wall. Pegboard needs a small gap behind it so hooks can seat properly. If yours mounts flush, add spacers so the prongs have room to lock in.
- Label your zones. A strip of tape marking “cutting,” “gripping,” or “electrical” helps everyone find and return tools to the right spot instantly.
Frequently Asked Question
What Type of Pegboard Hooks Work Best for Pliers?
Curved and double hooks tend to hold pliers most securely because they cradle the tool at its joint. Single straight hooks work great for pliers with a built-in hanging hole in the handle. For heavier pairs, always lean toward double-pronged hooks that spread the weight. A small variety pack lets you test different styles and find the perfect fit for each tool.
How Do I Keep My Pegboard Hooks From Falling Out?
The trick is adding hook locking clips or hook lockers behind each hook. These small pieces anchor the hook to the board so it can’t lift out when you remove a tool. Without them, hooks pop free constantly and tools tumble to the floor. They cost very little and make your entire tool wall far more reliable.
Can I Hang Heavy Pliers Without Damaging the Pegboard?
Yes, as long as you use the right hooks and mount the board properly. Spread heavy tools across double hooks rather than overloading a single prong. Make sure your pegboard is screwed into studs or a sturdy backer so it can carry the weight. Avoid crowding too many heavy tools in one small area, since that puts stress on the panel.
How Do I Organize Different Types of Pliers on a Tool Wall?
Start by sorting your pliers into groups like cutting, gripping, and specialty types. Keep your most-used pairs at eye level for quick access. Group tools you use together in the same zone to speed up your workflow. Tracing outlines around each pair also helps everyone return tools to the right place.
Is It Worth Outlining My Tools on the Pegboard?
For most people, absolutely. Tool outlines act as a visual map, showing exactly where each pair belongs at a glance. When a tool goes missing, the empty outline reminds you to put it back before it wanders off. This simple habit keeps your workshop storage tidy, especially in shared spaces.
Conclusion
Getting your workspace in order doesn’t take much — just a little planning and the right hooks. Once you hang pliers on pegboard the smart way, every tool sits within easy reach, and your bench stays clear for actual work. Remember to lock your hooks, group by task, and leave a little room to grow.
If you haven’t stocked up on quality hooks and a sturdy board yet, check out our recommended picks above to get started. Ready to organize the rest of your shop? Explore our other tool storage and workshop guides on the site for more hands-on tips.
