
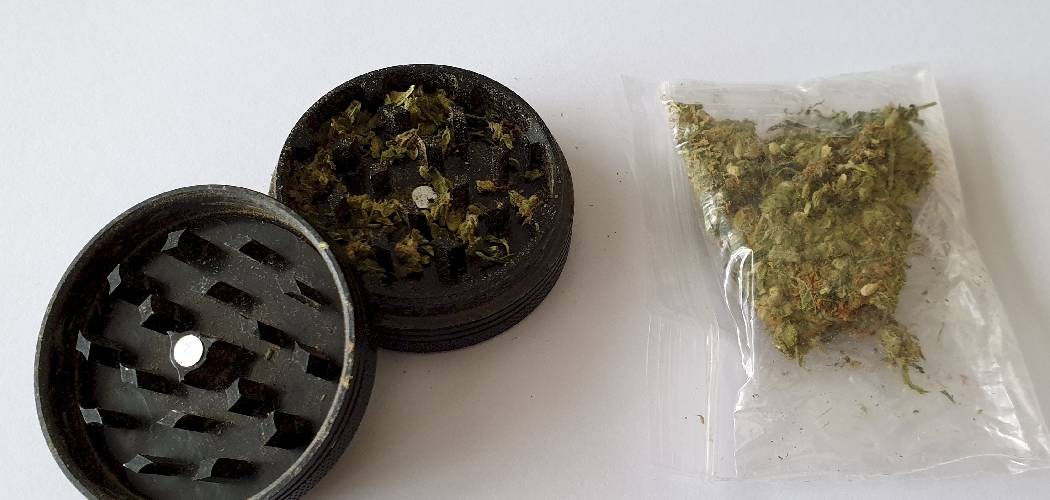
You’ve got fresh herb ready to go, but breaking it up by hand leaves you with sticky fingers and uneven chunks. That’s where a herb grinder saves the day. This little tool takes whole buds or dried spices and turns them into a fluffy, even texture in seconds. Whether you’re prepping herbs for cooking or packing a bowl, a good grind makes everything easier and more consistent.
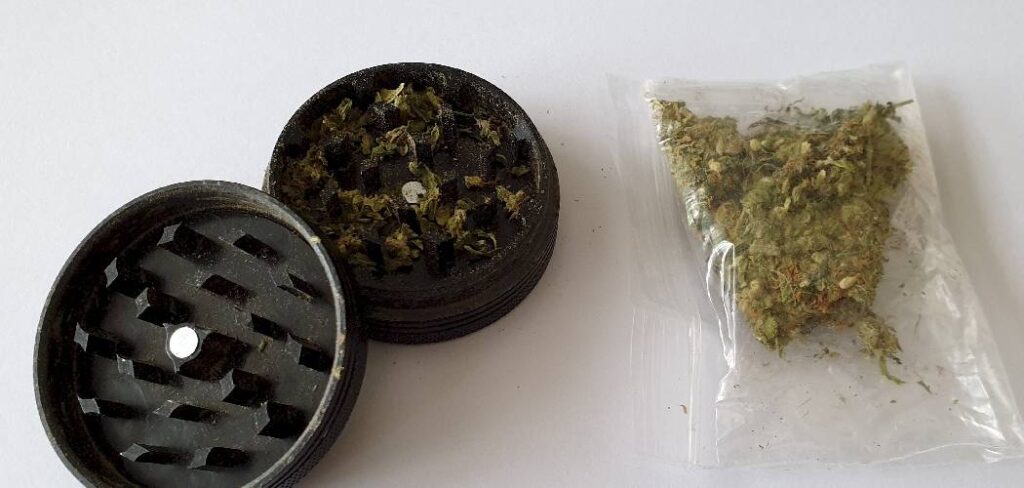
In this guide, you’ll learn exactly how to use a herb grinder. We’ll walk through what you need, each step from loading to collecting, plus insider tips and answers to common questions. By the end, you’ll grind like a pro every single time.
What Is a Herb Grinder?
A herb grinder is a small handheld tool that shreds dried herbs, spices, or buds into a uniform texture. Most models have two or more sections that twist apart, with sharp teeth inside that do the cutting. Multi-chamber versions add a mesh screen and a bottom compartment to collect fine powder. People use them for cooking, tea blends, and smoking because an even grind burns and steeps far more evenly than hand-torn pieces.
What You’ll Need
Before you start grinding, gather a few simple things. Having them ready makes the whole process smooth and mess-free.
- A herb grinder (two-piece, three-piece, or four-piece)
- Dry herbs, buds, or whole spices
- A small brush or toothpick for cleaning
- A collection tray or clean surface
- A storage jar or container for your ground herb
- A coin or small scraper (optional, for kief collection)
- Isopropyl alcohol for deep cleaning (optional)
Keep everything within reach so you’re not scrambling mid-grind. A clean workspace also keeps your herb free of dust and debris.
Step-by-Step Guide on How to Use a Herb Grinder
Grinding is simple once you know the flow. Follow these steps and you’ll get a perfect texture without wasting a single bit.
Step 1: Twist Open the Top Lid
Start by pulling the top cap off your grinder. Most lids simply lift straight up or twist off with a gentle pull. Set it aside somewhere clean so nothing sticks to it. Take a quick peek inside to make sure the grinding chamber is empty and free of leftover bits.
If the lid feels stuck, a little wiggle usually frees it. Never force it hard, since that can bend the teeth or crack cheaper models. A clean start means a cleaner grind.
Step 2: Break Up Larger Pieces First
If you’re working with big buds or chunky spices, pull them into smaller pieces before loading. This helps the teeth grab everything evenly and prevents jamming. Aim for pieces roughly the size of a pea. You don’t need to be precise here, just avoid dropping in one giant clump.
Skipping this step is a common mistake. Oversized pieces get stuck between the teeth and make twisting hard. A little prep saves you a lot of struggle.

Step 3: Load the Grinding Chamber
Place your broken-up herb around the teeth, not in the center hole. The middle area often sits directly over the pivot point, so material there won’t grind well. Spread pieces evenly across the outer ring for the best results. Avoid overpacking, since a stuffed chamber makes the grinder hard to turn.
Leave a little room for the herb to move around. This gives the teeth space to shred properly. Loading it right is half the battle.
Step 4: Replace the Lid and Twist
Put the top back on and line up the magnet or grooves so it sits flush. Hold the base steady with one hand and twist the top with the other. Give it about ten to fifteen full rotations for a medium grind. You’ll feel the resistance ease as the herb breaks down.
For a coarser texture, twist fewer times. For a finer grind, keep going. Twisting both directions back and forth often works better than one steady spin.
Step 5: Check Your Grind Consistency
Open the lid and inspect the texture inside. You’re looking for an even, fluffy consistency without big clumps or dust. If some pieces are still too large, close it up and give it a few more twists. Consistency matters because uneven herb burns or cooks unevenly.
Don’t overdo it, though. Grinding too long turns your herb into a powder that packs too tightly. Aim for that sweet spot between fluffy and fine.
Step 6: Unscrew the Collection Chamber
If you have a three-piece or four-piece model, twist off the middle section to reach the collection chamber below. Your ground herb falls through the holes into this compartment as you grind. This keeps the freshly shredded material separate and easy to scoop. Tap the grinder gently on the table to knock loose any stubborn bits.
Two-piece grinders skip this step, so you’ll just take herb straight from the top. Either way, a gentle tap helps everything settle where you want it.
Step 7: Collect the Kief From the Bottom
Four-piece grinders include a fine pollen screen that filters out kief, the powdery trichomes that fall through. Over time, this potent dust collects in the very bottom chamber. Use a small scraper or coin to gather it once enough builds up. Many people save kief to sprinkle over a bowl for an extra kick.
Don’t scrape too hard, or you might damage the pollen screen. A soft, patient touch keeps that mesh intact for years.
Step 8: Empty and Store Your Ground Herb
Scoop your ground herb into a clean, airtight jar to keep it fresh. Glass containers work best since they don’t hold odors or oils. Store it somewhere cool and dark, away from direct sunlight. Proper storage protects flavor, aroma, and potency.

Try not to leave herb sitting in the grinder too long. Moisture and air can dry it out or make it stale. Fresh storage keeps every batch at its best.
Step 9: Brush Out Any Leftovers
After each session, use a small brush or toothpick to clear stray bits from the teeth and screen. Leftover residue builds up fast and gums up the works. A quick cleanup keeps your grinder turning smoothly. It also stops old herb from mixing with fresh batches.
For a deeper clean, soak metal grinders in isopropyl alcohol every few weeks. Let it dry fully before your next grind. A little maintenance makes your tool last for years.
Tips for Best Results
Ready to level up? These insider tricks go beyond the basics.
- Freeze it for finer kief. Pop your grinder in the freezer for a few minutes before grinding. The cold makes trichomes brittle, so more of them fall through the pollen screen into the bottom.
- Drop in a cleaning coin. A small coin in the kief chamber knocks loose more powder as you shake and grind. It’s a cheap trick that boosts your collection over time.
- Don’t overfill. A half-full grinding chamber always beats a stuffed one. Overpacking strains the teeth and gives you a patchy, uneven grind.
- Match the grind to the job. Cooking and tea usually want a coarser texture, while smoking benefits from a finer, fluffier grind. Adjust your twist count to fit the task.
- Keep herb dry. Slightly damp herb clogs the teeth and screen fast. Make sure buds and spices are fully dried before loading them in.
FAQ Section
What Is the Best Way to Clean a Herb Grinder?
Start with a dry brush or toothpick to knock out loose bits after each use. For a deeper clean, soak the metal pieces in isopropyl alcohol for about twenty minutes, then rinse and dry completely. Avoid submerging acrylic grinders in alcohol, since it can cloud or crack them. Regular cleaning keeps the teeth sharp and the grind smooth.
How Fine Should I Grind My Herb?
It depends on what you’re doing with it. A medium, fluffy texture works well for most smoking, while cooking and tea often call for a coarser grind. Avoid grinding until it turns to powder, since overly fine material packs too tight and restricts airflow. Aim for even pieces with no big clumps.
Can I Use a Herb Grinder for Spices?
Yes, a grinder handles dry spices like peppercorns, coriander, and dried chilies nicely. Just keep in mind that strong spices leave behind aromas and oils. If you switch between herbs and spices, clean the chamber thoroughly to avoid mixing flavors. Some people keep a separate grinder just for cooking spices.
What Is the Kief Catcher For?
The kief catcher is the bottom chamber in a four-piece grinder that collects fine powder falling through the pollen screen. This dust is packed with trichomes and adds an extra punch when sprinkled over herb. It builds up slowly over many grinding sessions. Once you have enough, scrape it out with a small tool and enjoy.
Why Is My Grinder Hard to Twist?
Usually it means you’ve overpacked the grinding chamber or buildup has gummed up the teeth. Try removing some herb and giving it a gentle back-and-forth twist. Sticky residue on the teeth also creates friction, so a quick brush-out often fixes it. If it stays stiff, a deep clean will get it spinning freely again.
How Many Times Should I Twist It?
Around ten to fifteen full rotations gives you a nice medium grind for most herbs. Fewer twists leave a coarser texture, while more twists create a finer one. The best move is to open it and check partway through. That way you dial in exactly the consistency you want.
Conclusion
Getting a perfect grind really comes down to a few simple habits: prep your pieces, load around the teeth, and twist to the texture you want. With a little practice, your herb grinder becomes second nature, giving you an even, fluffy result every time. Keep it clean and your tool will last for years.
If you haven’t picked one up yet, check out our recommended picks above to find a reliable set. Once you’re comfortable, explore our other guides on kitchen tools, storage tips, and everyday gear. Happy grinding!
