
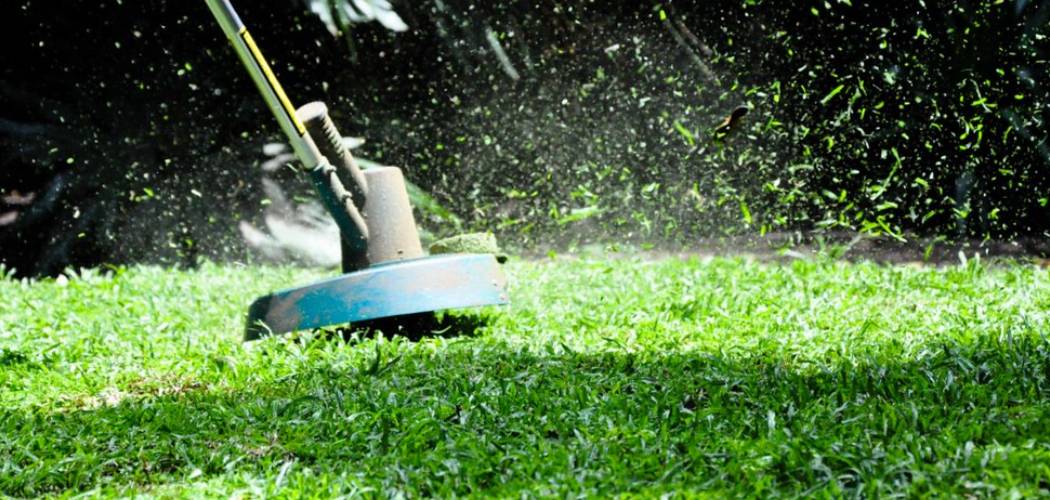
Your grass looks neat after mowing, but those stubborn edges along the fence, sidewalk, and flower beds still look messy. A lawn trimmer fixes exactly that. This handy tool reaches spots your mower can’t touch, giving your yard a clean, polished finish. Once you learn how to use it well, trimming becomes quick and even a little satisfying.
In this guide, you’ll learn how to use a lawn trimmer. We’ll cover the gear to gather, each step from setup to shutdown, plus insider tips and answers to common questions. Whether you’re brand new to yard work or just want sharper results, you’ll walk away ready to tackle any overgrown edge. Let’s get your lawn looking its best.
What You’ll Need
Before you fire up the engine or battery, gather a few essentials. Having everything ready keeps the job smooth and safe.
- A lawn trimmer (gas, corded electric, or battery-powered)
- Fresh trimming line or extra spools
- Safety glasses or goggles
- Sturdy closed-toe shoes or boots
- Long pants to protect your legs
- Ear protection (especially for gas models)
- Work gloves for a better grip
- Fuel or a charged battery, depending on your model
- A rake or leaf blower for cleanup
Keep these within reach so you’re not stopping mid-task. A little prep goes a long way toward a clean, hassle-free trimming session.
Step-by-Step Guide on How to Use a Lawn Trimmer
Using this tool is easier than it looks. Follow these steps and you’ll get sharp, even edges every time.
Step 1: Inspect Your Trimmer Before Starting
Give your string trimmer a quick once-over before each use. Check that the cutting head is secure and the trimming line has plenty left on the spool. Look for cracks, loose screws, or worn parts that could cause trouble. On gas models, confirm the fuel is fresh and topped off.
Skipping this check is a common mistake. A frayed line or loose guard can turn a simple job into a frustrating one. Two minutes of inspection saves you real headaches later.
Step 2: Gear Up With Safety Equipment
Put on your safety glasses first, since flying debris is the biggest hazard. A weed eater slings grass, dirt, and small rocks at high speed. Slip on long pants, closed-toe shoes, and gloves for solid protection. If you’re running a loud gas model, add ear protection too.
Never trim in sandals or shorts, no matter how quick the job seems. Bare skin is an easy target for stinging debris. Dressing right keeps you comfortable and safe from start to finish.
Step 3: Start the Trimmer Correctly
Starting depends on your model, so know your machine. For battery units, insert the charged pack and press the power button. Corded electric models just need a plug and a squeeze of the trigger. Gas trimmers require priming the bulb, setting the choke, and pulling the starter cord.
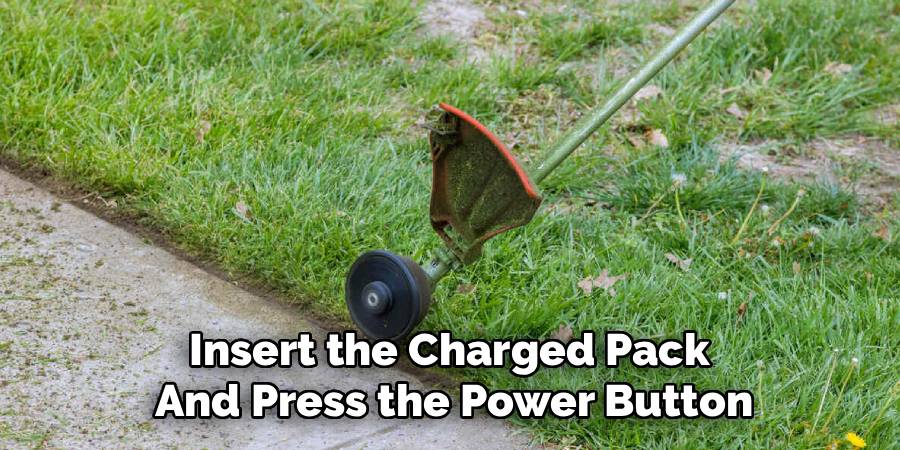
Hold the unit steady on the ground while you start it. Don’t hold it in the air during startup, since that’s how accidents happen. Once it’s running, let a gas engine warm up for a few seconds.
Step 4: Hold It at the Right Angle
Grip the handle firmly with both hands for full control. Keep the cutting head parallel to the ground, tilted just slightly forward. This lets the trimming line do the work without gouging the soil. Hold the tool at a comfortable height so your arms and back don’t strain.
A common mistake is tilting the head too steeply. That digs into the dirt, wears down your line fast, and scalps the grass. Aim for smooth, level passes instead.
Step 5: Trim Using a Sweeping Motion
Move the trimmer in slow, side-to-side sweeps, working from left to right. Let the tip of the line cut, since that’s where it’s most effective. Ease into thick patches rather than forcing the head straight in. Take your time and let the tool set the pace.
Rushing leads to uneven results and jammed line. Overlap each pass slightly so you don’t leave stray strands behind. Steady, controlled sweeps give you that clean, professional look.
Step 6: Master Edging Along Hard Surfaces
For crisp edges along sidewalks and driveways, rotate the trimmer so the head sits vertical. This turns your tool into an edger, cutting a clean line where grass meets pavement. Walk slowly and keep the line just at the edge of the hard surface. The result is a sharp border that makes your whole yard look tidy.
Don’t press too hard against concrete, or you’ll shred your line quickly. Light, steady contact works best for garden trimming and edging alike. Practice on a small stretch first to build your feel.
Step 7: Watch Out for Obstacles
Slow down near trees, fences, flower beds, and posts. The spinning line can strip bark, chip paint, or damage delicate plants in a flash. Ease the cutting head close but keep a small gap around anything you want to protect. For tree trunks, a physical guard or mulch ring adds extra safety.
Many beginners accidentally “ring” a young tree and harm it. Approach obstacles with a gentle, patient touch. When in doubt, leave a little extra grass rather than risk damage.
Step 8: Advance the Line as Needed
As you work, the trimming line wears down and gets shorter. Most trimmers use a bump-feed head, so you tap it lightly on the ground to feed out more line. Do this while the motor runs and the head spins. Some models feed automatically, and others need manual adjustment.
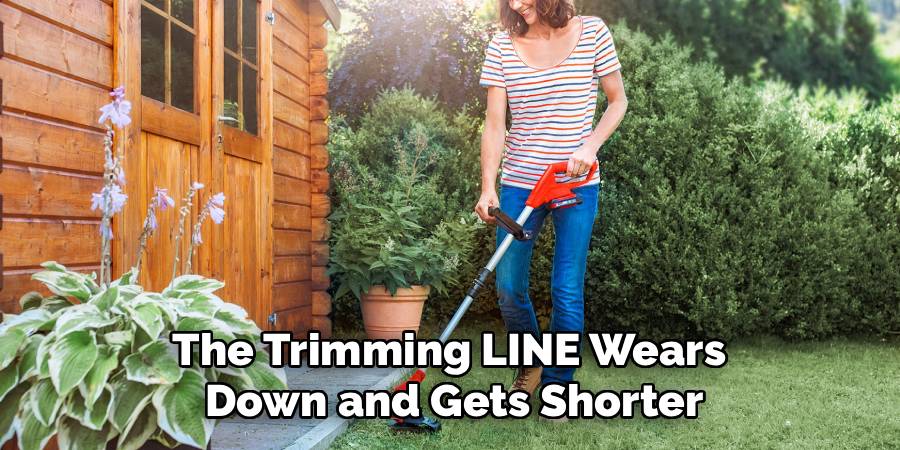
If the line stops feeding, the spool may be tangled or empty. Turn off the tool completely before you open the head to fix it. Keeping fresh line out ensures clean, efficient cutting.
Step 9: Power Down and Clean Up
When you’re finished, release the trigger and let the head stop fully before setting it down. Turn off gas engines and remove batteries for safe storage. Grab a rake or leaf blower to clear away the clippings you’ve cut. A quick sweep leaves your yard looking its sharpest.
Wipe grass and debris off the cutting head before storing the tool. Built-up gunk shortens its life and clogs moving parts. A little cleanup now keeps your trimmer ready for next time.
Tips for Best Results
Want to trim like a pro? These insider tricks make a real difference.
- Trim when the grass is dry. Wet grass clumps, sticks to the cutting head, and gives you a ragged cut. A dry lawn slices cleaner and keeps your line from bogging down.
- Trim before you mow. Knock down the edges first, then run your mower to sweep up the trimmings. Your yard ends up cleaner with less raking afterward.
- Keep spare line handy. Running out mid-job is a buzzkill. Stock a few pre-wound spools so you can swap and keep moving without a trip to the store.
- Match line thickness to the task. Lighter line suits soft grass, while thicker line powers through tough weeds and brush. Using the right diameter saves effort and wear.
- Wear your gear every time. Even a five-minute touch-up deserves eye protection. Debris flies fast, and one stray pebble is all it takes.
Frequently Asked Questions Section
How Do I Load New Line Into My Trimmer?
Turn off the tool and remove the battery or unplug it first for safety. Open the spool cap, wind fresh line in the direction marked on the head, and leave a few inches sticking out. Snap the cap back on and give it a gentle tug to confirm it feeds. Check your manual, since the exact steps vary between models.
Is It Safe to Use a Trimmer on Wet Grass?
It’s best to wait until the grass dries out. Wet clippings clump on the cutting head and clog the line, leaving an uneven cut. With corded electric models, moisture also raises the risk of electric shock. Dry conditions give you cleaner results and a safer job overall.
Can I Use a Trimmer for Edging?
Yes, most trimmers double as an edger with a simple twist. Just rotate the head so the trimming line sits vertical against the pavement. Walk slowly along sidewalks or driveways to carve a crisp border. It’s one of the fastest ways to make your whole lawn look manicured.
Why Does My Trimming Line Keep Breaking?
Usually it comes from pressing too hard against concrete, fences, or thick weeds. Old or brittle line snaps more easily, so swap it out if it’s been sitting for a while. Using line that’s too thin for tough jobs also causes frequent breaks. Let the tip do the cutting and ease off on hard surfaces.
How Often Should I Replace the Cutting Line?
There’s no fixed schedule, since it depends on how much you trim and what you cut through. Refill whenever the line runs low or stops feeding properly. Tough weeds and hard edges wear it down faster than soft grass. Keeping a fresh spool loaded ensures every pass cuts clean.
Do I Need Hearing Protection?
For gas-powered models, yes, since their engines get loud enough to harm your ears over time. Battery and corded electric trimmers run quieter but still produce steady noise. If you’re working for more than a few minutes, ear protection is a smart call. It’s an easy, cheap way to protect your hearing for years.
Conclusion
Getting sharp, tidy edges really comes down to a few simple habits: gear up, hold the tool level, and sweep with slow, steady passes. With a little practice, your lawn trimmer becomes second nature, and those messy borders turn crisp in minutes. Keep it clean and stocked with fresh line, and it’ll serve you season after season.
If you haven’t picked one up yet, check out our recommended picks above to find a reliable model. Once you’re comfortable, explore our other guides on mowers, edgers, and everyday yard gear. Happy trimming!
