
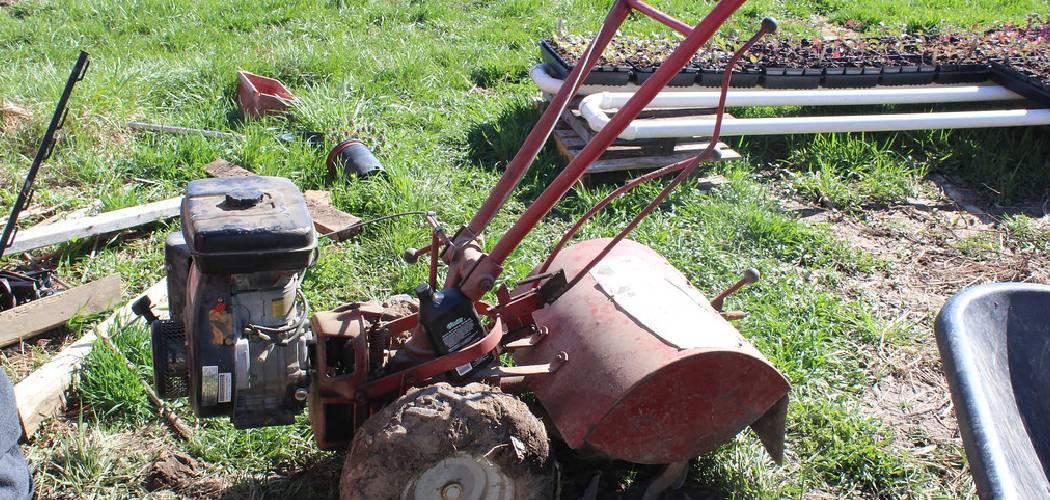
That patch of ground you want to turn into a garden looks hard, lumpy, and full of stubborn roots. Digging it by hand would take a whole weekend and leave your back aching. A rototiller solves that problem fast. This powerful machine breaks up compacted soil, chops through old roots, and mixes in compost, leaving you with loose, workable earth ready for planting.
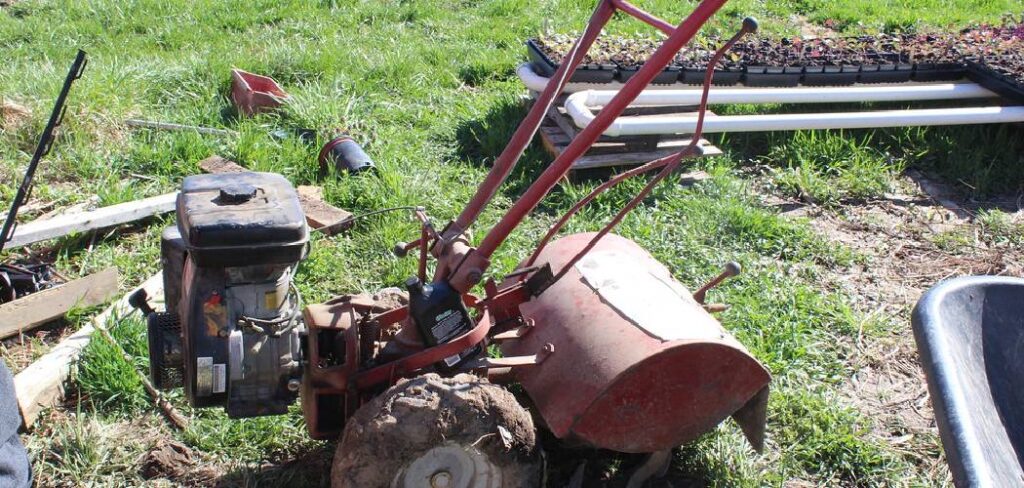
In this guide, you’ll learn how to use a rototiller. We’ll cover the gear to gather, each step from setup to cleanup, plus expert tips and answers to common questions. Whether you’re prepping a brand-new bed or refreshing an old one, you’ll finish with soil your plants will love. Let’s dig in.
What You’ll Need
A little prep makes the whole job smoother. Gather these before you start so you’re not stopping halfway through.
- A rototiller (front-tine or rear-tine, depending on your soil)
- Fresh fuel or a charged battery, based on your model
- Safety glasses or goggles
- Sturdy closed-toe boots with good grip
- Long pants and a fitted shirt
- Work gloves for a firm hold
- Ear protection for louder gas engines
- A garden hose or watering can
- A rake and a shovel
- Marking flags or string to outline your bed
- Compost or soil amendments (optional but helpful)
Keep these within reach. Having everything ready saves time and keeps the momentum going.
Step-by-Step Guide on How to Use a Rototiller
Running this machine is easier than it looks once you know the flow. Follow these steps for even, well-mixed soil.
Step 1: Plan and Mark Your Tilling Area
Walk your plot and decide exactly where you want to break ground. Use marking flags or string to outline the edges so you stay on track. Clear away rocks, large sticks, and any trash that could jam the tines. Check for hidden hazards like sprinkler lines, buried cables, or tree roots.
Skipping this step is a common mistake. Hitting a rock or a pipe can damage your machine and turn a quick job into a repair headache. Take five minutes to scan the ground first.
Step 2: Prep the Soil for Better Results
Slightly damp soil tills far better than dry, hard ground. Water your plot a day or two ahead if it hasn’t rained recently. You want moist earth that crumbles in your hand, not soggy mud that clumps. Bone-dry soil fights back and wears out your engine, while wet soil sticks to the tines.
If your ground is thick with tall weeds, mow or trim them first. Long grass tends to wrap around the blades and stall the machine. A clean, slightly moist surface sets you up for smooth passes.
Step 3: Inspect and Fuel Your Machine
Give your tiller a quick once-over before you start. Check the oil level, look at the tines for damage, and make sure all guards sit firmly in place. Fill the tank with fresh fuel or snap in a charged battery, depending on your model. Confirm the throttle and controls move freely.
Never fuel a hot engine, since that’s a real fire risk. Two minutes of inspection prevents most mid-job breakdowns. A well-maintained machine cuts through soil with less strain on you.
Step 4: Start the Engine Safely
Stand on firm, level ground and grip the handles with both hands. For gas models, set the choke, engage the throttle, and pull the starter cord in one steady motion. Battery-powered units simply need a press of the power button. Let a gas engine warm up for a few seconds before you begin.
Keep your feet clear of the tines during startup. Don’t rush the pull or yank at a bad angle, as that strains your shoulder. Once it hums steadily, you’re ready to move forward.
Step 5: Make Your First Shallow Pass
Resist the urge to dig deep right away. Set the tines to a shallow depth for your first pass, around two to three inches. Walk slowly and let the machine do the work rather than forcing it forward. This breaks the crust and makes deeper passes much easier.
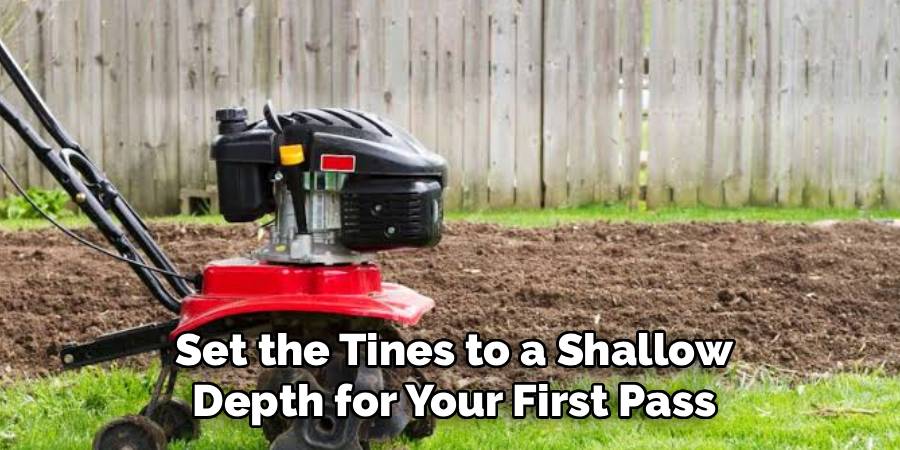
Diving straight to full depth is a classic beginner error. It bogs down the engine, bounces the machine around, and tires you out fast. Ease into it, and your soil loosens layer by layer.
Step 6: Deepen and Cross-Till the Soil
After your first pass, lower the tines to dig deeper, usually six to eight inches for most beds. Work back over the same ground until the soil turns crumbly and loose. Then till a second time at a right angle to your first direction. This cross-pattern breaks up clods and mixes everything evenly.
Overlap each row slightly so you don’t leave hard strips behind. If the machine lurches ahead, ease off the throttle and let the tines catch. Patient, layered passes give you the fine, fluffy texture roots love.
Step 7: Mix In Compost and Amendments
Now’s the perfect time to enrich your soil. Spread a layer of compost, aged manure, or other amendments across the tilled bed. Run the tiller over it once more to blend everything into the loosened earth. This spreads nutrients deep where your plants can reach them.
Add amendments in thin, even layers rather than one big pile. Big clumps don’t mix well and leave nutrient-poor gaps. A blended bed gives seedlings a strong, healthy start.
Step 8: Level and Finish the Bed
Turn off the engine and let the tines stop fully before you step away. Grab your rake and smooth the surface, breaking up any leftover clods. Pull out roots, rocks, or debris that rose up during tilling. Shape the bed so it’s flat and ready for seeds or transplants.
Don’t skip this finishing touch. A level, debris-free surface drains evenly and makes planting far easier. Your garden will look tidy and perform better all season.
Step 9: Clean and Store Your Rototiller
Once the job’s done, clear caked soil off the tines and undercarriage. A stiff brush and a light hose-down work well, but let the engine cool first. Wipe everything dry to prevent rust, then check for loose bolts or worn parts. Store the machine in a dry shed or garage.
For gas models, drain or stabilize the fuel if you won’t use it for a while. A little cleanup now keeps your tiller ready for next season. Neglected mud hardens into a real chore later.
Tips for Best Results
Want soil that outshines the neighbor’s plot? These insider tricks make a real difference.
- Till at the right moisture level. Squeeze a handful of soil; if it holds together loosely and crumbles when poked, it’s perfect. Too wet clumps and compacts, while too dry fights the tines.
- Don’t over-till. Running the machine too many times destroys soil structure and can create a hard pan below the surface. Two or three good passes usually do the trick.
- Work in cool morning hours. You’ll stay comfortable, and slightly damp morning soil breaks up more easily. Midday heat wears you out fast.
- Let the machine set the pace. Pushing hard tires you and strains the engine. A steady, relaxed walk gives cleaner, deeper results.
- Test your soil first. A quick pH and nutrient test tells you exactly which amendments to mix in. That way, every pass adds real value to your bed.
Frequently Asked Questions Section
How Deep Should I Till My Garden?
For most vegetable beds, aim for six to eight inches deep. This gives roots plenty of loose soil to spread through and improves drainage. Start shallow on your first pass, then gradually lower the tines with each round. Deep-rooted crops may benefit from a bit more, but going too deep can disturb helpful soil layers.
Is It Safe to Use a Rototiller on Wet Ground?
It’s best to wait until the soil is just slightly moist, not soaked. Wet ground clumps, sticks to the tines, and compacts as you work, which harms soil structure. Muddy conditions also make the machine harder to control and easier to slip behind. Give the plot a day or two to drain after heavy rain.
Can a Rototiller Remove Weeds and Grass?
Yes, it chops through weeds and turf as it churns the soil. That said, tilling can also chop weed roots into pieces that resprout later. For stubborn perennial weeds, remove the biggest clumps by hand before you start. A follow-up till a week or two later catches any regrowth.
What’s the Difference Between Front-Tine and Rear-Tine Models?
Front-tine tillers are lighter and great for smaller beds or loosening soil that’s already worked. Rear-tine models are heavier and more powerful, ideal for breaking new ground or tackling hard, rocky soil. Rear-tine versions do more of the walking work for you. Choose based on your plot size and how tough your dirt is.
How Often Should I Till My Garden?
Once or twice a year usually does the job for most gardens. Till in spring before planting and, if you like, in fall to mix in organic matter. Over-tilling breaks down soil structure and disturbs helpful organisms, so resist the urge to do it too often. Between sessions, a simple rake or hand tool keeps the surface loose.
Do I Need to Wear Hearing Protection?
For gas-powered models, yes, since their engines get loud enough to harm your ears over time. Battery and electric tillers run quieter but still produce steady noise. If you’re working for more than a few minutes, ear protection is a smart, cheap safeguard. Pair it with safety glasses for full protection.
Conclusion
Great garden soil really comes down to a few simple habits: plan your plot, till at the right moisture, and build up depth with slow, patient passes. With a little practice, a rototiller turns hard, tired ground into a rich, workable bed your plants will thrive in. Clean it well after each use, and it’ll serve you for many seasons.
If you haven’t picked one up yet, check out our recommended picks above to find a reliable model. Once you’re comfortable, explore our other guides on garden care and yard tools. Happy tilling!
