
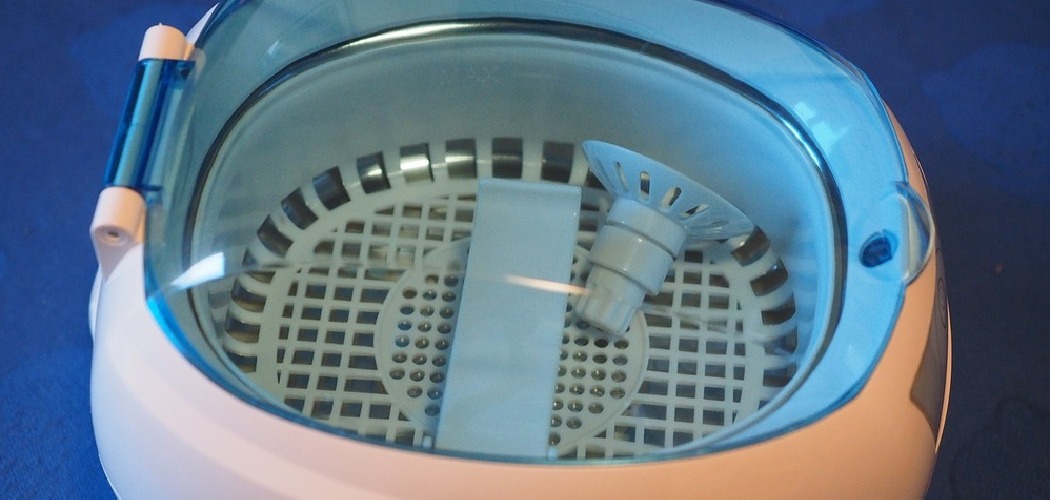
Your favorite ring has lost its sparkle. There’s grime tucked behind the setting, dulling the diamond you once loved to show off. Scrubbing with a toothbrush barely helps, and you’re nervous about scratching the metal. A sonic jewelry cleaner fixes this problem in minutes. It uses sound waves and tiny bubbles to lift dirt from every crack and crevice, even the spots your fingers can’t reach.
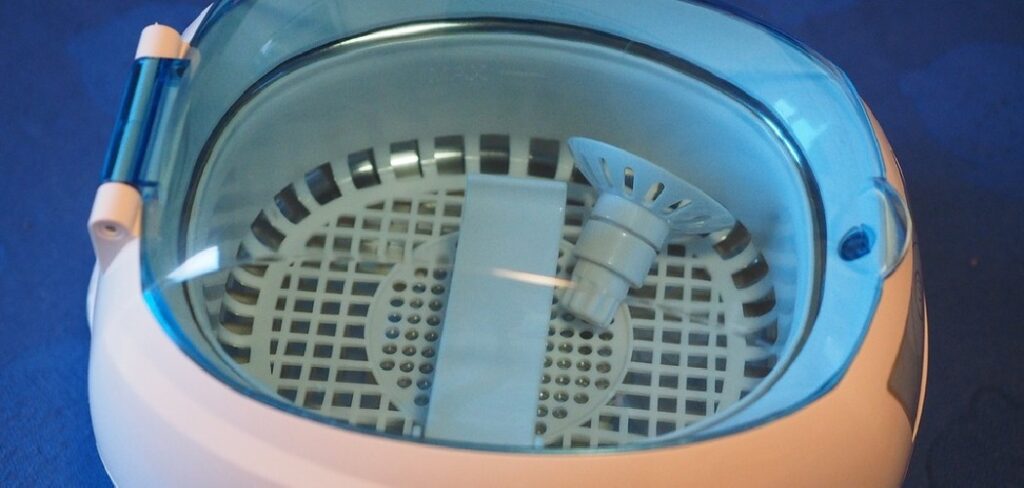
In this guide, you’ll learn exactly how to use a sonic jewelry cleaner. We’ll cover the gear to gather, each step from filling the tank to drying your pieces, plus expert tips and answers to common questions. Whether you’re refreshing a single ring or a whole jewelry box, you’ll finish with pieces that look brand new. Let’s get started.
What Is a Sonic Jewelry Cleaner?
An ultrasonic cleaner is a small tabletop device that fills with water and a bit of cleaning solution. It sends high-frequency sound waves through the liquid, creating millions of microscopic bubbles. When those bubbles collapse against your jewelry, they blast away dirt, oil, and tarnish. This process, called cavitation, cleans deep into settings and prongs without any harsh scrubbing.
What You’ll Need
A little prep makes the job simple. Gather these items before you start so you’re not scrambling mid-clean.
- An ultrasonic cleaner unit
- Distilled or clean tap water
- A gentle jewelry cleaning solution (or a drop of mild dish soap)
- A soft microfiber cloth
- A soft-bristled toothbrush for touch-ups
- A small strainer or the machine’s basket
- Paper towels for drying the workspace
- A timer (most units have one built in)
- Your dirty jewelry, sorted by type
Keep everything within reach. Having your supplies ready keeps the process smooth from start to finish.
Step-by-Step Guide on How to Use a Sonic Jewelry Cleaner
Running one of these machines is easier than you might think. Follow these steps for clean, sparkling results every time.
Step 1: Sort and Inspect Your Jewelry
Before anything goes in the tank, look over each piece carefully. Check for loose stones, cracked settings, or worn prongs. The vibrations can shake a wobbly gemstone right out of its mount. Set aside anything that feels fragile or damaged.
Separate hard metals and durable stones from softer, delicate pieces. This sorting step prevents accidents and helps you clean each batch the right way. A quick two-minute inspection saves you from a heartbreaking loss.
Step 2: Fill the Tank Correctly
Pour water into the tank up to the fill line marked inside. Never overfill, since that can spill during operation and cause a mess. Use room-temperature water for most jobs, as extreme temperatures aren’t needed. Distilled water works best because it leaves fewer mineral spots.
Add your jewelry after filling, not before. If you skip the fill line and add too little water, the machine can’t create proper cavitation. Getting the water level right is the foundation of a good clean.
Step 3: Add Your Cleaning Solution
Pour in a specialized jewelry cleaning solution following the bottle’s directions. If you don’t have any, a few drops of mild dish soap work in a pinch. Stir the water gently so the solution mixes evenly. The right formula helps the bubbles cut through oil and buildup faster.
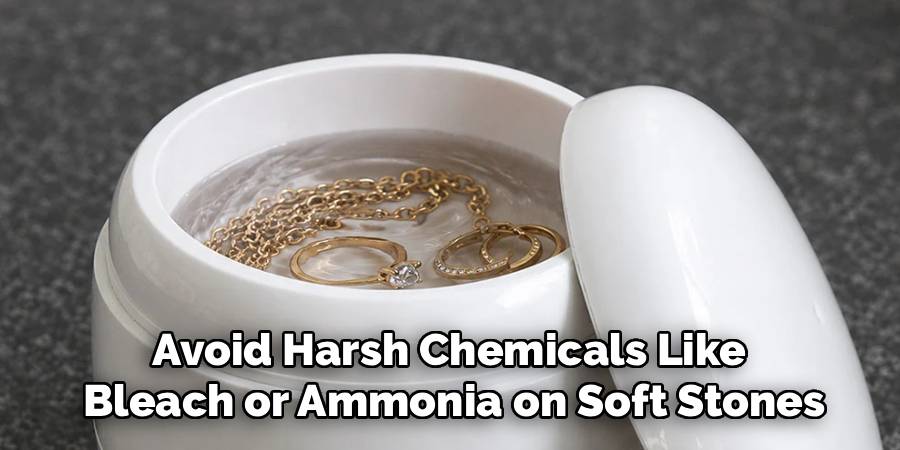
Avoid harsh chemicals like bleach or ammonia on soft stones. These can damage porous gems and dull certain metals. A gentle, purpose-made solution keeps your pieces safe while lifting away grime.
Step 4: Load Jewelry Into the Basket
Place your pieces into the machine’s basket or a small strainer. Spread them out so they don’t touch or stack on top of each other. When items bump together during cleaning, they can scratch or chip. The basket also keeps small pieces from resting directly on the vibrating floor.
Don’t overcrowd the tank. Cleaning fewer pieces at once gives each one better exposure to the bubbles. If you have a lot to clean, work in small batches for the best shine.
Step 5: Set the Timer and Start
Most units offer preset cycles between three and ten minutes. Start with a shorter cycle for lightly soiled items and adjust from there. Close the lid if your model has one, then press start. You’ll hear a soft humming as the sound waves go to work.
Resist the urge to run one long marathon cycle. Several short cycles clean better than one extended blast, especially for delicate pieces. Check your jewelry between rounds to see how it’s progressing.
Step 6: Check and Repeat if Needed
When the cycle ends, lift the basket and inspect your pieces. Look closely at settings, prongs, and any grooves where dirt likes to hide. If some grime remains, run another short cycle. Stubborn buildup sometimes needs two or three passes.
For extra-tough spots, gently brush the area with a soft-bristled toothbrush. Then return the piece for one more round. Patience here gives you a deeper, more thorough clean than rushing a single cycle.
Step 7: Rinse Your Jewelry Thoroughly
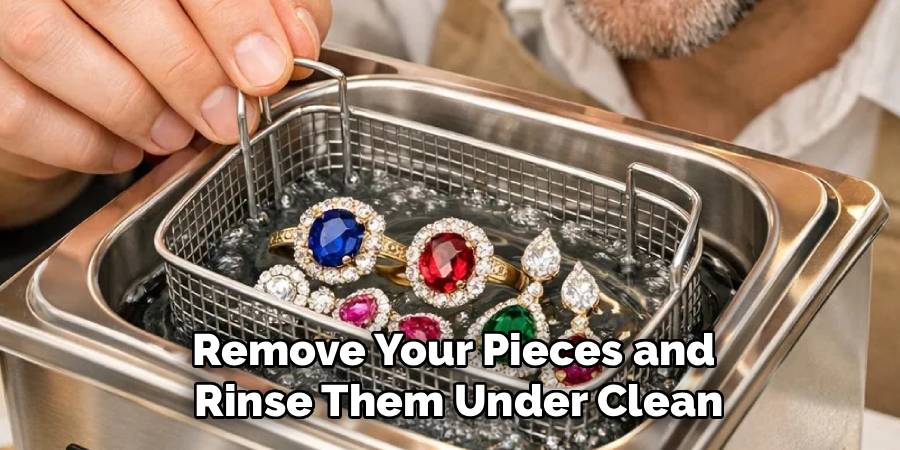
Remove your pieces and rinse them under clean, cool running water. This washes away loosened dirt and any leftover cleaning solution. Hold small items over a strainer or close the drain so nothing slips away. A good rinse prevents residue from drying and leaving a film.
Take your time with intricate settings. Turn each piece to let water flow through every angle. Skipping the rinse can leave a hazy coating that dulls the sparkle you just worked for.
Step 8: Dry and Polish
Pat each piece dry with a soft microfiber cloth. Gently buff the surface to bring out the shine and remove any water spots. Let items air-dry fully before storing, since trapped moisture can cause tarnish over time. Pay special attention to hollow areas that hold water.
Avoid rough towels or tissues that can scratch soft metals. A dedicated jewelry cloth gives the best finish. Once everything is dry and gleaming, you’re ready to wear or store your pieces.
Step 9: Empty and Clean the Machine
After you finish, pour out the used water and wipe the tank dry. Leaving dirty solution inside can build up grime and odor. A quick rinse of the tank keeps your machine fresh for next time. Wipe the exterior with a soft cloth too.
Store the unit in a dry cabinet with the cord neatly wrapped. Regular cleanup keeps it running well for years. A little care now means reliable performance every time you need it.
Tips for Best Results
Want your jewelry to truly dazzle? These insider tricks go beyond the basics.
- Match the method to the stone. Diamonds, sapphires, and rubies handle ultrasonic cleaning well. But soft or porous gems like opals, pearls, and emeralds should stay out of the tank, since vibrations can crack or damage them.
- Warm the solution slightly. Lukewarm water helps the cleaning solution dissolve oils faster. Just avoid hot water, which can loosen glued settings or harm certain gemstones.
- Pre-soak heavily soiled pieces. Let very dirty items sit in warm soapy water for ten minutes before you clean. This softens caked-on grime so the cavitation works even better.
- Clean regularly, not rarely. A quick monthly cycle prevents heavy buildup and tarnish. Frequent light cleaning is gentler than occasional deep scrubbing.
- Test costume jewelry first. Glued stones and plated metals don’t always survive the process. Run a short test cycle and watch closely before committing a full batch.
Frequently Asked Questions Section
Can I Put All My Jewelry in a Sonic Jewelry Cleaner?
Not everything belongs in the tank. Hard stones like diamonds, rubies, and sapphires clean beautifully, along with solid gold and platinum. Soft or porous gems such as opals, pearls, emeralds, and turquoise can crack or lose their finish. When in doubt, check with a jeweler before cleaning a valuable piece.
How Long Should I Run the Cleaning Cycle?
For most items, three to five minutes does the job nicely. Lightly soiled pieces may only need one short cycle, while grimy ones benefit from two or three passes. Avoid running one very long cycle, as several short rounds clean more effectively. Always inspect between cycles to track your progress.
Is It Safe to Clean Diamond Rings This Way?
Yes, diamonds are one of the safest stones for ultrasonic cleaning. The bubbles reach behind the setting where dirt and oil love to hide. Just make sure the diamond sits securely first, since strong vibrations can loosen a wobbly stone. Inspect the prongs before and after each clean.
What Cleaning Solution Should I Use?
A specialized jewelry cleaning solution gives the best and safest results. If you’re out, a few drops of mild dish soap mixed with water work well too. Steer clear of harsh chemicals like bleach or ammonia, which can damage soft stones and metals. Always follow the directions on your chosen product.
Can I Use Just Plain Water?
Plain water will clean your jewelry to a degree, but it won’t cut through oils as well. Adding a proper cleaning solution boosts the cavitation’s power against stubborn grime. Distilled water also reduces mineral spots compared to hard tap water. For the best shine, pair clean water with a gentle solution.
How Often Should I Clean My Jewelry?
A monthly cycle keeps everyday pieces sparkling and free of buildup. Items you wear daily, like a wedding ring, benefit from more frequent cleaning. Occasional pieces can go longer between sessions. Regular light cleaning is far gentler than waiting for heavy tarnish to set in.
Conclusion
Bringing back the sparkle really comes down to a few simple habits: sort your pieces, use the right solution, and clean in short cycles. With a little practice, a sonic jewelry cleaner turns dull, grimy rings into gleaming treasures in minutes. Rinse and dry each piece well, and you’ll enjoy that fresh shine for years.
If you haven’t picked one up yet, check out our recommended picks above to find a reliable model. Once you’re comfortable, explore our other guides on jewelry care and home cleaning tools. Happy cleaning!
