
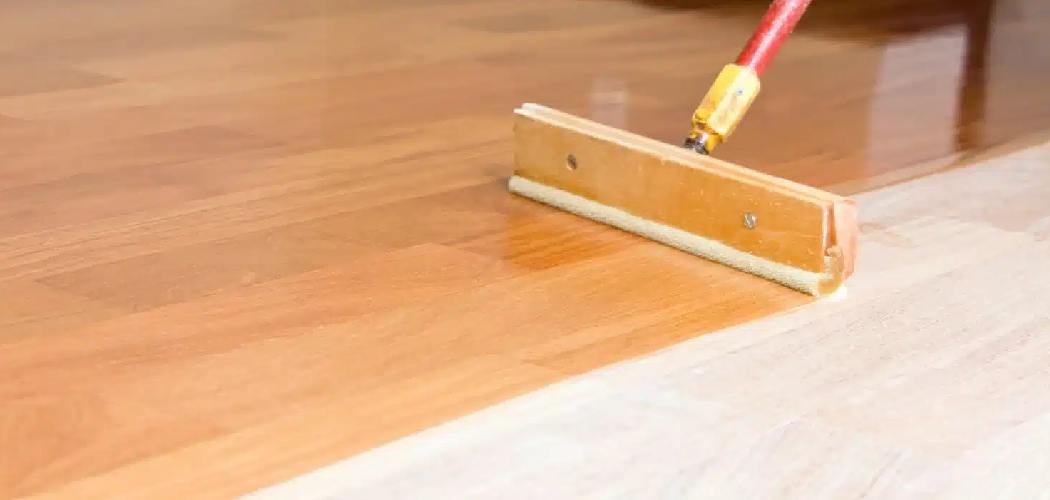
Your hardwood floors look tired. Maybe they’re scratched, dull, or showing bare patches where the shine used to be. You’ve thought about calling a pro, but the quotes made you wince. Good news: learning how to use polyurethane on wood floors is a project you can absolutely handle yourself. With a little patience and the right approach, you can bring back that deep, glossy finish that makes a room feel brand new.
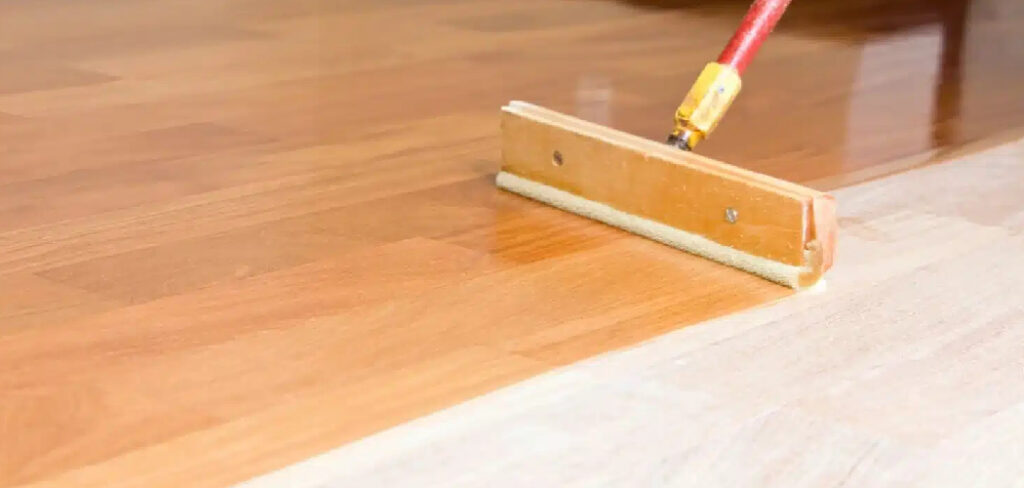
In this guide, you’ll learn exactly what supplies to grab, how to prep your floor the right way, and how to apply each coat for a smooth, durable result. We’ll walk through it step by step, just like a friend showing you the ropes. Let’s get your floors looking amazing again.
What You’ll Need
Before you dive in, gather everything so you’re not running to the store mid-project:
- Oil-based or water-based polyurethane
- A high-quality applicator (lambswool pad, T-bar, or synthetic brush)
- A paint tray or roller pan
- Fine-grit sandpaper (120, 150, and 220 grit)
- An orbital or drum sander for the initial sanding
- A tack cloth or microfiber cloths
- A shop vacuum
- Painter’s tape
- A respirator mask rated for fumes
- Safety glasses and gloves
- Knee pads
- A fan for ventilation
- Mineral spirits (for oil-based cleanup)
Having your gear ready keeps the whole job smooth and stress-free.
Step-by-Step Guide on How to Use Polyurethane on Wood Floors
Step 1: Clear and Clean the Room
Start with an empty space. Remove all furniture, rugs, and anything hanging on the walls that might collect dust. Sweep the entire floor, then vacuum every corner and crack to pull up dirt and grit. Finish with a damp mop and let the floor dry completely. Any leftover debris will show up in your finish as bumps or scratches. A clean starting surface is the foundation of a flawless result.
Step 2: Sand the Floor Down
Sanding is where the real transformation begins. Use an orbital or drum sander with coarse paper first to strip away the old finish, then work up to finer grits for a smooth surface. Move with the grain of the wood, never against it, to avoid ugly scratch marks. Keep the sander moving so you don’t dig divots into one spot. Sanding opens up the wood and helps the new coat bond tightly. Don’t rush this part, since a good sanding job makes everything after it easier.
Step 3: Vacuum and Wipe Away All Dust
After sanding, your room will be coated in fine wood dust. Vacuum the floor thoroughly, including baseboards and window sills where dust settles. Then go over the entire surface with a tack cloth or a slightly damp microfiber cloth to grab the last particles. Even a tiny speck of dust can ruin an otherwise perfect coat. Take your time here and check the floor in good light. A truly clean surface is worth the extra effort.
Step 4: Choose and Prep Your Finish
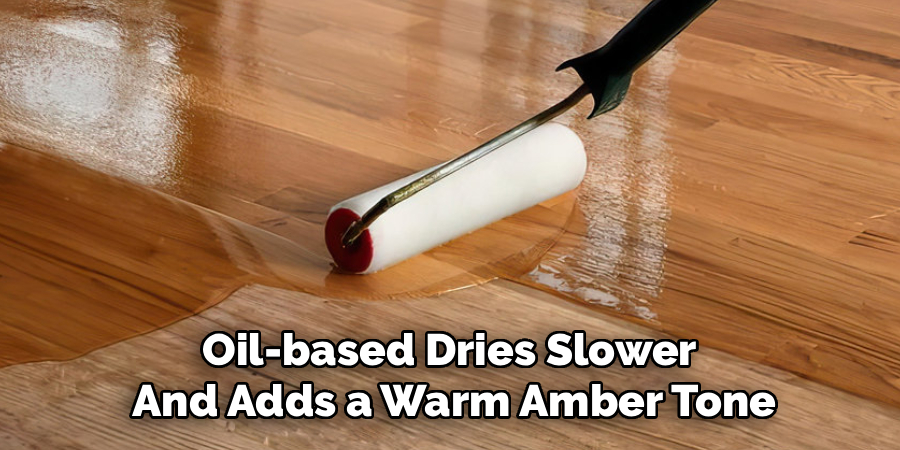
Now decide between oil-based and water-based polyurethane. Oil-based dries slower and adds a warm amber tone, while water-based dries fast and stays clear. Stir your can gently with a stick rather than shaking it, since shaking creates bubbles that show up in the finish. Pour a workable amount into your tray. Read the label for recommended dry times and coat counts. Picking the right product for your room sets you up for success.
Step 5: Apply the First Coat
Start in the corner farthest from the door so you don’t paint yourself in. Dip your applicator and spread a thin, even layer along the grain of the wood. Work in manageable sections and keep a wet edge so the coats blend seamlessly. Avoid overloading your pad, since thick coats lead to drips, puddles, and slow drying. Thin and even always beats thick and sloppy. Once you finish, step back and admire that first shine.
Step 6: Let It Dry Completely
Patience pays off here. Follow the drying time on your can, which can range from a few hours for water-based to overnight for oil-based products. Keep the room well ventilated with a fan and open windows, and wear your respirator during application. Don’t walk on the floor or let pets wander in while it cures. Rushing this step causes smudges and a cloudy finish. Give it the full time it needs.
Step 7: Sand Lightly Between Coats
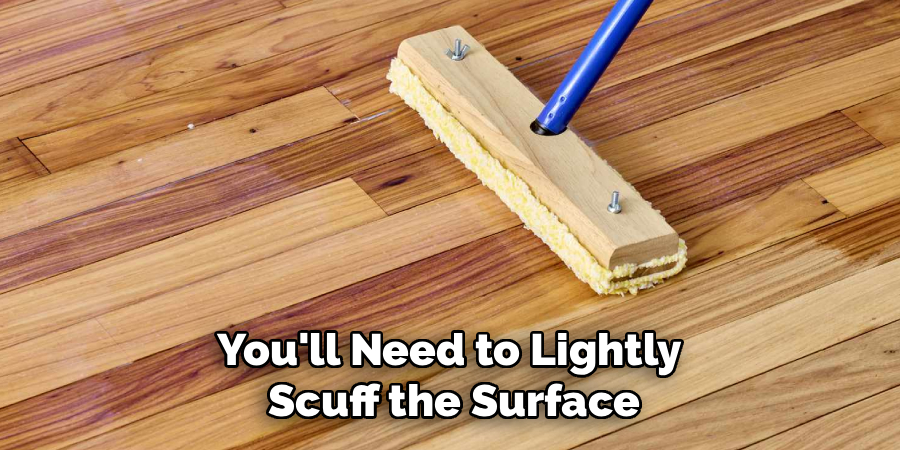
Once the first coat is dry, gently sand the surface with 220-grit sandpaper. This creates tiny scratches that help the next coat grip tightly. You’re not stripping anything, just knocking down raised grain and small imperfections. Vacuum and wipe with a tack cloth again to clear the dust. Skipping this step leaves you with a weak bond between layers. A quick, light sanding makes a huge difference in durability.
Step 8: Apply Additional Coats
Most floors look best with two to three coats total. Repeat the same thin, even application along the grain, sanding lightly between each layer. Each coat adds depth, protection, and that rich glow you’re after. Take your time and keep the room dust-free throughout. More coats mean a tougher surface that stands up to daily wear. By the final layer, you’ll see the finish really come alive.
Step 9: Cure and Reintroduce Furniture
After your last coat dries, resist the urge to move everything back right away. The finish needs time to fully harden, which can take several days to a couple of weeks depending on your product. Wait at least 24 hours before walking on it in socks, and longer before adding rugs or heavy furniture. When you do bring pieces back, lift them rather than dragging them. Rushing this stage can leave dents and scuff marks. Let the floor cure and you’ll enjoy the results for years.
Tips for Best Results
- Test on a hidden area first. Try your finish in a closet or under where a rug will sit. This lets you see the color and sheen before committing to the whole room.
- Control the temperature and humidity. Aim for a room between 65 and 75 degrees with moderate humidity. Extreme heat or damp air messes with drying and can cloud the finish.
- Use a fresh applicator for the final coat. A clean, high-quality pad on the last layer gives you the smoothest, most professional look. It’s a small cost for a big payoff.
- Work under natural light when possible. Good lighting helps you spot thin patches, drips, and missed spots before the finish dries. Angle a lamp low across the floor to catch imperfections.
- Keep foot traffic and pets out. Even a single paw print or footprint can wreck hours of work. Block off the room until everything fully cures.
Frequently Asked Questions
How Many Coats of Polyurethane Do I Need?
Most wood floors look and perform best with two to three coats. Two coats offer solid protection for low-traffic rooms, while three coats hold up better in busy areas like hallways and kitchens. Always sand lightly between each coat for a strong bond. More coats mean more durability and a deeper, richer finish.
Should I Use Oil-Based or Water-Based Polyurethane?
It depends on the look and dry time you want. Oil-based finishes add a warm, amber glow and last a long time, but they dry slowly and smell strong. Water-based options dry quickly, stay crystal clear, and produce fewer fumes. For high-traffic rooms, either works well, so choose based on your color preference and how fast you need to finish.
How Long Should I Wait Before Walking on the Floor?
You can usually walk on the floor in socks after about 24 hours, but full curing takes longer. Water-based finishes cure faster, often within a few days, while oil-based ones can take up to two weeks. Wait until the surface is fully hardened before adding rugs or heavy furniture. Rushing this step risks dents, scuffs, and smudges.
Can I Apply Polyurethane Without Sanding First?
You can skip the deep sanding only if your existing finish is in great shape and free of damage. Even then, you’ll need to lightly scuff the surface so the new coat can grip. Sanding removes old finish, scratches, and grime, giving you the smoothest base. For most tired or damaged floors, a proper sanding is well worth the effort.
Is It Safe to Apply Polyurethane Indoors?
Yes, as long as you take the right precautions. Open windows, run fans, and wear a respirator mask rated for fumes, especially with oil-based products. Good ventilation clears the air and speeds up drying. Keep kids and pets out of the room until the finish has fully cured and the smell fades.
Why Does My Finish Look Bubbly or Cloudy?
Bubbles usually come from shaking the can or applying coats too thickly. A cloudy look often points to trapped moisture or high humidity during drying. Always stir your finish gently, spread thin coats, and work in a room with moderate temperature and humidity. If problems appear, a light sand and a fresh thin coat can often fix them.
Conclusion
Refinishing your floors might feel like a big undertaking, but now you know how to use polyurethane on wood floors like a seasoned DIYer. The secret is simple: prep well, apply thin coats, and give each layer time to dry.
Take it slow and your floors will reward you with years of durable shine. If you haven’t grabbed your supplies yet, check out our recommended picks above to get started. Ready for your next project? Explore our other DIY guides on the site and keep building your skills. Happy finishing!
