
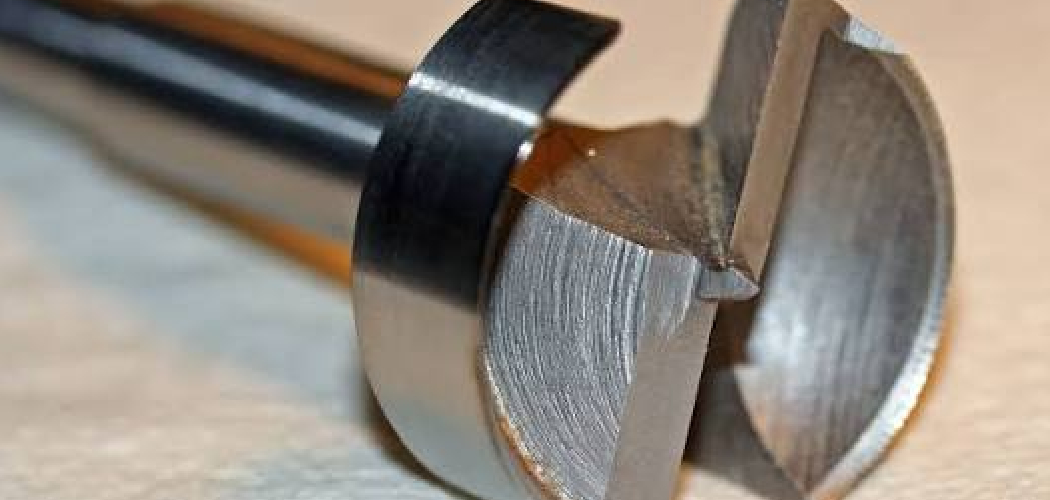
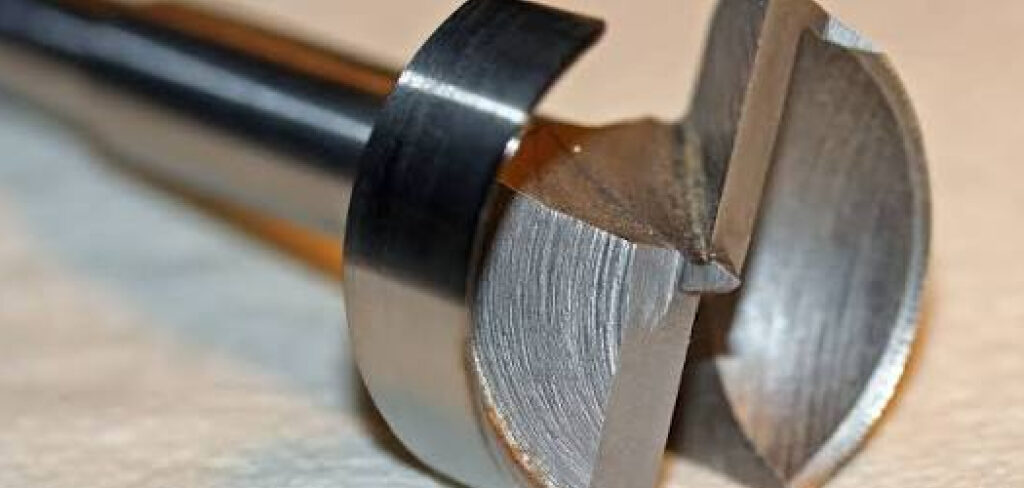
You’ve got a woodworking project that calls for a clean, flat-bottom hole. Maybe it’s for a set of hidden hinges, a row of dowel joints, or a cozy pocket to seat a bolt head. You reach for a regular twist bit, drill in, and pull out a ragged, cone-shaped mess. Not the look you were going for, right? A forstner drill bit fixes that problem beautifully. It bores smooth, precise holes with crisp edges and a perfectly level base.
In this guide, How to Use a Forstner Drill Bit, what you’ll need, and how to use it step by step. We’ll cover expert tips and answer the questions folks ask most. By the end, you’ll drill clean holes with real confidence.
What Is a Forstner Drill Bit?
A forstner drill bit is a specialized wood-boring tool designed to cut flat-bottom holes with smooth, clean edges. Instead of a spiral flute, it uses a center point plus sharp rim cutters that slice a crisp circle around the edge. This design lets you drill overlapping holes, angled holes, and even partial holes right at the edge of a board. Woodworkers love it for cabinet hinges, counterbored screws, and any job where a rough hole simply won’t do.
What You’ll Need
Gather these items before you start. Having everything within reach keeps your work smooth and steady.
- Your forstner bit in the size the project calls for
- A drill press (ideal) or a steady handheld drill
- A scrap board to use as a backer
- Clamps to hold your workpiece firmly
- A pencil and a combination square for marking
- A center punch or awl to mark the drill point
- Safety glasses and hearing protection
- A brush or compressed air for clearing wood chips
- A shop vacuum for cleanup
Step-by-Step Guide on How to Use a Forstner Drill Bit
Step 1: Mark Your Hole Location
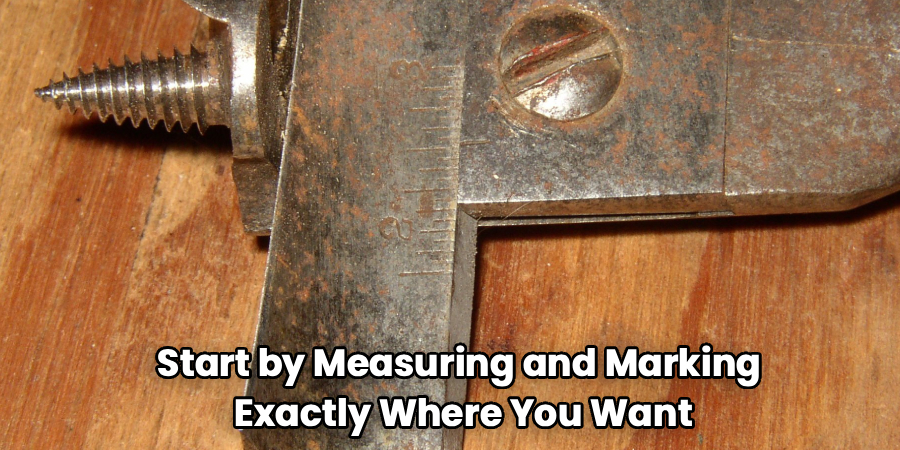
Start by measuring and marking exactly where you want your hole. Use a pencil and combination square to draw crossing lines at the center point. Then press a center punch or awl into that spot to create a small dimple. This tiny divot gives the bit’s center spur a place to bite, so it won’t wander when you begin. Skipping this step is the most common mistake, and a drifting bit ruins your accuracy fast.
Step 2: Clamp Your Workpiece Securely
A forstner cuts a wide path, which means it grabs the wood harder than a slim twist bit. Clamp your board firmly to the drill press table or your workbench. Add a scrap backer board underneath to prevent tear-out when the bit breaks through. Loose material can spin suddenly and cause a nasty injury, so never hold the piece by hand alone. Take a moment to double-check that everything sits tight before you power up.
Step 3: Chuck the Bit and Set Your Depth
Insert the bit into your drill chuck and tighten it fully. Make sure the shank seats deep enough for a solid, wobble-free grip. If your drill press has a depth stop, set it now for holes that don’t go all the way through. Line up the center spur with your punched mark before locking anything in. A quick test on scrap confirms your depth and alignment are right on target.
Step 4: Set the Right Speed
Speed matters more than people expect with these bits. Larger diameters need slower speeds, while smaller ones can spin faster. As a rough guide, a big bit likes 250 to 500 RPM, and a small one handles 1,000 or more. Too fast and you’ll scorch the wood and dull the rim cutters. When in doubt, slow it down and let the sharp edges do the work.
Step 5: Begin Drilling Slowly
Bring the spinning bit down until the center point meets your mark. Apply gentle, steady pressure and let the rim cutters score a clean circle first. Don’t force it. A forstner drill bit works best with patience, not muscle. If the tool bogs down or the motor strains, ease up and give it a second. Rushing this stage leads to burning, chatter, and a rough edge you’ll regret.
Step 6: Clear the Chips as You Go
Because this bit has no deep spiral to carry waste away, chips build up inside the hole. Every quarter-inch or so of depth, lift the bit out to clear the debris. This simple habit, called pecking, keeps heat down and the cut clean. Trapped chips cause friction, and friction means scorching and premature dulling. Pause, brush or blow out the shavings, then continue boring.
Step 7: Finish the Hole to Depth
Continue drilling in short, controlled passes until you reach your desired depth. For a through hole, slow down as you near the backer board to keep the exit crisp. For a stopped hole, let your depth stop do the work so every hole matches. Keep the pressure even and steady the whole way down. The result should be a smooth wall and a flat, level bottom.
Step 8: Retract and Inspect the Cut
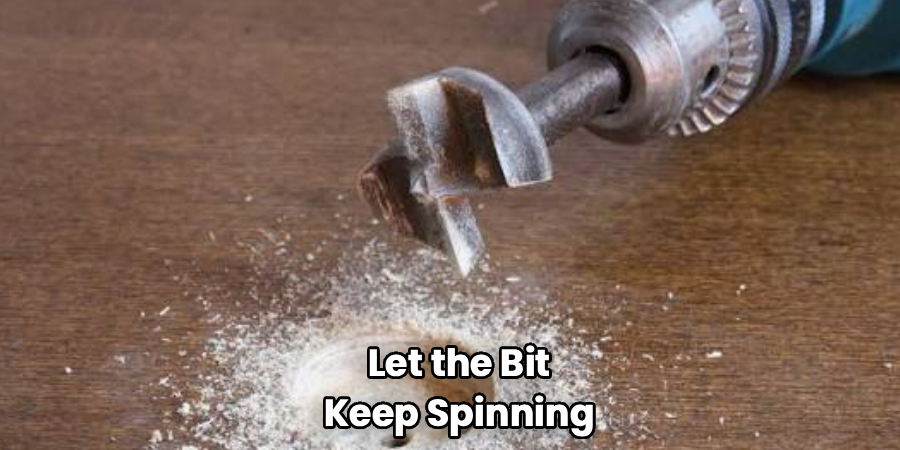
Once you hit depth, let the bit keep spinning as you slowly raise it out. Pulling it while it turns leaves the walls smooth instead of scratched. Blow out any leftover dust and take a good look at your work. Run a finger around the rim to feel for clean edges with no fuzz or tear-out. If it looks sharp and even, you nailed it.
Step 9: Repeat for Multiple Holes
Planning a row of holes for hinges or shelf pins? Line up each mark carefully before you drill. One handy trick is overlapping holes to create a slot or mortise, something these bits handle with ease. Keep clearing chips and check your alignment as you move down the line. Consistency here gives your finished project a clean, professional look.
Tips for Best Results
Want your holes to look like a pro drilled them? These habits make a real difference.
- Use a drill press whenever you can. A press keeps the bit perfectly square to the surface, which handheld drilling struggles to match. Straight holes mean tight, gap-free joints every time.
- Keep your rim cutters sharp. A dull edge burns wood and forces you to push harder. Touch up the cutting edges with a fine file, or replace a bit that’s past its prime.
- Practice on scrap first. A quick test hole confirms your speed, depth, and alignment before you commit to your real workpiece. This one habit saves a lot of ruined boards.
- Back up your exit side. A sacrificial board behind your workpiece stops splintering as the bit punches through. You’ll get clean edges on both faces of the wood.
- Let the tool cool between big holes. Boring large diameters builds heat fast. A short pause keeps the steel sharp and prevents scorch marks on your project.
Frequently Asked Questions
What Is a Forstner Bit Used For?
It’s used to bore flat-bottom holes with smooth, clean walls in wood. Common jobs include cabinet hinge cups, counterbored screw holes, and dowel joinery. Because it cuts a crisp circle, it also handles angled and overlapping holes that other bits can’t. Woodworkers reach for it any time a rough, pointed hole just won’t cut it.
Can I Use a Forstner Bit in a Handheld Drill?
Yes, you can, though a drill press gives you far better control. Handheld work makes it tricky to keep the bit square and the hole straight. If you go handheld, clamp your workpiece, start slowly, and steady your grip with both hands. For accuracy on tight joinery, though, a press is well worth it.
How Do I Stop the Wood From Burning?
Burning usually comes from too much speed or too little chip clearing. Slow your RPM down, especially with larger diameters, and lift the bit often to eject chips. A sharp bit also cuts cooler than a dull one, so keep those rim cutters keen. If you see smoke, stop, clear the hole, and ease off the pressure.
Are Forstner Bits Better Than Spade Bits?
For clean, flat-bottom holes, yes, they win easily. Spade bits drill fast but leave rough walls and a pointed bottom. Forstner bits give you smooth edges, a level base, and much greater precision. Spade bits still shine for quick, rough holes where looks don’t matter, so both have a place in your kit.
Is It Safe to Drill Overlapping Holes?
It is, and this is one area where these bits really shine. The flat cutting face lets you drill into the edge of an existing hole without wandering. Just move over in small steps, clamp everything tight, and keep your feed rate slow. This technique makes clean mortises and slots that other bits struggle to produce.
Why Does My Bit Wander When I Start?
Wandering almost always traces back to a missing center mark. Without a punched dimple, the center spur skates across the surface before it bites. Take a second to punch your mark, then lower the bit gently onto that spot. Starting slow and square keeps everything right where you want it.
Conclusion
Drilling clean holes used to feel like a gamble, but now you’ve got the know-how to do it right. Mark your spot, clamp tight, control your speed, and clear those chips as you go. With a little practice, a forstner drill bit turns a tricky task into one of the most satisfying parts of any build. If you haven’t picked one up yet, check out our picks above to find a reliable set. Ready to sharpen your skills further? Browse our related guides on drill press setup and wood joinery next.
