
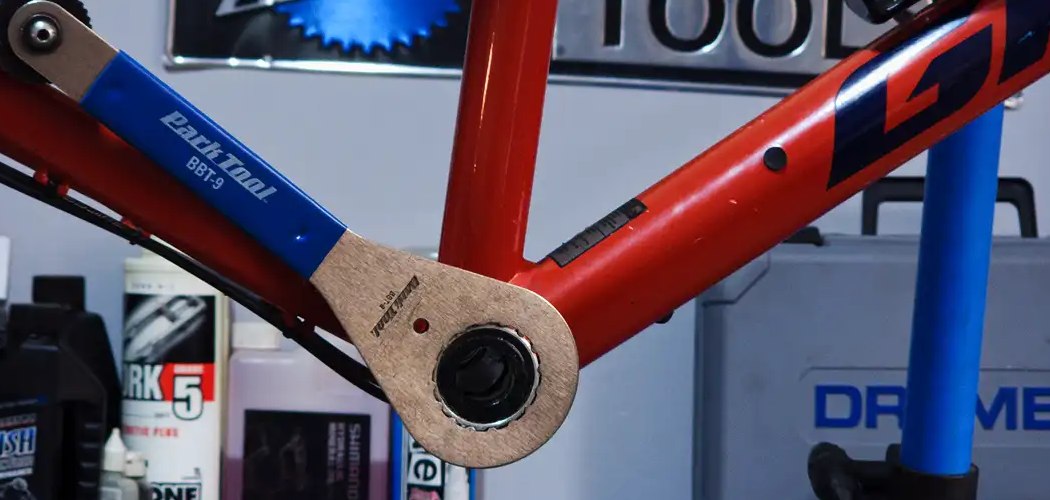
Your pedal won’t budge. You’ve tried a regular wrench, maybe even an Allen key, and it’s still stuck fast to the crank arm. Or worse, you cranked it the wrong way and now you’re worried you’ve stripped something. Sound familiar? A pedal wrench is the simple tool that solves this exact problem, and once you know how to use one, swapping pedals takes just a few minutes.
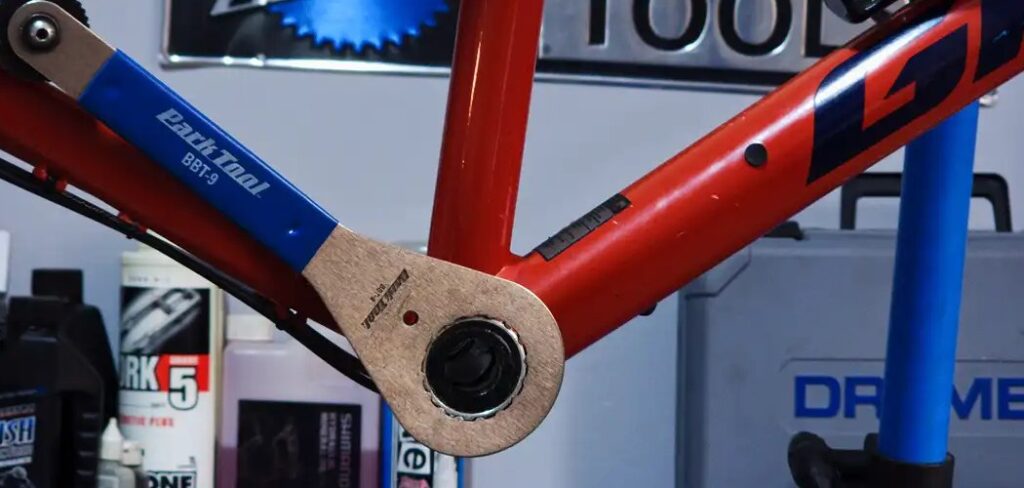
In this guide, you’ll learn how to use a pedal wrench, what to gather before you start, and how to remove and install pedals step by step. We’ll cover the tricky thread direction rules, how much torque to apply, and the small mistakes that trip up beginners. Whether you’re upgrading to clipless pedals or fixing a squeaky setup, you’ll finish feeling confident. Let’s roll.
What Is a Pedal Wrench?
A pedal wrench is a long, thin open-ended wrench built specifically for loosening and tightening bike pedals. Its jaws are slim enough to slide into the narrow gap between the pedal body and the crank arm, where a chunky adjustable wrench simply won’t fit. The extra-long handle gives you the leverage you need to break loose pedals that have been torqued down tight. Most versions measure 15mm, which is the standard size for pedal spindle flats.
What You’ll Need
Gather these few items before you start, and the job goes smoothly.
- A 15mm pedal wrench (the star of the show)
- A rag or shop towel to wipe grime off the threads
- Grease or anti-seize compound for smooth reinstallation
- A repair stand or a safe way to prop up your bike
- Gloves to protect your hands and improve grip
- A wire brush to clean crusted-on dirt from the spindle
- A hex key set in case your pedals also accept an Allen wrench
- Good lighting so you can read the small “L” and “R” markings
With everything within reach, you won’t have to stop halfway through.
Step-by-Step Guide on How to Use a Pedal Wrench
Step 1: Secure Your Bike
Start by putting your bike in a repair stand if you have one. A stand holds everything steady and puts the pedals at a comfortable height. No stand? Lean the bike against a wall or flip it upside down onto the saddle and handlebars. The key is keeping it stable so it won’t tip while you apply force. Wobbly bikes lead to slipped tools and skinned knuckles, so take a moment to get this right.
Step 2: Identify the Left and Right Pedals
Before you touch anything, figure out which pedal is which. The right pedal (the one on the chain side) has normal right-hand threads. The left pedal has a reverse thread, which trips up almost every beginner. Most pedals stamp a small “L” or “R” on the spindle or wrench flats, so look closely. Knowing your left pedal from your right pedal now saves you a world of frustration later. Mark them mentally before you start turning.
Step 3: Position the Wrench Correctly
Slide the slim jaws of the wrench onto the flat spots of the pedal spindle. These flats sit between the pedal body and the crank arm, so seat the wrench fully for a solid grip. A partial grip rounds off the flats and turns an easy job into a nightmare. Make sure the wrench sits flush and square against the spindle. Give it a gentle wiggle to confirm it’s locked in place before you push.
Step 4: Understand the Thread Direction
Here’s the part that confuses everyone, so read it twice. The right pedal loosens counterclockwise, just like most bolts you know. The left pedal, with its reverse thread, loosens clockwise instead. An easy trick: on both sides, turn the wrench toward the back of the bike to loosen. Get the thread direction backward and you’ll only tighten the pedal harder. When in doubt, remember that pedals unscrew toward the rear wheel.
Step 5: Break the Pedal Loose
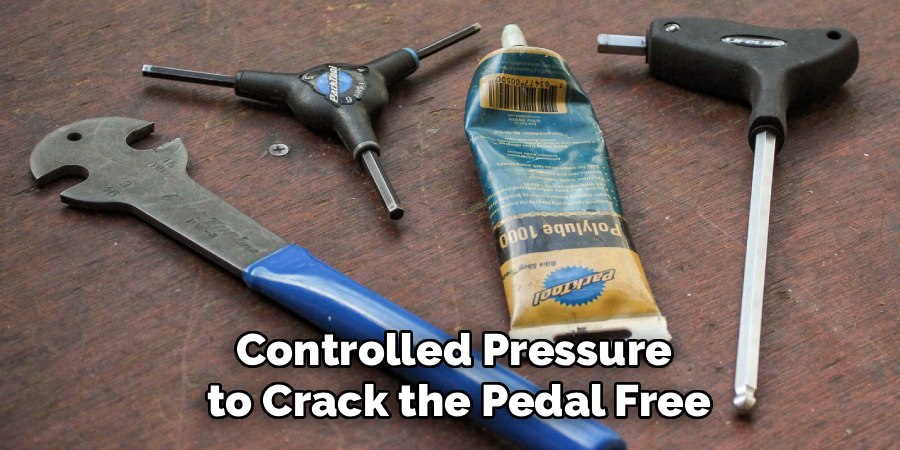
Now apply steady, controlled pressure to crack the pedal free. Position the wrench so you can push down with your body weight rather than yank sideways. Pedals often bind up tight, so it may take real effort on that first movement. Keep your fingers clear of the chainring, which loves to bite knuckles. If it won’t move, a drop of penetrating oil on the threads and a few minutes of patience work wonders. Never hammer the wrench blindly.
Step 6: Unscrew and Remove the Pedal
Once the pedal breaks loose, the hard part is over. Spin it out the rest of the way by hand or keep turning with the wrench. Support the pedal so it doesn’t drop and ding your floor or your foot. Set it somewhere clean and safe, then repeat the process on the other side. Remember the thread direction flips between the left pedal and right pedal, so adjust your turning direction accordingly. Take your time on that second one.
Step 7: Clean and Grease the Threads
Before installing anything, wipe the crank arm threads clean with your rag. Use a wire brush to scrub away crusted dirt or old, dried grease. Then apply a thin layer of fresh grease or anti-seize to the pedal spindle threads. This simple step prevents the pedals from seizing and makes next year’s removal painless. Skipping grease is the number one reason pedals fuse to the crank arm over time. A clean, greased thread also protects the bottom bracket area from grit migration.
Step 8: Install the New Pedals by Hand First
Match each pedal to the correct side before threading it in. Start the right pedal into the right crank arm by hand, turning clockwise. Start the left pedal turning counterclockwise, since it uses that reverse thread. Always begin by hand to avoid cross-threading, which can wreck expensive crank arms. If a pedal resists in the first few turns, back it out and try again gently. It should spin in smoothly once the threads catch properly.
Step 9: Tighten to the Right Torque
Finish by snugging each pedal down with your wrench. You don’t need to gorilla-grip it, but pedals should be firmly tight since pedaling naturally loosens them further. Aim for solid, confident tightness rather than maximum force. If you own a torque wrench, most pedals call for around 30 to 40 newton meters. Turn each pedal toward the front of the bike to tighten, the opposite of removal. Give both a final check before your first ride.
Tips for Best Results
Want to work like a seasoned mechanic? These pointers go beyond the basics.
- Always grease before installing. A thin coat of anti-seize on the spindle threads means your pedals come off easily next time. Dry threads seize hard and can ruin a crank arm.
- Use your body weight, not your wrists. Position the wrench so you push down instead of straining sideways. This gives you more control and protects your hands from the chainring.
- Warm stubborn pedals. For pedals that refuse to budge, a hairdryer on the crank arm helps expand the metal slightly. Combined with penetrating oil, this often frees the toughest ones.
- Double-check the side before threading. Cross-threading a left pedal into a right crank arm is an expensive mistake. Confirm the “L” and “R” markings every single time.
- Keep the wrench square. A wrench that sits crooked on the flats will slip and round them off. Reseat it fully before applying any real force.
Frequently Asked Questions
Can I Use a Regular Wrench Instead of a Pedal Wrench?
Sometimes, but it’s risky. A standard open-ended wrench is usually too thick to fit the narrow gap between the pedal and crank arm. Even if it fits, it often lacks the leverage to break a tight pedal loose. A proper tool with slim jaws and a long handle makes the job safer and far easier.
Why Does the Left Pedal Have a Reverse Thread?
The reverse thread on the left pedal isn’t a mistake, it’s clever engineering. As you pedal, the motion naturally tries to unscrew a normally threaded left pedal. The reverse thread means your pedaling actually tightens it instead, keeping it secure. This is why knowing your thread direction matters so much during removal.
How Tight Should Bike Pedals Be?
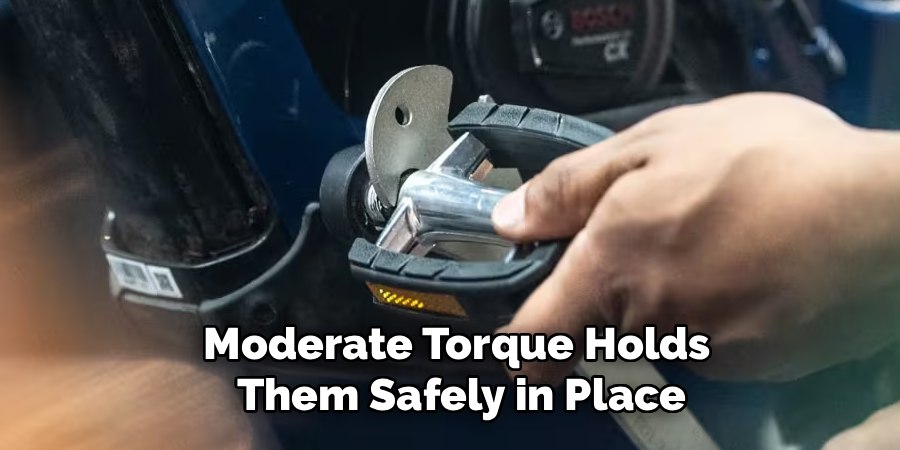
Pedals should be firmly snug, but you don’t need to overtighten them. Since pedaling continually tightens them further, moderate torque holds them safely in place. If you have a torque wrench, aim for roughly 30 to 40 newton meters. A confident, solid tightness by hand and wrench works fine for most riders.
What Size Is a Standard Pedal Wrench?
Most pedals use 15mm wrench flats on the spindle, so a 15mm size is the standard. Some newer pedals skip the flats entirely and use a hex fitting on the back instead. In those cases, you’ll need a long hex key rather than a flat wrench. Check your pedals first so you grab the right tool.
Is It Safe to Ride If a Pedal Feels Loose?
No, ride only after confirming both pedals are properly tightened. A loose pedal can damage the crank arm threads or come off mid-ride, which is dangerous. Give each pedal a firm final check before you set off. If one keeps loosening, remove it, clean and grease the threads, then reinstall it correctly.
Conclusion
That’s all there is to it. With a pedal wrench and a little know-how, swapping pedals becomes a quick, satisfying job you can handle anytime. Just remember the golden rules: identify your left and right sides, respect the thread direction, grease those threads, and tighten firmly. Get those right and you’ll never fear a stuck pedal again.
If you haven’t picked one up yet, check out our picks above to find a reliable tool. Ready for your next project? Explore our other bike maintenance guides and keep your ride running smoothly. Happy wrenching!
