
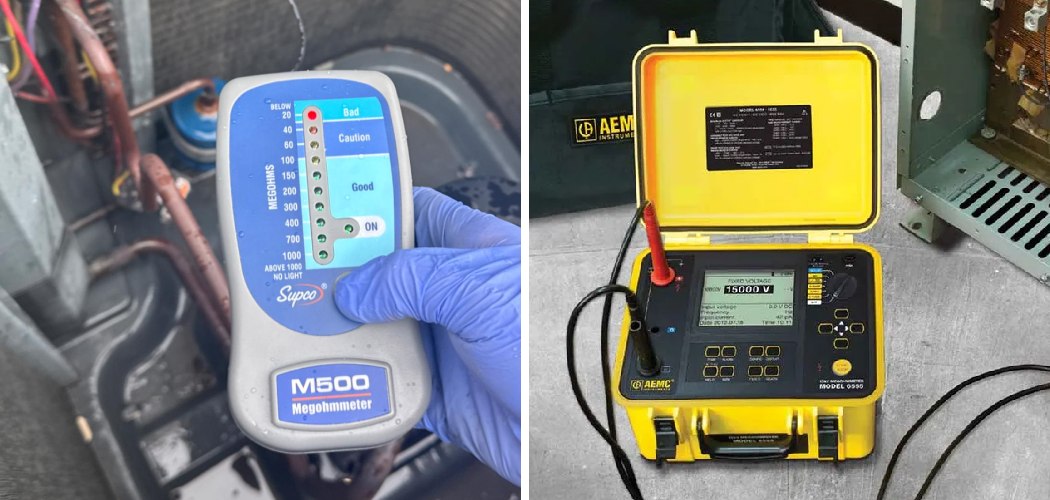
You’ve got a motor that keeps tripping the breaker, and every visible connection looks fine. The wires seem intact, the terminals are clean, and yet something is quietly leaking current where you can’t see it. This is exactly the moment a megohmmeter earns its keep. Unlike a standard multimeter, it sends a high voltage through insulation to reveal hidden weaknesses before they become dangerous faults.
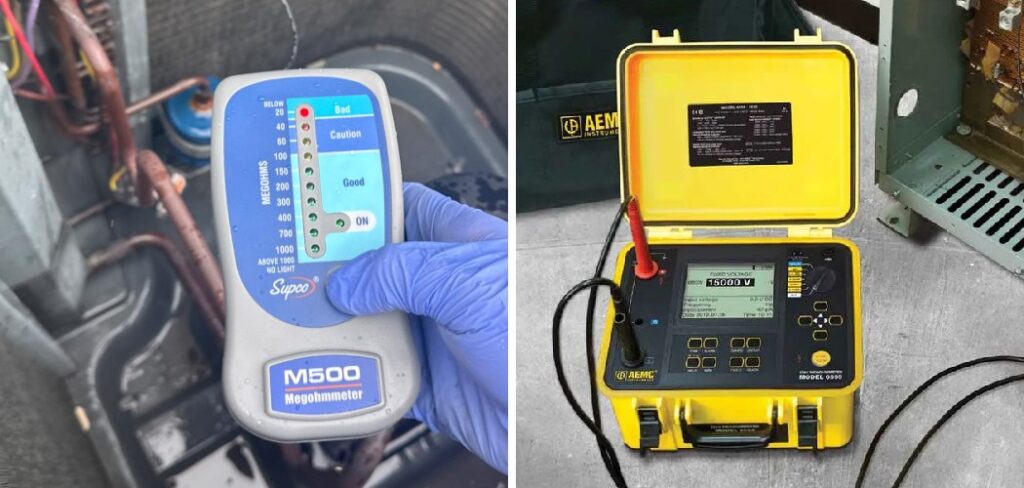
In this guide, you’ll learn how to use a megohmmeter, what to gather before testing, and how to run a safe, accurate test step by step. We’ll cover safe voltage selection, reading the results, and the small mistakes that lead to false readings or shocks. Whether you maintain motors, cables, or transformers, you’ll walk away confident in checking insulation the right way. Let’s dig in.
What Is a Megohmmeter?
A megohmmeter is a specialized instrument that measures very high electrical resistance, usually in the megohm range, across insulation. It applies a controlled DC test voltage, often 250V, 500V, or 1000V, then measures how much current leaks through the insulation. Electricians rely on it to check the health of motor windings, cables, and switchgear, since worn insulation is a hidden safety hazard. You may also hear these tools called insulation testers or “meggers,” a name that comes from an early brand of the device.
What You’ll Need
Get everything ready before you start, and the test goes smoothly and safely.
- A megohmmeter or insulation tester with a suitable voltage range
- Insulated gloves rated for the voltage you’ll use
- Safety glasses to protect against arcs or sparks
- A lockout/tagout kit to keep the circuit de-energized
- A discharge tool or grounding lead for bleeding off stored charge
- A clean rag to wipe dust and moisture off terminals
- Alligator clip leads for a secure connection
- The equipment manual to confirm the correct test voltage
- A notebook or app to log your resistance measurements
With these on hand, you won’t have to stop mid-test to hunt for gear.
Step-by-Step Guide on How to Use a Megohmmeter
Step 1: De-Energize and Isolate the Circuit
Safety comes first, so shut off power to the equipment you plan to test. Switch off the breaker, then apply lockout/tagout so nobody can restore power while you work. Verify the circuit is truly dead using a separate voltage tester before touching anything. High voltage from a live circuit can destroy your instrument and injure you badly. Never trust that a switch alone has cut the power. Confirm with your own eyes and your own meter every single time.
Step 2: Discharge Any Stored Energy
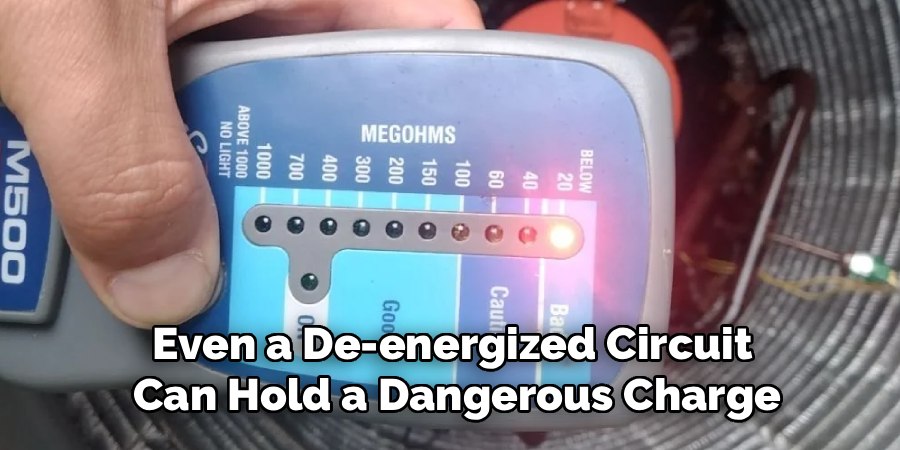
Even a de-energized circuit can hold a dangerous charge, especially in cables and motor windings. Capacitance stores energy that can zap you long after the power is off. Use a grounding lead or discharge tool to safely bleed off any residual voltage to ground. Hold the discharge connection for several seconds to be sure it’s fully drained. Skipping this step is one of the most common and dangerous mistakes beginners make. Take the extra thirty seconds; it protects both you and your gear.
Step 3: Disconnect the Equipment From the System
Isolate the item you’re testing from the rest of the electrical system. For a motor, disconnect it from its supply cables so you test only the winding insulation. Leaving things connected can drag other components into the reading and give you false numbers. It can also send test voltage into sensitive electronics and fry them. Label each wire as you remove it so reconnection is painless later. A clear, isolated test path gives you the cleanest, most trustworthy result.
Step 4: Clean and Inspect the Connection Points
Wipe down the terminals and conductor ends with a dry rag before you connect. Dust, moisture, and grime create surface leakage current that skews your readings low. A film of dampness alone can make healthy insulation look faulty. Check for cracked insulation, burn marks, or corrosion while you’re there. These visual clues often point straight to the problem before you even test. Clean, dry contact points are the foundation of an accurate resistance measurement.
Step 5: Select the Correct Test Voltage
Now dial in the right test voltage for the equipment you’re checking. As a rule of thumb, use a level suited to the operating voltage, commonly 500V for standard motors and 1000V for higher-voltage gear. Always check the manufacturer’s specs, since too high a voltage can damage good insulation. Too low a voltage, on the other hand, may miss real weaknesses. Your equipment manual is the best guide here. When unsure, start with a lower setting and consult the documentation before going higher.
Step 6: Connect the Test Leads Securely
Attach the leads from your insulation tester to the points you want to check. For a motor winding test, connect one lead to the conductor and the other to the frame or ground. Use the alligator clips for a firm, hands-free grip so nothing slips during the test. Loose or wobbly connections cause erratic readings and can arc unexpectedly. Double-check that each clip bites bare metal, not painted or coated surfaces. A solid connection means a stable, reliable measurement.
Step 7: Run the Insulation Resistance Test
Press and hold the test button to apply voltage across the insulation. The instrument now measures insulation resistance and displays the value in megohms. Keep holding for the recommended time, often 60 seconds, so the reading stabilizes. During this megger test, keep your hands well clear of the leads and terminals. A steady, high reading signals healthy insulation, while a low or dropping value warns of trouble. Don’t rush; letting the number settle gives you the truth.
Step 8: Read and Interpret the Results
Once the reading holds steady, note the value in ohms, usually shown as megohms. Higher numbers mean better insulation, so a reading in the hundreds of megohms is generally excellent. Values below one megohm often signal failing insulation that needs attention. Temperature and humidity affect results, so record conditions alongside your numbers. Compare against the manufacturer’s minimum spec rather than guessing. Consistent logging over time reveals slow degradation before it becomes a failure.
Step 9: Discharge and Disconnect Safely
After testing, the equipment may hold a charge from the test voltage itself. Many modern testers discharge automatically, but confirm the reading drops to zero before touching anything. If yours doesn’t, use your discharge tool to ground the circuit safely. Remove the leads from the equipment first, then power down the instrument. Reconnect the wires you labeled earlier, matching each to its terminal. Skipping the discharge here can deliver a nasty surprise, so stay disciplined to the end.
Step 10: Record Your Findings and Reset
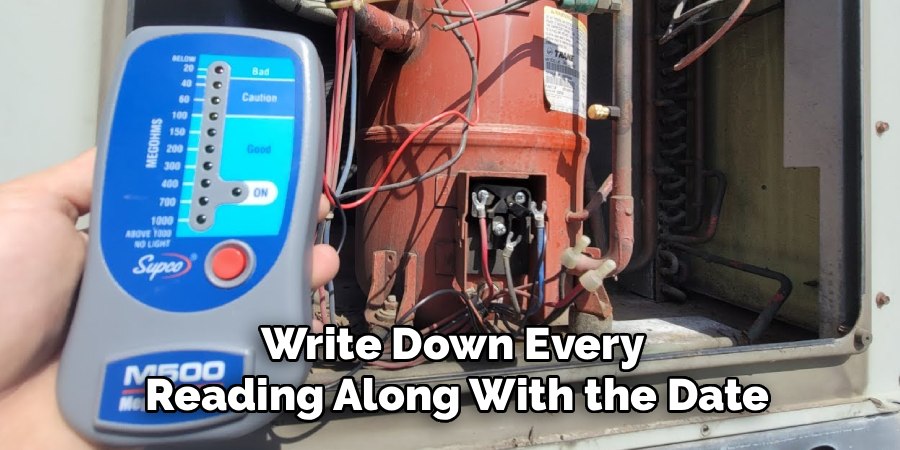
Write down every reading along with the date, voltage used, and ambient conditions. This log becomes gold for spotting trends in insulation health over months and years. A slow decline in resistance often predicts a fault long before it happens. Remove your lockout/tagout only when you’re fully finished and everything is reconnected. Pack your gear away clean and dry so it’s ready next time. Good record-keeping turns a single test into a powerful maintenance habit.
Tips for Best Results
Want to test like a seasoned pro? These pointers go beyond the basic steps.
- Test at consistent temperatures. Insulation resistance drops as temperature rises, so readings taken hot and cold aren’t comparable. Note the temperature each time and, where possible, test under similar conditions for reliable trend tracking.
- Watch out for humidity. Moisture on surfaces creates leakage current that makes good insulation look bad. On damp days, dry the terminals thoroughly and consider retesting after the equipment warms up.
- Use the polarization index for motors. Take a reading at one minute and another at ten minutes, then compare. A rising ratio signals healthy, dry insulation, while a flat result hints at contamination or aging windings.
- Never test live circuits. It bears repeating because it’s the most dangerous mistake. Applying a high DC test voltage to a live system can destroy your tester and seriously hurt you.
- Keep your leads in top shape. Cracked or frayed test leads throw off readings and create shock risks. Inspect them before each use and replace them at the first sign of wear.
Frequently Asked Questions
What Is the Difference Between a Megohmmeter and a Multimeter?
A multimeter measures low resistance, voltage, and current for everyday troubleshooting. A megohmmeter applies a much higher DC test voltage to measure very high insulation resistance in the megohm range. That high voltage stresses the insulation just enough to reveal hidden weaknesses a multimeter would never catch. In short, one checks connections while the other checks insulation health.
How Often Should I Test Insulation Resistance?
For critical motors and equipment, an annual test is a solid baseline. High-use or harsh-environment machines may benefit from checks every six months. Regular megger test routines let you spot a slow decline before it turns into a failure or fire hazard. Consistent scheduling and good record-keeping are what make the data truly useful.
Is It Safe to Use a Megohmmeter Myself?
Yes, provided you respect the safety steps and understand the voltage involved. Always de-energize, lock out, and discharge the circuit before connecting anything. Wear insulated gloves and keep your hands clear during the test. If you’re unsure about the equipment or the voltage, bring in a qualified electrician rather than risking a shock.
What Is a Good Insulation Resistance Reading?
Higher is better, and healthy insulation often reads in the hundreds of megohms or more. A common rule of thumb sets a minimum of one megohm per 1000 volts of operating voltage, plus a safety margin. Readings below that threshold usually mean the insulation is degrading. Always compare your numbers against the manufacturer’s specification for that specific equipment.
Can I Test a Motor Winding With a Megohmmeter?
Absolutely, and it’s one of the most common uses. Disconnect the motor from its supply, then connect one lead to a winding conductor and the other to the motor frame. The resulting resistance measurement tells you how well the winding insulation is holding up. Low readings often point to moisture, contamination, or aging insulation that needs service.
Why Did My Reading Change Between Tests?
Temperature and humidity are the usual suspects behind shifting numbers. Insulation resistance falls as things get warmer or damper, so identical equipment can read differently on different days. Surface dirt and moisture also add leakage current that lowers the value. Record conditions each time so you can tell real degradation from environmental noise.
Conclusion
That’s the whole process, start to finish. With a megohmmeter and a careful routine, you can spot failing insulation long before it causes a breakdown or a shock. Just remember the essentials: de-energize, discharge, choose the right voltage, and log every reading. Nail those and you’ll catch problems early, every time.
If you haven’t picked one up yet, check out our recommended picks above to find a reliable tester. Ready for your next project? Explore our other electrical maintenance guides and keep your equipment running safely. Happy testing!
