
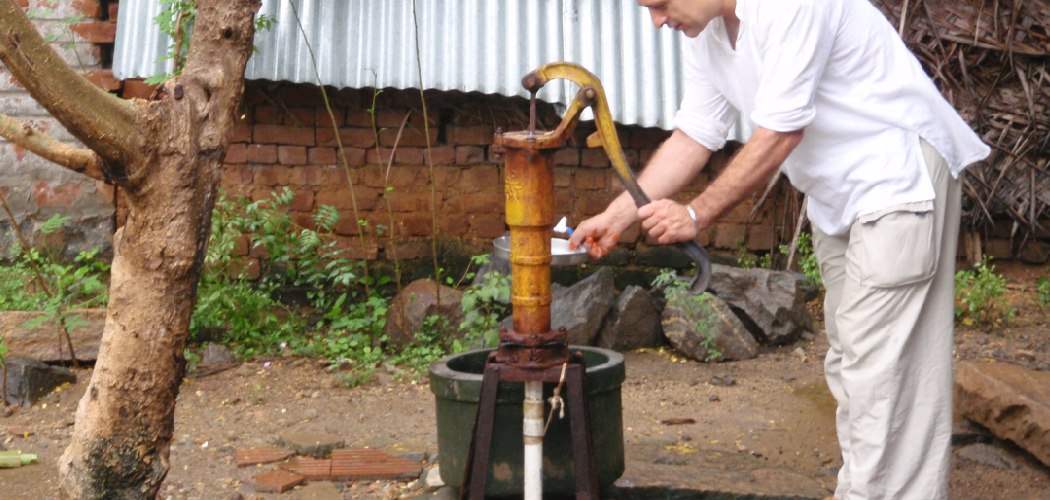
Picture this: your bike tire is flat, the campsite is miles from any electrical outlet, and your fancy electric inflator sits uselessly at home. This is where a trusty hand pump saves the day. It’s simple, portable, and works anywhere without batteries or a power cord. Whether you’re topping off a tire, inflating a sports ball, or priming water from a well, knowing how to work one properly makes all the difference.
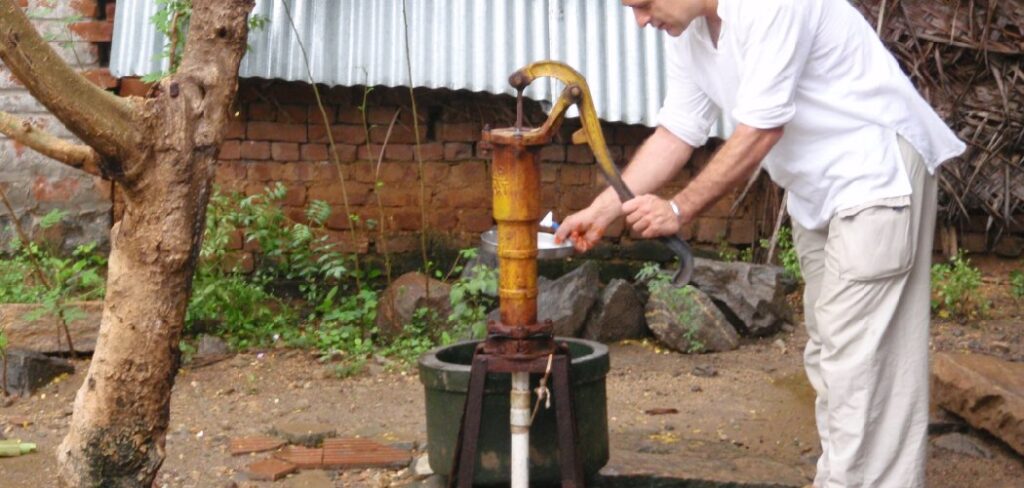
In this guide, you’ll learn exactly how to use a hand pump, prime, and operate one like a pro. We’ll walk through valve connections, smooth stroke technique, and the small mistakes that waste your energy. By the end, you’ll pump with confidence and skip the frustration of leaks, slipped nozzles, and sore arms. Let’s get started.
What You’ll Need
A little prep goes a long way. Gather these items before you start, and the whole job goes smoothly.
- A hand pump suited to your task (tire, ball, or water)
- The correct nozzle or adapter for your valve type
- A pressure gauge if your pump doesn’t have one built in
- The item you’re inflating, such as a tire, ball, or air mattress
- A valve cap or Schrader/Presta adapter as needed
- A small rag to wipe dust off valves and seals
- A stable, level surface to set the pump on
- Water if you’re using a priming pump for a well
- Gloves for grip and comfort during long sessions
With everything within reach, you won’t have to stop mid-stroke to hunt for a missing adapter.
Step-by-Step Guide on How to Use a Hand Pump
Step 1: Identify Your Pump and Valve Type
Start by figuring out what kind of pump you have and what valve it needs to connect to. Tire pumps often fit Schrader or Presta valves, while ball pumps use a thin needle. Water pumps rely on a piston and priming action instead of an air nozzle. Match the right adapter to your valve before you touch anything else. A common mistake is forcing the wrong nozzle onto a valve, which bends the pin or damages the seal. Take thirty seconds here to save yourself a frustrating leak later.
Step 2: Set Up on a Stable Surface
Place the pump on flat, solid ground so it won’t tip while you work. Many floor models have a wide base and foot pegs; step on them to lock the pump in place. A wobbly setup wastes energy and can crack the barrel over time. If you’re using a handheld model, brace it against your body or a wall for leverage. Keep the item you’re inflating close so the hose isn’t stretched tight. Stability gives you a smoother, more powerful stroke every single time.
Step 3: Prepare and Prime the Pump
Before you push air or water, get the mechanism ready. For air pumps, pull the piston up once slowly to check it moves freely without grinding. For a water pump, priming means adding a little water to the top to create the seal that draws liquid up. This step is easy to skip, but a dry piston or unprimed chamber simply won’t build pressure. Listen for a clean, quiet action rather than a gritty scrape. If it feels stiff, a drop of lubricant on the seal usually fixes it fast.
Step 4: Attach the Nozzle to the Valve
Now connect the pump firmly to your valve or fitting. Push the nozzle straight on, then flip the locking lever if your model has one. You want a snug, airtight fit with no hissing around the edges. A loose connection is the number one cause of wasted effort and slow inflation. For Presta valves, remember to unscrew the small tip first, or no air will pass through. Give the nozzle a gentle wiggle to confirm it’s locked before you start pumping.
Step 5: Begin Pumping With Full, Steady Strokes
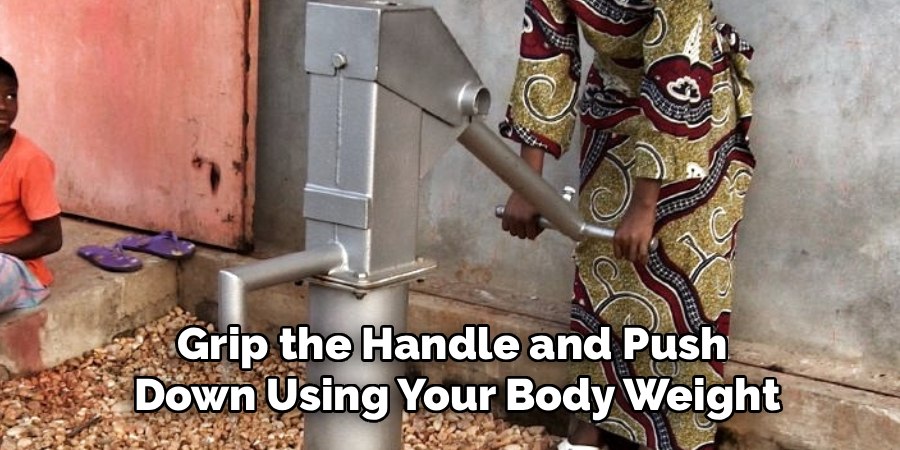
Grip the handle and push down using your body weight, not just your arms. Long, full strokes move far more air than short, frantic jabs. Let the piston travel its complete range, top to bottom, on each pass. Keep a steady rhythm rather than racing, since smooth motion protects the seal and your shoulders. Short choppy strokes overheat the barrel and tire you out quickly. Think of it like rowing: slow, controlled, and powerful wins the race.
Step 6: Watch the Pressure Gauge Closely
Keep an eye on the gauge as pressure builds so you don’t overinflate. Every tire, ball, and mattress has a recommended range printed on it or in its manual. Stop and check often, especially as you near the target number. Overinflating a tire can cause a blowout, while underinflating leaves it sluggish and unsafe. If your pump lacks a built-in gauge, pause and test with a separate one. Hitting the right pressure is the whole point, so don’t guess your way past it.
Step 7: Detach the Nozzle Cleanly
Once you reach the correct pressure, release the locking lever and pull the nozzle straight off. Do this quickly and confidently to minimize the little puff of air that escapes. Rocking or twisting the nozzle can bend a Presta pin or tear a rubber seal. For Presta valves, screw the tip back down right away to lock the air in. Replace any valve cap to keep dust and grit out. A clean disconnect keeps both your valve and your pump in good shape.
Step 8: Check Your Results and Adjust
Give the inflated item a quick test before you pack up. Squeeze a tire, bounce a ball, or press an air mattress to judge the firmness. If it feels low, reconnect and add a few more strokes. It’s far easier to top up now than to redo the whole job later. Look and listen for slow leaks around the valve, which often reveal a loose cap or worn seal. A ten-second check saves you from a flat surprise down the road.
Step 9: Clean and Store Your Pump
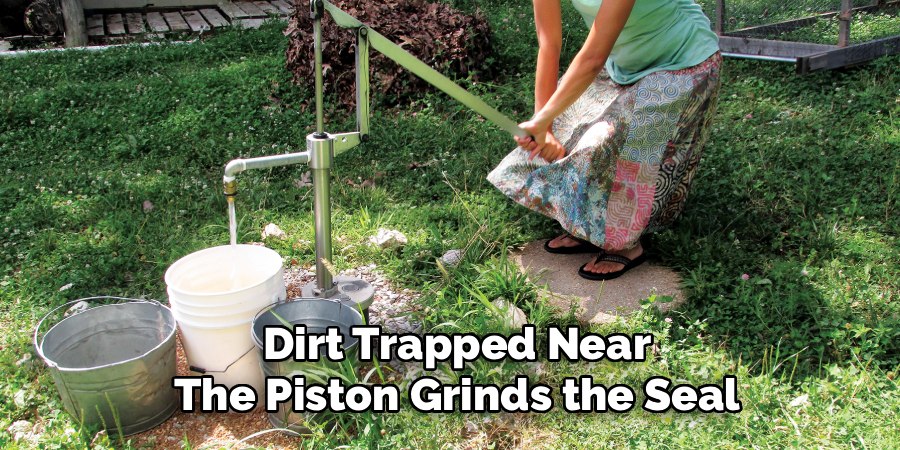
Wipe down the barrel, hose, and nozzle to remove grit and moisture. Dirt trapped near the piston grinds the seal and shortens the life of your tool. Coil the hose loosely rather than kinking it, and store everything in a dry spot. If you used a water pump, drain it fully so nothing freezes or corrodes inside. Proper storage means your gear is ready and reliable the next time you reach for it. A few seconds of care now pays off for years.
Tips for Best Results
Want to pump like a seasoned pro? These insider pointers go beyond the basics.
- Warm up cold seals first. In chilly weather, rubber seals stiffen and leak air. Work the piston gently a few times to warm it before connecting, and you’ll build pressure far more easily.
- Use your legs, not just your arms. For floor pumps, bend at the knees and drop your weight into each stroke. You’ll last longer, protect your shoulders, and move more air with less effort.
- Keep a spare adapter kit handy. Valve types vary between bikes, balls, and toys. A cheap set of adapters means you’re never stuck staring at a mismatched nozzle at the worst possible moment.
- Inflate to the low end in hot weather. Air expands as it heats up, so a tire pumped tight in the sun can overinflate on the road. Aim for the lower end of the range on scorching days.
- Test your gauge against a known reference. Cheap gauges drift over time. Compare yours to a trusted one occasionally so you’re always working from an accurate number.
Frequently Asked Questions
What Is the Difference Between a Schrader and Presta Valve?
Schrader valves are the wide, car-style valves found on most bikes and vehicles. Presta valves are thinner, taller, and common on road bikes; they have a small tip you unscrew before pumping. Many pumps fit both, sometimes with a flip adapter inside the nozzle. Always match your nozzle to the valve, or air simply won’t flow through.
How Do I Prime a Hand Water Pump?
Priming means filling the chamber with a little water to create the seal that lifts liquid up the pipe. Pour water into the top opening, then work the handle steadily until you feel resistance and water starts flowing. A dry pump can’t build suction, so this step is essential. If it won’t catch, check for air leaks around the seals or fittings.
Can I Overinflate Something With a Manual Pump?
Yes, and it happens more often than you’d think. Manual pumps can generate serious pressure, enough to burst a tire or split a ball seam. Always watch a gauge and stop at the recommended range printed on the item. When in doubt, add air gradually and test the firmness as you go.
Why Won’t My Pump Build Any Pressure?
The usual culprit is a loose or mismatched connection at the valve. Double-check that the nozzle is locked on and airtight, with no hissing. A worn or dried-out piston seal is another common cause, so inspect it for cracks. A drop of lubricant or a replacement seal often brings a stubborn pump back to life.
Is It Safe to Use a Hand Pump for an Air Mattress?
Absolutely, and it’s a great low-effort choice for camping. Use the wide-nozzle adapter that fits the mattress valve, then pump with slow, full strokes. Stop when the mattress feels firm but still has a little give, since overinflating stresses the seams. It takes a bit longer than an electric pump, but it works anywhere.
How Do I Keep My Pump From Wearing Out?
Clean the barrel and nozzle after each use to keep grit away from the piston. Store it in a dry place, and coil the hose loosely to avoid cracks and kinks. Lubricate the seal now and then so the stroke stays smooth. A little maintenance keeps your gear reliable for many seasons.
Conclusion
That’s the full rundown, from first stroke to final storage. With a little practice, using a hand pump becomes second nature, whether you’re inflating tires, balls, or an air mattress on a camping trip. Just remember the essentials: match the valve, prime the mechanism, pump with full steady strokes, and watch your pressure. Nail those and you’ll skip the leaks and sore arms every time.
If you haven’t picked one up yet, check out our recommended picks above to find a reliable model. Ready for your next project? Explore our other tool guides and keep everything running smoothly. Happy pumping!
