
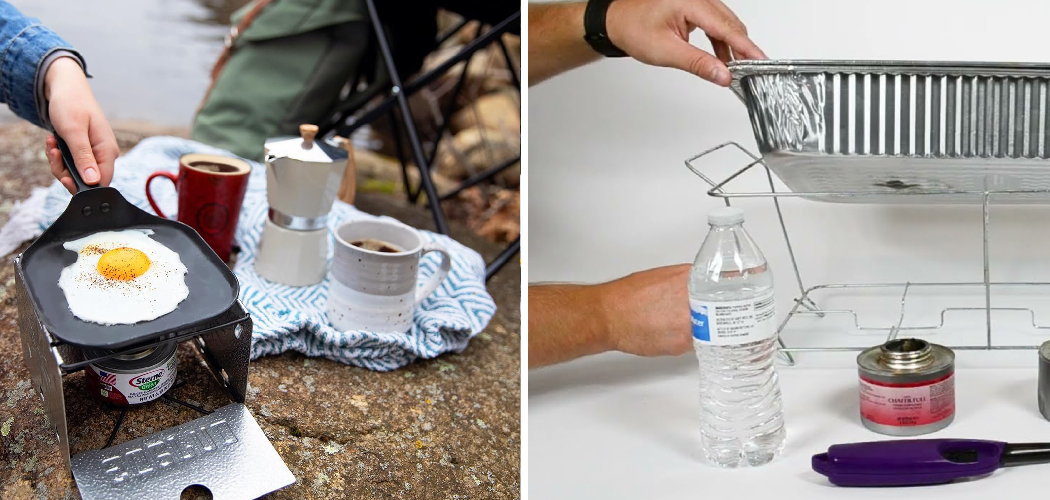
Picture this: you’ve set up a beautiful buffet for a party, but the food is going cold fast. Or maybe you’re camping and want a warm meal without hauling a heavy stove. This is where sterno comes to the rescue. These little cans of jellied fuel keep food warm and can even cook up a simple meal, all without electricity or a bulky setup. But if you’ve never used one, lighting a can of gel fuel can feel a bit mysterious.
In this guide, you’ll learn how to use sterno, control, and safely put out these handy fuel cans. We’ll cover the gear you need, walk through each step, and share expert tips that make the whole process easier. By the end, you’ll handle canned heat like a pro.
What Is Sterno?
Sterno is a brand of jellied cooking fuel, often called “canned heat,” made mostly from denatured or ethanol alcohol thickened into a gel. It comes in small metal cans with a peel-off or pry-off lid, and it burns with a clean, low flame. People use it to keep chafing dishes warm at buffets, catered events, and holiday dinners. It’s also a favorite for camping, emergency kits, and fondue nights because it’s portable, affordable, and easy to store.
What You’ll Need
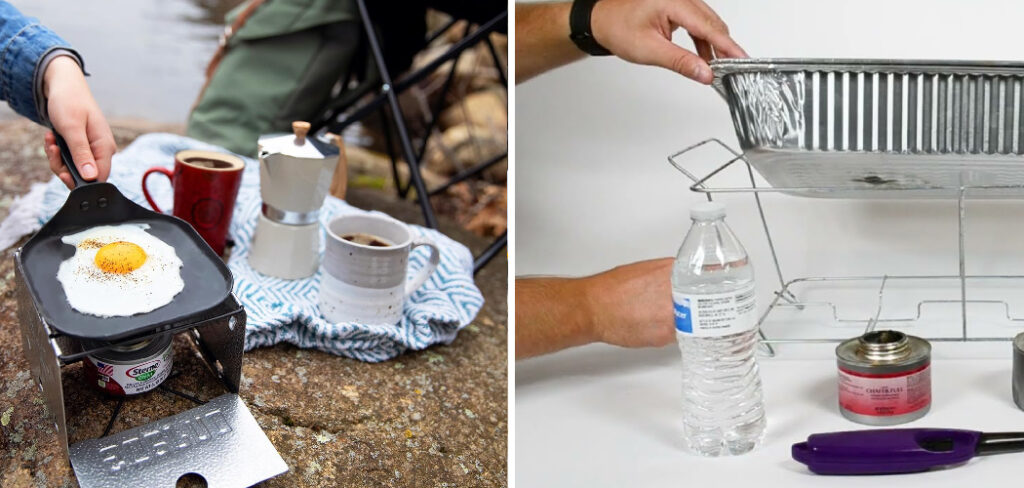
Gathering your supplies first makes the job smooth and safe. Here’s a quick checklist before you get started:
- One or more cans of gel cooking fuel
- A long-reach lighter or long matches
- A chafing dish rack or wire stand to hold the food pan
- A metal or heat-safe surface to set the can on
- A snuffer lid or the can’s original lid to extinguish the flame
- Heat-resistant gloves or an oven mitt
- A flat-head screwdriver or butter knife (for pry-off lids)
- A fire extinguisher or box of baking soda nearby, just in case
Skip flimsy plastic surfaces and never set a burning can directly on a tablecloth. A little prep keeps everything under control.
Step-by-Step Guide on How to Use Sterno
Take these steps one at a time. Rushing around an open flame is how accidents happen, so move slowly and stay focused.
Step 1: Set Up a Safe Work Area
Choose a sturdy, level surface away from curtains, paper, and anything flammable. Good ventilation matters too, since burning alcohol uses oxygen and gives off fumes. Keep the area clear of kids, pets, and loose sleeves. If you’re indoors, crack a window or run a vent fan. A clean, open space gives you room to work and lowers the risk of a stray flame catching something.
Step 2: Inspect and Open the Can
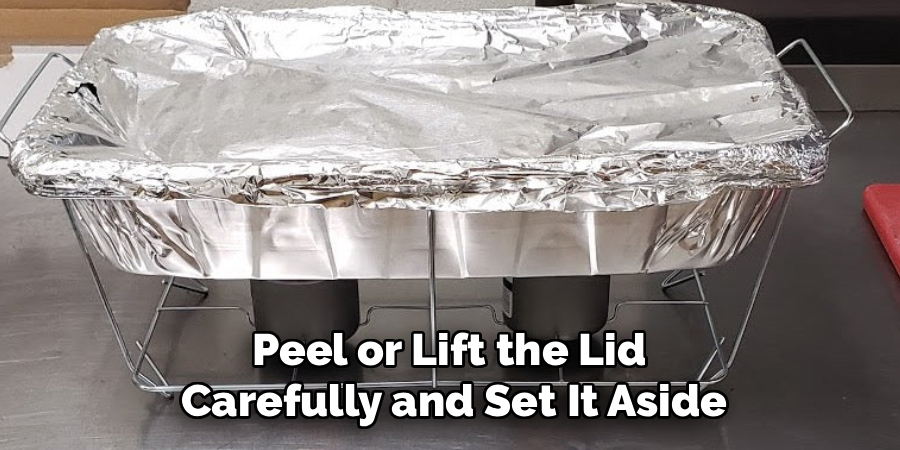
Check the can for dents, leaks, or a bulging lid before you use it. If the fuel looks dried out or the can is damaged, grab a fresh one. Most cans have a foil seal or a metal lid you can pry off with a screwdriver or butter knife. Peel or lift the lid carefully and set it aside, since you’ll need it later to smother the flame. Keep your fingers clear of the gel, and wipe up any that smears on the rim.
Step 3: Position the Can Correctly
Place the open can on your heat-safe surface or inside the base of your chafing rack. Make sure it sits flat and won’t tip over when you bump the table. If you’re warming a buffet pan, center the can under the water tray so the heat spreads evenly. Leave a little space around the can for air to reach the flame. A wobbly or crowded can is the most common setup mistake, so double-check it before lighting.
Step 4: Light the Fuel Safely
Grab your long lighter or long match and keep your face and hair back. Touch the flame to the surface of the gel and it should catch quickly. The flame can be nearly invisible in bright light, especially with pure alcohol fuel, so look closely for the shimmer of heat. Never lean over the can while lighting it. If it doesn’t catch on the first try, wait a moment for fumes to clear before trying again.
Step 5: Adjust the Flame Height
Many cans come with an adjustable lid that slides to control airflow. A wider opening gives a bigger, hotter flame, while a smaller gap lowers the heat. Use the higher setting for cooking or fast warming, and the lower setting to simply hold food at temperature. If your can has no adjuster, the flame stays steady on its own. Play with the setting a bit to find what your dish needs.
Step 6: Warm or Cook Your Food
Set your food pan or fondue pot onto the rack above the flame and give it a few minutes to heat up. For chafing dishes, add water to the lower tray first so the food warms gently without scorching. Stir occasionally and check the temperature to keep things food-safe. One can typically burns for about two hours, so plan swaps if your event runs long. Keep an eye on the flame the entire time, and never leave it unattended.
Step 7: Extinguish the Flame Properly
When you’re done, don’t blow on the flame like a candle. Instead, slide the metal lid or a snuffer over the top to cut off the oxygen. Use heat-resistant gloves, because the can and lid get very hot. Give it a moment and the flame will die out completely. Never pour water on it, since that can splash burning gel and spread the fire.
Step 8: Cool, Store, or Reuse the Can
Let the can cool fully before you touch it with bare hands, which usually takes several minutes. If any fuel remains, you can seal the can with its lid and save it for next time. Store leftover cans in a cool, dry spot away from heat and direct sun. Toss empty cans in the trash once they’re cold and fully burned out. Proper storage keeps your gel fuel ready and safe for your next gathering.
Tips for Best Results
These extra pointers come from folks who use canned heat all the time. They’ll make your next setup safer and more reliable.
- Buy a few extra cans for long events. Since each can lasts around two hours, having backups on hand means your buffet never goes cold mid-party. Swap in a fresh can before the old one sputters out.
- Keep a snuffer lid within arm’s reach. Fumbling for a way to put out the flame is stressful and risky. A dedicated snuffer or the original lid nearby lets you shut things down instantly.
- Warm the water tray before adding food. Preheating the lower pan in a chafing dish helps food reach a safe serving temperature faster and holds it there evenly.
- Look twice for a hidden flame. Alcohol-based fuel often burns with a faint blue or nearly clear flame. Before you assume it’s out, hold your hand well above the can to feel for heat.
- Store cans upright and sealed. Laying a partly used can on its side can let fumes escape and dry out the gel, leaving you with a weak flame next time.
Frequently Asked Questions
What Is Sterno Made Of?
The fuel is mostly denatured or ethanol alcohol turned into a thick gel so it won’t spill or slosh. Some formulas add methanol or other ingredients to help it burn cleanly and steadily. The gel form makes it far safer to handle than liquid alcohol. That’s why it’s trusted for both catering and home use.
Is It Safe to Use Sterno Indoors?
Yes, gel cooking fuel is designed for indoor use at buffets and events, but ventilation still matters. Burning alcohol consumes oxygen and releases small amounts of fumes, so keep a window cracked or a vent running. Always set the can on a heat-safe surface away from anything flammable. Never leave a lit can unattended, even for a minute.
How Long Does One Can Burn?
A standard can burns for roughly two hours, though adjustable-lid versions can stretch longer on a low setting. Cooking fuel usually burns hotter and faster than warming fuel. If your event runs several hours, plan to swap in fresh cans as needed. Keeping spares nearby saves you from a cold buffet.
Can I Reuse a Partially Burned Can?
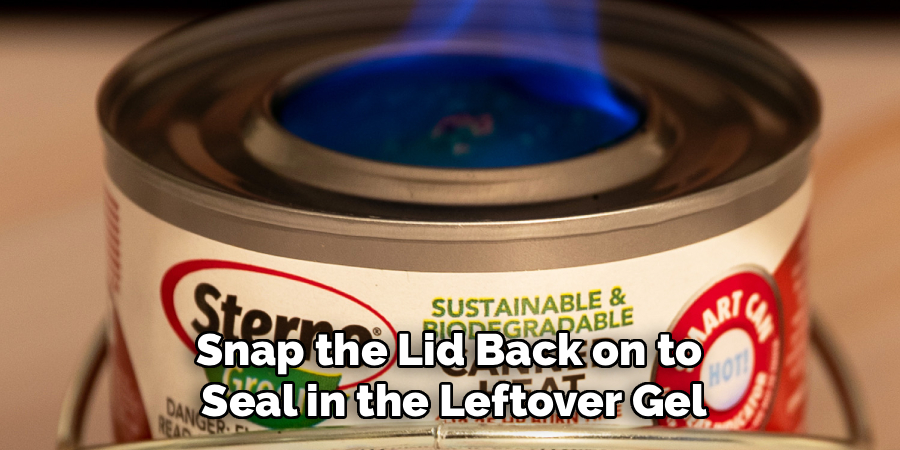
Absolutely. Once the flame is out and the can has cooled, snap the lid back on to seal in the leftover gel. Store it upright in a cool, dry place away from heat and sunlight. The next time you need it, just open it up and light it as usual.
How Do I Put Out the Flame Correctly?
Slide the can’s metal lid or a snuffer over the top to smother the flame by cutting off its air. Use gloves, since the can gets extremely hot during use. Never blow on it or pour water over it, as water can splash burning fuel. Wait until it’s fully cooled before moving or storing the can.
Conclusion
Warming food without a stove doesn’t have to be tricky. With a little prep, sterno makes buffets, camping trips, and cozy fondue nights simple and reliable. Just remember the essentials: set up a safe surface, light the gel carefully, control the flame, and smother it with a lid when you’re done. Cool and seal any leftover fuel for next time.
If you haven’t stocked up yet, check out our recommended picks above to find dependable options. Want to keep learning? Browse our other cooking and outdoor gear guides on the site for more hands-on tips.
