
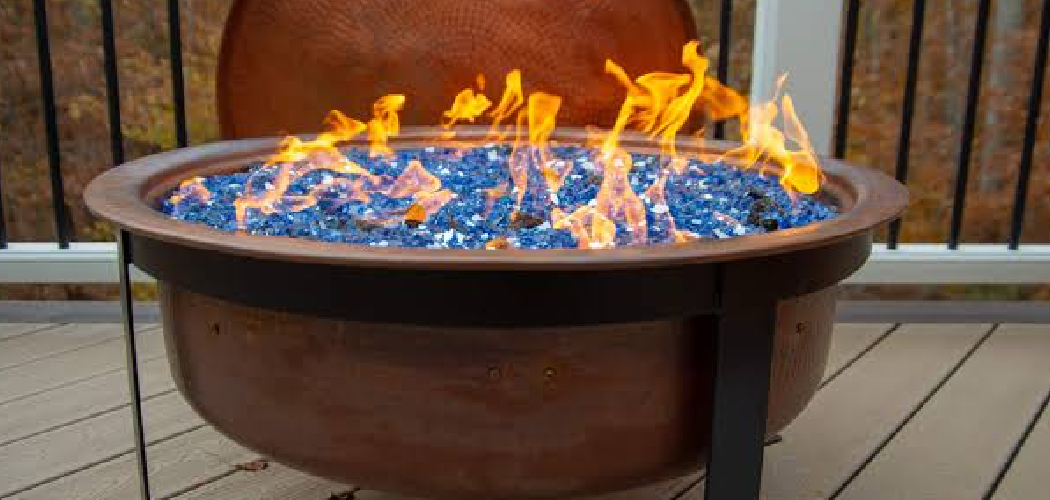
Picture a cool evening in your backyard. The sun’s gone down, friends are gathered close, and everyone’s craving a bit of warmth and glow. That’s where a fire bowl comes in. It’s the simple, portable answer to cozy nights outdoors, and it’s easier to use than you might think.
Maybe you just bought one and it’s still in the box. Or maybe you’ve lit a few fires that fizzled out fast. Either way, you’re in the right spot. In this guide, you’ll learn How to Use a Fire Bowl, light, and manage your fire safely from start to finish. We’ll cover the gear you need, a step-by-step walkthrough, and some insider tricks. By the end, you’ll be the one everyone gathers around.
What You’ll Need
Before you strike a single match, gather your supplies. Having everything ready makes the whole process smooth and stress-free.
- A sturdy fire bowl placed on a heat-safe surface
- Dry seasoned firewood (hardwood like oak or maple works best)
- Kindling such as small twigs or dry branches
- Tinder like newspaper, dryer lint, or fire starters
- A long lighter or long matches
- A fireproof mat or non-flammable base (pavers, gravel, or concrete)
- A metal poker or fire tool for adjusting logs
- A spark screen or mesh cover (if your model includes one)
- A bucket of water or a fire extinguisher nearby
- Heat-resistant gloves for safe handling
Step-by-Step Guide on How to Use a Fire Bowl
Step 1: Choose a Safe Location
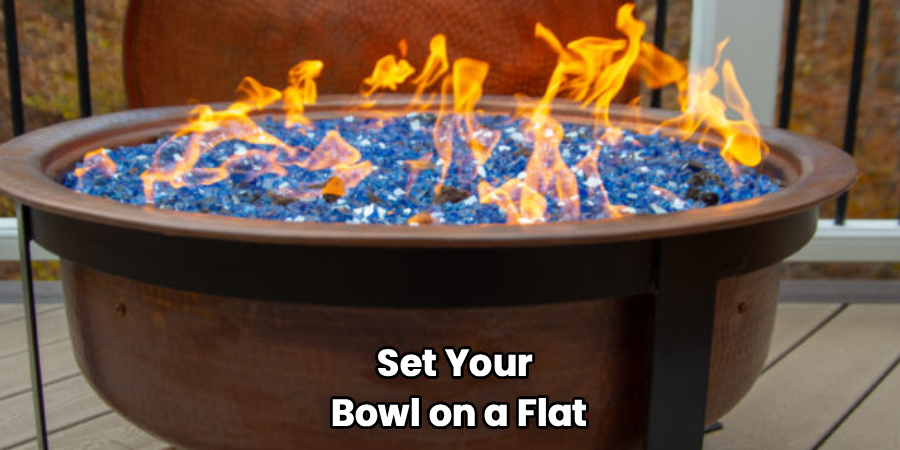
Location matters more than anything else. Set your bowl on a flat, level surface away from anything that can catch fire. Keep it at least ten feet from your house, fences, trees, and low-hanging branches. Avoid wooden decks unless you use a proper fireproof mat underneath. A gravel patch, patio, or concrete slab is ideal. Rushing this step is the most common mistake beginners make, and it’s the riskiest one.
Step 2: Prep the Base and Surface
Once you’ve picked your spot, protect the ground beneath. Placing a fire bowl directly on grass or wood can scorch the surface or spark a hazard. Slide a heat-resistant pad, pavers, or a metal base underneath for peace of mind. Check that the bowl sits steady and won’t wobble or tip. If it’s windy, reposition so the breeze won’t blow embers toward anything flammable. A stable, protected base sets you up for a safe, worry-free night.
Step 3: Build Your Fire Structure
Now for the fun part. Start by crumpling a few sheets of newspaper or placing fire starters in the center of the bowl. Stack small pieces of kindling loosely over the tinder in a teepee or crisscross shape. Air needs to flow between the pieces, so don’t pack them too tight. Leave gaps for oxygen, which fire craves to grow. A well-built structure catches fast and burns clean, saving you from frustrating restarts.
Step 4: Add Your Firewood
With your kindling in place, arrange a few logs around it. Use dry, seasoned hardwood for the longest, cleanest burn. Avoid green or wet wood, since it smokes heavily and struggles to light. Lean the logs against each other like a small tent, keeping that airflow open. Start with just two or three pieces rather than dumping in a full load. You can always add more once the flames take hold.
Step 5: Light It Up
Grab your long lighter or matches and ignite the tinder in a couple of spots. Light from the bottom, since fire naturally climbs upward. Give it a moment to spread from the tinder to the kindling. If the flame looks weak, gently blow near the base to feed it oxygen. Never use gasoline or lighter fluid to speed things along, as that’s dangerous and can cause a flare-up. Patience here pays off with a steady, reliable blaze.
Step 6: Manage and Feed the Flames
Once your fire is crackling, keep it going with care. Add logs one or two at a time as the earlier ones burn down. Use a metal poker to rearrange the wood and improve airflow when the flames dip. Don’t overload the bowl, since a mountain of wood chokes the fire and creates too much smoke. Keep the flames at a comfortable, controlled height. A little attention every few minutes keeps everyone warm and the fire happy.
Step 7: Use the Spark Screen When Needed
If your setup came with a mesh screen or cover, put it to work. A spark screen traps flying embers, which is especially handy on breezy nights. This small step protects your guests, your patio, and nearby surfaces from stray sparks. Lift it carefully with heat-resistant gloves whenever you need to add wood. Set it back in place afterward for continued protection. It’s a simple habit that makes your evenings noticeably safer.
Step 8: Extinguish the Fire Completely
When the night winds down, put the fire out the right way. Let the wood burn down to ash if you have time, then spread the embers apart with your poker. Slowly pour water over the coals, standing back to avoid the rising steam. Stir the ashes and add more water until there’s no hiss, no smoke, and no glow. Never walk away from warm embers, since they can reignite hours later. A fully cold bowl is the only safe bowl.
Step 9: Clean and Store It Properly
Good care keeps your bowl lasting for years. Once the ashes are completely cold, scoop them out and dispose of them in a metal container. Wipe the interior clean and check for rust or wear. Store the bowl in a dry spot or cover it to shield it from rain and snow. Moisture is the enemy of metal, so a fitted cover goes a long way. A little upkeep now saves you money and hassle down the road.
Tips for Best Results
Ready to go from good fires to great ones? These insider habits make all the difference.
- Season your wood for at least six months. Freshly cut logs hold too much moisture, which means heavy smoke and stubborn flames. Properly dried hardwood lights faster and burns hotter. Your lungs and your guests will thank you.
- Build a small starter fire first, then grow it. Beginners often overload the bowl right away and smother the flames. Start modest, let it establish, then feed it slowly. A confident fire is a patient fire.
- Position seating upwind of the smoke. Watch which way the breeze blows and set your chairs on the opposite side. Nobody enjoys chasing smoke around the yard all night. This tiny tweak keeps everyone comfortable.
- Keep a dedicated fire tool nearby. A long metal poker lets you adjust logs without singeing yourself. Rearranging wood improves airflow and revives a fading fire in seconds. It’s the one accessory people forget until they need it.
- Never leave a burning fire unattended. Even a well-behaved fire can throw a spark or shift unexpectedly. Always keep water or an extinguisher within arm’s reach. Safety first turns a fun night into a memorable one.
Frequently Asked Questions
Can I Use a Fire Bowl on a Wooden Deck?
You can, but only with proper protection in place. Never set it directly on wood, since the heat can scorch or ignite the surface. Slide a fireproof mat, heat shield, or layer of pavers underneath to create a safe barrier. For extra peace of mind, keep a bucket of water close and monitor the flames the entire time.
What Kind of Wood Should I Burn?
Dry, seasoned hardwood like oak, maple, or ash gives you the best results. These woods burn hot, last long, and produce far less smoke than softwoods. Avoid green or wet logs, since they smolder, smoke heavily, and are tough to light. Never burn treated lumber, painted wood, or trash, as they release harmful fumes.
Is It Safe to Leave a Fire Burning Overnight?
No, you should never leave a fire unattended, especially overnight. Embers can stay hot for hours and reignite with a gust of wind. Always extinguish the flames fully before heading inside or going to sleep. Pour water over the coals, stir the ashes, and confirm there’s no glow or heat left behind.
How Do I Put the Fire Out Quickly and Safely?
Start by spreading the embers apart with a metal poker to expose them. Slowly pour water over the coals, keeping your face away from the rising steam. Stir the wet ashes and add more water until you hear no hissing and see no smoke. Only walk away once everything is completely cold to the touch.
Do I Need a Spark Screen?
A spark screen isn’t required, but it’s a smart addition for most setups. It traps stray embers that could otherwise drift toward people, plants, or your patio. On windy nights, it becomes almost essential for safe use. If your model didn’t include one, many universal screens are available to fit standard sizes.
How Do I Keep My Bowl From Rusting?
Moisture is the main culprit behind rust, so keep your bowl dry between uses. Empty the cold ashes after every fire, since damp ash traps water against the metal. Store it under a fitted cover or in a sheltered spot away from rain and snow. A quick wipe-down and occasional high-heat paint touch-up will keep it looking sharp for years.
Conclusion
Getting comfortable with a fire bowl really does come down to a few simple habits. Pick a safe spot, build your fire with dry wood and good airflow, manage the flames with care, and always put them out completely. Do that, and you’ll enjoy warm, welcoming nights for years to come. If you haven’t found the right one yet, check out our picks above for dependable, well-built options. Want to keep building your outdoor setup? Explore our other gear guides for honest advice and hands-on tips to make every evening better.
