
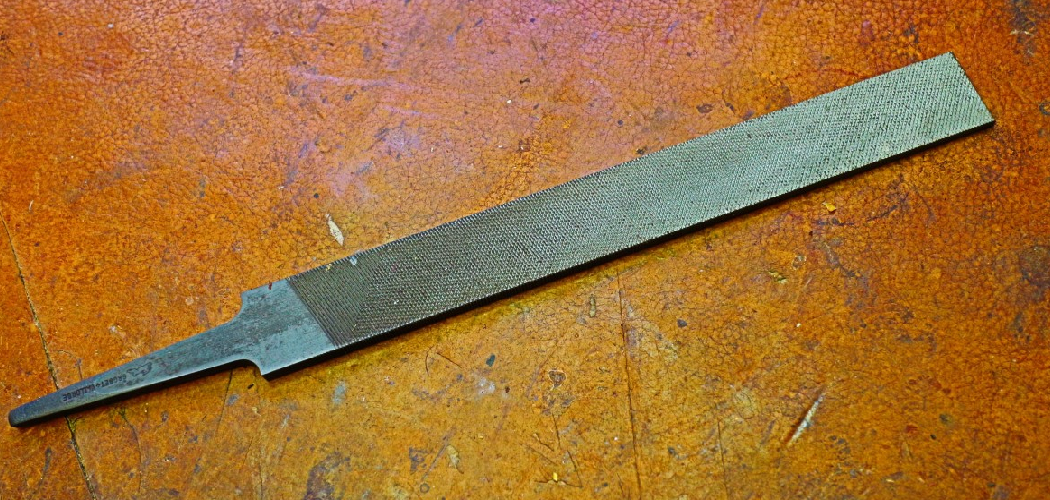
You reach for your trusty file to smooth a rough edge, but it just skates across the metal doing nothing. Frustrating, right? Chances are the teeth are packed with debris. Knowing how to clean a file tool is one of those small skills that instantly makes your metalworking and woodworking sharper, faster, and way more enjoyable.
In this guide, you’ll learn exactly why files clog up, what supplies to grab, and the step-by-step process to get those teeth cutting like new again. We’ll cover pinning, rust removal, and the little habits that keep your files in top shape for years. Whether you’re a weekend hobbyist or someone building a serious tool kit, this walkthrough has you covered. Let’s bring that file back to life.
What You’ll Need
Before you start, gather these simple supplies. Most are cheap and easy to find:
- A file card brush (the go-to tool for cleaning file teeth)
- A stiff wire brush (brass is gentler on the teeth)
- A pick or a piece of soft brass rod for stubborn bits
- Chalk (regular blackboard chalk works great)
- Hot soapy water and a small bucket
- White vinegar (for rust removal)
- A clean, dry rag or two
- Work gloves and safety glasses
- Optional: a vise or clamp to hold the file steady
- Optional: light machine oil for finishing
Having everything within arm’s reach makes the job smooth. You won’t have to stop halfway to hunt for a brush.
Step-by-Step Guide on How to Clean a File Tool
Step 1: Secure the File and Suit Up
Start by clamping your file into a vise or laying it flat on a sturdy workbench. A file that slips around while you scrub is both annoying and unsafe. Slip on your gloves and safety glasses now, since loose metal filings can fly and the teeth are surprisingly sharp. Position the file at a comfortable angle so you can see the surface clearly under good light. A steady setup lets you focus your energy on cleaning instead of chasing the file across the bench.
Step 2: Knock Off Loose Debris
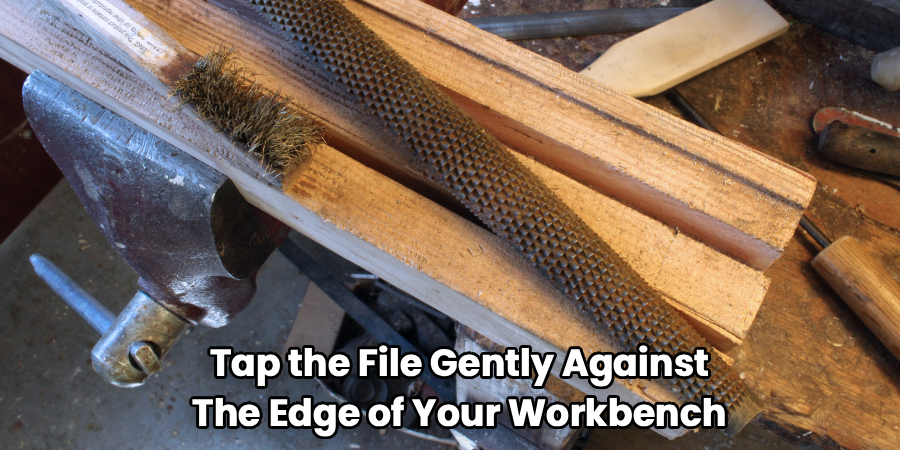
Before you dig into the fine cleaning, tap the file gently against the edge of your workbench. This shakes out the biggest chunks of metal filings and sawdust trapped between the teeth. Hold it over a trash bin or a rag to catch the mess. Don’t slam it hard, since that can chip the delicate teeth or damage the tang. A few firm taps usually clear the loose stuff and make the next steps easier. Think of it as a quick warm-up before the real work.
Step 3: Brush With the File Card
Now grab your file card brush, which is designed specifically for this job. Push the wire bristles along the file in the same direction as the teeth, not across them. This angle lets the bristles slide right into the grooves and lift out packed debris. Apply firm, even strokes and work from one end to the other. If you brush against the grain, you’ll just skip over the gunk instead of pulling it free. Repeat until most of the buildup lifts away.
Step 4: Tackle Stubborn Pinning
Pinning happens when tiny bits of metal wedge tightly into the teeth and refuse to budge. When the file card can’t reach them, switch to a pick or a sharpened piece of soft brass rod. Gently work the tip along each groove to pop out the trapped filings. Go slowly here, because forcing a hard tool can nick the cutting edges. Follow the line of the teeth to protect their shape. Clearing pins fully is what restores that crisp, aggressive bite.
Step 5: Use the Chalk Trick
Here’s a favorite among seasoned metalworkers. Rub a stick of chalk across the clean file teeth before your next project. The chalk fills the grooves just enough to stop fresh filings from sticking and causing clogging. It’s a quick, cheap habit that saves you tons of cleanup later. You’ll be amazed how much longer the file stays clear during use. Reapply the chalk whenever you notice the teeth loading up again.
Step 6: Wash Away Grease and Grime
If your file is coated in oily residue or caked grime, give it a bath. Mix hot water with a little dish soap and scrub the surface with a stiff brush. The warm water loosens grease that dry brushing simply can’t touch. Work the bristles along the teeth once more to flush out anything hiding deep in the grooves. This step is especially helpful for files used near lubricants or cutting fluids. A clean base makes everything else more effective.
Step 7: Handle Rust Removal
Spotted some orange patches? Don’t panic, rust is fixable. Soak the file in white vinegar for a few hours, or overnight for heavy corrosion. The mild acid eats away the rust without harming the steel underneath. After soaking, scrub the loosened rust off with your wire brush, following the teeth. Rinse the file thoroughly so no vinegar lingers to cause new corrosion. This simple soak can rescue an old file you thought was ready for the trash.
Step 8: Dry and Protect the File
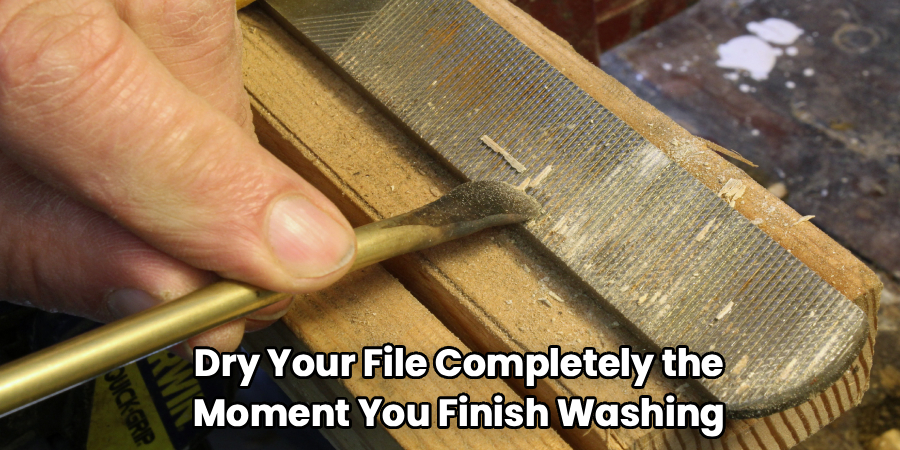
Water and steel are not friends, so dry your file completely the moment you finish washing or rinsing. Wipe it down with a clean rag, then let it air out for a few minutes to catch any hidden moisture. Once it’s bone dry, wipe a thin layer of light machine oil over the surface. This coating blocks humidity and keeps rust from creeping back. Proper drying is the difference between a file that lasts decades and one that corrodes in a season.
Step 9: Inspect and Store Properly
Give the file one last look under good light to confirm the teeth are clean and sharp. Run your fingernail lightly along the surface to feel for any leftover pinning you missed. Store the file so it never touches other metal tools, since bumping edges dulls the teeth fast. A slotted rack, a canvas roll, or individual sleeves all work well. Good storage protects all your effort and keeps your metalworking tools ready to go. A little care here pays off every time you reach for it.
Tips for Best Results
- Clean while you work, not just after. A quick pass with the file card brush every few minutes keeps filings from packing in deep. Small, frequent brushing beats one big scrub-down.
- Match the brush to the file’s coarseness. Fine files need gentler brass bristles, while coarse files can handle stiffer steel wire. Using too aggressive a brush on a fine file can flatten those delicate teeth.
- Never oil a file you’re using on wood. Oil transfers onto the workpiece and ruins finishes or glue joints. Save the oil for files dedicated to metalworking maintenance.
- Keep a dedicated file for soft metals. Aluminum and brass pin files far worse than steel does. Reserving one file for soft metals cuts your cleaning time dramatically.
- Store files in a low-humidity spot. A drawer with a silica gel packet fights moisture and keeps rust removal off your to-do list entirely.
Frequently Asked Questions
How Often Should I Clean My File Tool?
Clean your file every time the teeth start loading up with metal filings, which for busy projects might mean every few minutes. For lighter use, a thorough cleaning after each session is plenty. The key is not letting debris harden into stubborn pinning. Regular maintenance keeps the file cutting smoothly and extends its life considerably.
Can I Use a Wire Brush Instead of a File Card?
Yes, a stiff wire brush works in a pinch, especially a brass one that’s gentle on the teeth. That said, a dedicated file card brush has bristles spaced to fit right into the grooves, so it clears debris more efficiently. If you file regularly, investing in a proper file card is well worth it. For occasional jobs, a good wire brush gets you most of the way there.
Is It Safe to Soak a File in Vinegar?
Absolutely, vinegar is one of the safest and cheapest ways to handle rust removal on files. The mild acid dissolves corrosion without damaging the hardened steel. Just don’t leave it soaking for days on end, since prolonged exposure can etch the surface. Rinse and dry the file thoroughly afterward to stop new rust from forming.
What Causes Pinning in the First Place?
Pinning happens when tiny fragments of the material you’re filing get jammed between the teeth. Soft metals like aluminum, brass, and copper are the worst offenders because they smear rather than break apart. Rubbing chalk on the teeth before filing greatly reduces this clogging. Cleaning often and using the right pressure also helps keep pins from setting in.
How Do I Know When a File Is Beyond Cleaning?
Run your fingernail along the teeth after cleaning to check for bite. If the file still feels smooth and glides without cutting, the teeth may be worn down or damaged. Cleaning restores clogged files, but it can’t sharpen genuinely dull ones. When a well-cleaned file no longer bites, it’s time to replace it.
Conclusion
Cleaning your files isn’t complicated, and now you know exactly how to clean a file tool from a quick brush-out to full rust removal. Remember the essentials: clear the teeth often, use the chalk trick, tackle pinning gently, and always dry and oil before storage. These small habits keep your metalworking tools sharp and ready for years. If you still need a solid file card brush or fresh files, check out our recommended picks above to gear up. Curious about caring for the rest of your kit? Browse our other tool maintenance guides on the site for more hands-on tips.
