
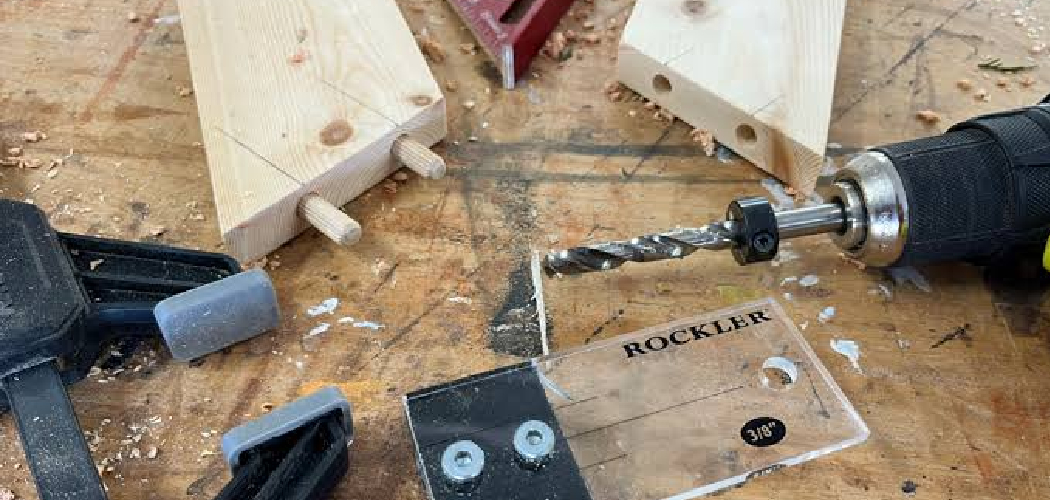
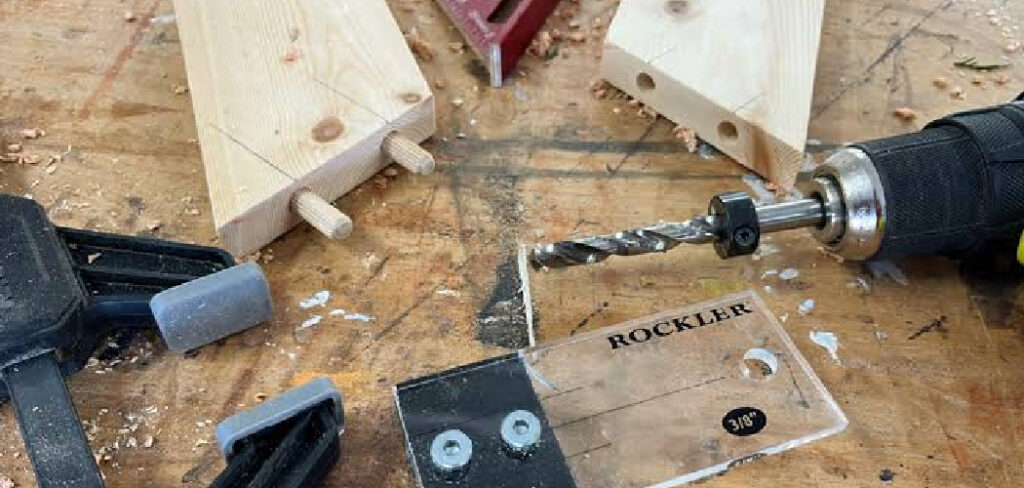
You’ve got two boards you want to join into a clean, strong panel. No visible screws, no ugly nail holes—just a smooth, tight seam. That’s where a doweling jig comes in. It guides your drill so you can bore perfectly aligned holes for wooden dowels, giving you joints that look professional and hold up for years.
Maybe you’ve tried lining up holes by eye before and ended up with a mismatched mess. Frustrating, right? By the end of this guide, you’ll knowHow to Use a Doweling Jig, drill accurate holes, and glue up joints that fit like they were made for each other. We’ll cover the tools you need, walk through each step, and share a few tricks the pros use. Let’s build something solid.
What Is a Doweling Jig?
A doweling jig is a woodworking tool that guides your drill bit so you can bore straight, evenly spaced holes for wooden dowels. It clamps onto your workpiece and holds hardened metal bushings in place, keeping the bit from wandering. Woodworkers use it to create strong, hidden joints for cabinets, furniture, shelves, and frames. Think of it as the difference between guessing and knowing your holes will line up every time.
What You’ll Need
Gather these before you start so you’re not hunting for supplies halfway through.
- A doweling jig with matching bushings
- A power drill or drill press
- Brad-point drill bits (sized to your dowels)
- Wooden dowel pins (fluted, if possible)
- A drill stop collar or masking tape for depth
- Wood glue
- A pencil and combination square
- A tape measure
- Clamps for gluing up
- A mallet or hammer
- Sandpaper and a damp rag
- Safety glasses
Step-by-Step Guide on How to Use a Doweling Jig
Follow these steps in order, and take your time on the first project. Accuracy beats speed here, and rushing usually means holes that don’t match.
Step 1: Choose Your Dowel Size
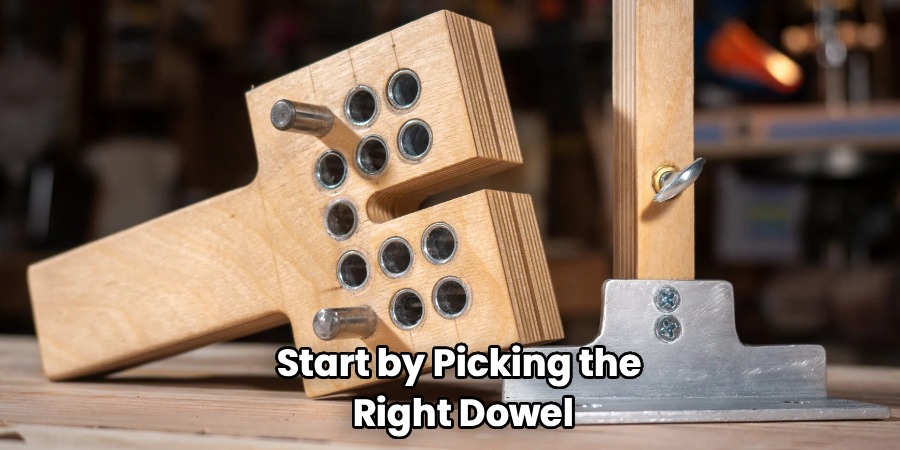
Start by picking the right dowel diameter for your project. A good rule is to use a dowel roughly one-third the thickness of your wood. For 3/4-inch boards, a 3/8-inch dowel works beautifully. Match your drill bit to that size exactly, since a loose fit weakens the joint. Grab your matching bushings for the jig now, too. Getting this choice right sets up everything that follows.
Step 2: Mark Your Joint Locations
Lay your two workpieces together in the exact position you’ll join them. Use a pencil and combination square to mark where each dowel will sit. Space them evenly—two or three dowels usually handle most joints just fine. Draw a line across both pieces at once, so your marks match on each board. Keep dowels an inch or so from the ends to avoid splitting. Clear, matching marks are the backbone of a tight joint.
Step 3: Set Up the Jig
Attach the correct bushing to your jig and check that it matches your bit size. Line up the jig’s centerline with your pencil marks. Most self-centering models grip the board and find the middle automatically, which saves a lot of guesswork. Double-check that the jig sits flush against the reference face of your wood. A crooked setup here throws off every hole down the line. Snug it down firmly before you drill.
Step 4: Set Your Drilling Depth
Decide how deep each hole needs to be before the bit touches wood. A common approach is to drill each hole a little deeper than half the dowel’s length, leaving room for glue. Use a stop collar on your bit, or wrap a strip of masking tape as a visual marker. Drilling too shallow leaves the dowel sticking out; too deep can punch through your board. Test your depth setting on a scrap piece first. This tiny step prevents big headaches later.
Step 5: Drill the First Set of Holes
Clamp the jig firmly to your first workpiece and slot the bit into the bushing. Run the drill at a steady, moderate speed and keep it straight—the bushing does the aiming for you. Push in with even pressure until you hit your depth mark. Back the bit out slowly to clear the chips and avoid tearing the wood. Wipe away sawdust and check that the hole looks clean. Repeat for each marked spot on that board.
Step 6: Drill the Matching Holes
Move the doweling jig to your second workpiece, using the same marks you drew earlier. Line everything up exactly as you did before, keeping the jig against the matching reference face. Consistency matters here, because both sets of holes must meet perfectly. Drill each hole to the same depth as the first board. Take a moment to compare your two pieces side by side. If the marks line up, your holes will too.
Step 7: Dry-Fit Before Gluing
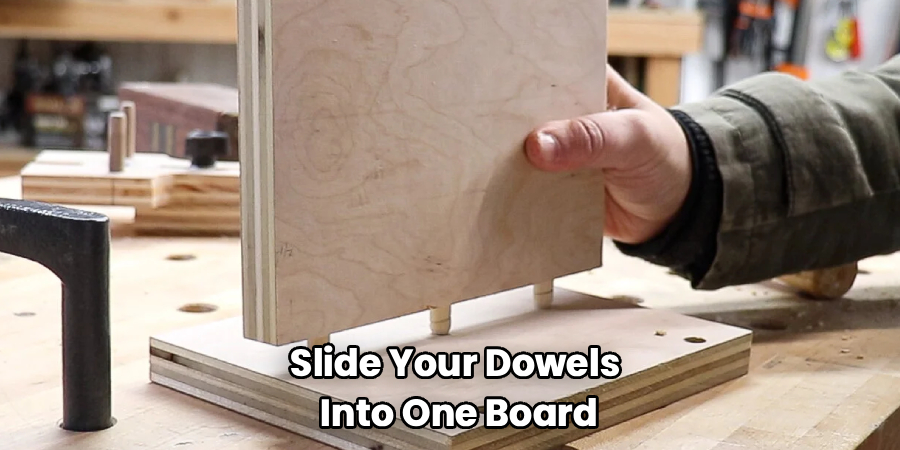
Slide your dowels into one board and press the pieces together without any glue. This dry run shows you whether the joint closes tightly and sits flush. If something binds or gaps, now’s the time to fix it—not after the glue is on. Trim a stubborn dowel or clear a tight hole as needed. Check that your boards align cleanly across the seam. A good dry-fit means a stress-free glue-up.
Step 8: Glue and Assemble
Once you’re happy with the fit, pull the pieces apart and add glue. Squeeze a little into each hole and brush a thin layer along the mating surfaces. Tap the dowels into one board with a mallet, then press the second board on top. Wipe away any squeeze-out right away with a damp rag, since dried glue resists stain. Work quickly but calmly before the glue starts to set. A clean glue-up now saves sanding later.
Step 9: Clamp and Let It Cure
Apply clamps across the joint to pull everything tight and flat. Use enough pressure to close the seam, but don’t crank so hard you starve the joint of glue. Check that your panel stays flat and square while the clamps do their job. Leave it clamped for the time your glue recommends—usually at least an hour, longer for a full cure. Resist the urge to rush this part. Patience here gives you a bond that outlasts the wood around it.
Tips for Best Results
These pointers come from folks who cut dowel joints all day long.
- Always drill from the same reference face. Press the jig against the front (or “show”) side of both boards. This keeps your holes aligned even if the wood thickness varies slightly from piece to piece.
- Use fluted dowels for stronger joints. The grooves let glue spread evenly and give trapped air somewhere to escape. Smooth dowels can hydro-lock and push your joint apart before it sets.
- Keep your bit sharp and clear the chips often. A dull bit wanders and burns the wood. Backing out every half-inch or so clears debris and keeps the hole clean and true.
- Test on scrap first, every time. Even seasoned woodworkers run a practice hole. It confirms your depth, fit, and alignment before you commit to your real project.
- Mark your reference face with a pencil arrow. A quick visual cue stops you from accidentally flipping a board and drilling the wrong side.
Frequently Asked Questions
What Is the Difference Between a Doweling Jig and a Pocket-Hole Jig?
A doweling jig guides holes for wooden dowels that sit hidden inside the joint. A pocket-hole jig, on the other hand, angles holes for screws that stay visible on one side. Dowel joints look cleaner because nothing shows on the surface. Pocket holes are faster to assemble, but many woodworkers prefer dowels for their invisible, furniture-quality finish.
How Deep Should I Drill the Dowel Holes?
Aim to drill each hole slightly deeper than half the length of your dowel. This leaves a small gap at the bottom for excess glue to pool instead of pushing the joint apart. Always account for the full dowel length when you split it between two boards. Use a stop collar or tape marker so every hole matches.
Can I Use a Doweling Jig on Plywood or MDF?
Yes, and it works nicely on both. Plywood and MDF hold dowels well because they’re dense and consistent. Just be careful near the edges of plywood, since drilling into the thin layers can cause splintering. Go slow, use a sharp brad-point bit, and back the bit out gently to keep the edges clean.
Do I Need a Self-Centering Jig?
You don’t strictly need one, but it makes life much easier. A self-centering model grips the board and finds the exact middle automatically, so you skip a lot of measuring. Fixed jigs work fine too, but they require careful marking and setup. For beginners, a self-centering jig removes a common source of mistakes.
How Many Dowels Should I Use per Joint?
It depends on the joint’s length and how much stress it will bear. For most edge joints, spacing dowels every four to six inches gives plenty of strength. Smaller frame joints often need just two dowels. Adding more evenly spaced dowels boosts both alignment and holding power, so don’t be shy on longer panels.
Why Are My Holes Not Lining Up?
The usual culprit is drilling from different reference faces on each board. Always press the jig against the same side of both pieces. Inconsistent depth or shifting the jig mid-drill can also throw things off. Slow down, secure the jig firmly, and double-check your marks before every hole.
Conclusion
Clean, hidden joints aren’t just for the pros anymore. With a doweling jig and a little patience, you can turn loose boards into sturdy, seamless projects that look like they came from a workshop. Just remember the essentials: match your bit to your dowel, drill from the same reference face, and always dry-fit before you glue. Nail those habits, and strong joints become second nature.
If you haven’t picked one up yet, check out our recommended picks above to find the right set for your bench. Want to keep sharpening your skills? Browse our other DIY tool guides and tackle your next build with confidence.
