
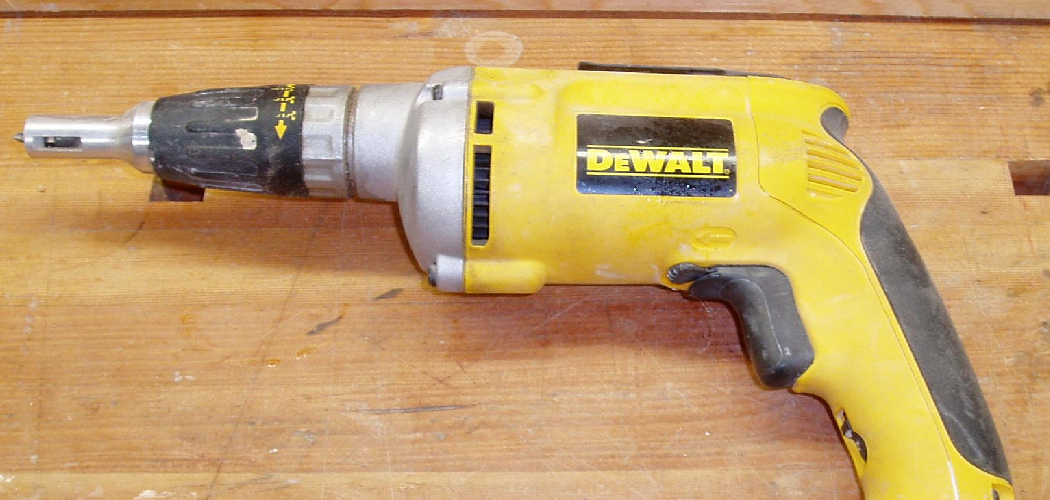
Picture this: you’ve got a flat-pack shelf to build, a wobbly fence to fix, and a brand-new drill still sealed in its box. You want to jump in, but you’re not quite sure where to start. That’s exactly why learning how to use power tools the right way matters so much. These machines save you hours of effort, but they demand respect and a little know-how.
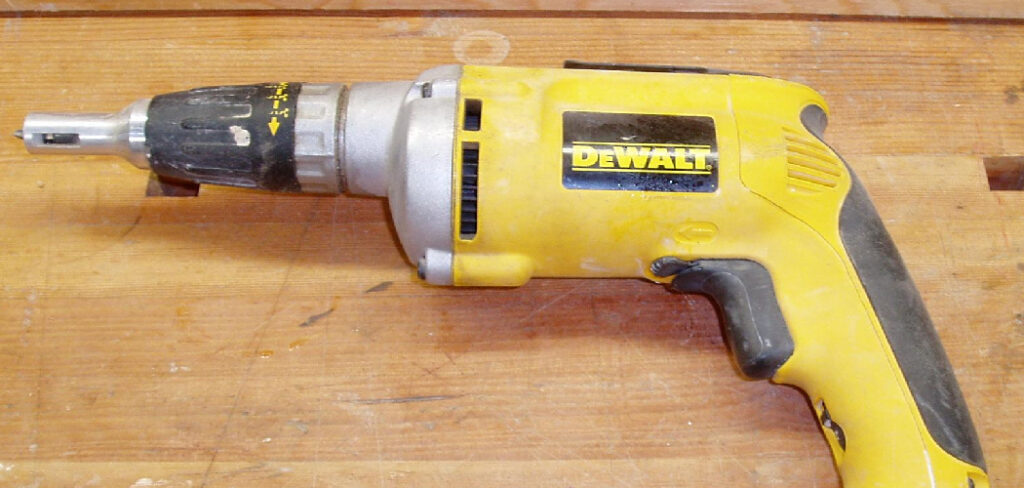
In this guide, you’ll learn what to gather before you begin, how to work through each project step by step, and the insider tips that keep you safe and confident. Whether you’re a first-timer or a weekend hobbyist, you’ll finish reading ready to tackle your next job. Let’s turn that nervous energy into real skill.
What You’ll Need
Before you flip a single switch, gather these essentials:
- Safety glasses or goggles
- Hearing protection (earplugs or earmuffs)
- Work gloves (skip them for spinning tools like drills)
- A dust mask or respirator
- Your chosen tool (drill, sander, circular saw, etc.)
- The correct bits, blades, or attachments
- Fully charged batteries or a heavy-duty extension cord
- Clamps or a sturdy workbench
- The tool’s instruction manual
- A clean, well-lit workspace
Having everything ready in one spot saves you from stopping mid-task. Trust me, hunting for a charger with a saw in your hand is no fun.
Step-by-Step Guide on How to Use Power Tools
Step 1: Read the Manual First
I know, nobody likes reading manuals. But every tool works a little differently, and the manual holds the specifics you can’t guess. It tells you the right speed settings, which attachments fit, and safety features you might miss. Spend five minutes flipping through before your first use. Pay special attention to any warnings or maintenance notes. This quick habit prevents costly mistakes and keeps your warranty intact.
Step 2: Inspect Your Tool Before Every Use
Give your equipment a once-over before you start. Check the cord for fraying, the battery for damage, and the housing for cracks. Make sure bits and blades sit tight and show no signs of wear. A loose blade or damaged cord isn’t just annoying, it’s dangerous. If something looks off, fix it or set the tool aside. Ten seconds of inspection can save you from a serious injury.
Step 3: Gear Up With Safety Equipment
Never skip your protective gear, even for a quick job. Slip on your safety glasses first, since flying debris moves faster than you can blink. Add hearing protection for loud machines like saws and grinders. Wear a dust mask when sanding or cutting materials that kick up fine particles. Tie back long hair and ditch dangling jewelry or loose sleeves. Dressing right takes a moment and protects the body parts you can’t replace.
Step 4: Secure Your Workpiece
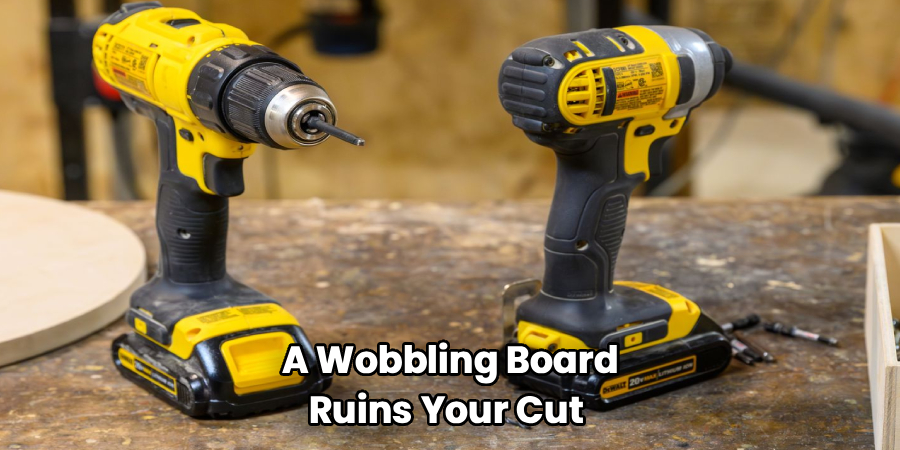
A wobbling board ruins your cut and puts your fingers at risk. Clamp your material firmly to a workbench or hold it in a vise. This frees both hands to control the tool and keeps everything steady. Never try to grip the piece and operate the machine at the same time. For larger projects, use sawhorses or a helper to support the weight. A stable setup gives you cleaner results and far more control.
Step 5: Choose the Right Bit, Blade, or Attachment
Matching the accessory to the job makes all the difference. A wood blade tears through metal poorly, and a masonry bit struggles with soft pine. Check your material, then pick the attachment designed for it. Make sure it’s sharp, because dull bits force you to push harder and lose control. Secure the attachment fully and give it a gentle tug to confirm it’s locked. The right accessory works with you, not against you.
Step 6: Start Slow and Test First
Resist the urge to go full throttle right away. Squeeze the trigger gently to feel how the tool responds and how much torque it delivers. If you can, run a quick test on a scrap piece before touching your real project. This lets you dial in the speed and check your grip. Many corded and cordless tools have variable speed settings, so ease into them. Building this feel early makes every following cut or hole more accurate.
Step 7: Keep a Firm Grip and Steady Pace
Hold the tool with both hands whenever the design allows. Plant your feet shoulder-width apart for balance and lean slightly into the work. Let the machine do the cutting or drilling, guiding it at a steady, even pace. Forcing it only bogs down the motor and risks a kickback. Keep your fingers well clear of moving parts and the cutting path. A calm, controlled motion beats brute force every single time.
Step 8: Power Down and Wait for It to Stop
When you finish a cut, release the trigger and keep the tool steady. Blades and bits keep spinning for a few seconds after you let go. Wait for everything to stop completely before setting the tool down or moving your material. Never lay a still-spinning saw on your bench. If you’re swapping bits or walking away, unplug the tool or remove the battery. This simple discipline prevents accidental starts and nasty surprises.
Step 9: Clean and Store Everything Properly
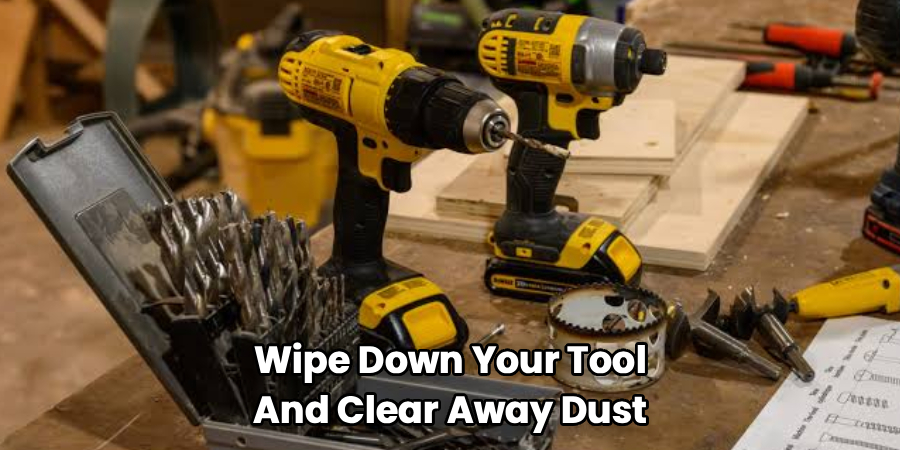
Once the job is done, wipe down your tool and clear away dust. Sawdust and grime shorten the life of your equipment if left to build up. Store bits and blades in a dry spot so they don’t rust or dull. Charge batteries partway if you won’t use them for a while, and keep cords neatly coiled. Return everything to a locked cabinet or high shelf, especially around kids. A little care now means your gear lasts for years.
Tips for Best Results
- Buy quality accessories, not just quality tools. A sharp, well-made blade on a mid-range saw outperforms a cheap blade on an expensive one. Your bits and blades touch the material, so they shape your final result more than the motor does.
- Let the battery breathe. For cordless models, avoid draining the battery to zero every time and don’t leave it charging for days on end. Storing it around half charge in a cool spot keeps it healthy far longer.
- Mark your cut line and measure twice. A pencil line and a second measurement cost you nothing but save you wasted material. This old carpenter’s habit prevents the most common beginner mistake by far.
- Keep a shop vacuum nearby. Clearing dust as you go means you can actually see your cut line and breathe easier. It also keeps fine particles off your workpiece for cleaner results.
- Practice on scrap before the real thing. Even seasoned pros test settings on offcuts first. Five minutes of practice builds muscle memory and catches problems before they ruin your good material.
Frequently Asked Questions
Is It Safe to Use Power Tools as a Beginner?
Yes, as long as you follow the basics and respect the machine. Start with simpler tools like a drill or a sander before moving to saws and grinders. Always wear your safety gear, read the manual, and take your time. Confidence grows quickly once you’ve completed a few small projects successfully.
How Do I Choose the Right Tool for My Project?
Think about the material you’re working with and the task you need to complete. A drill handles holes and screws, a circular saw makes straight cuts, and a sander smooths surfaces. Match the tool to the job rather than forcing one tool to do everything. When in doubt, check the tool descriptions or ask staff at your local hardware store.
Can I Use Corded and Cordless Tools the Same Way?
The core techniques are identical, but each type has its perks. Corded tools deliver steady, unlimited power for heavy or long jobs. Cordless models give you freedom to move without hunting for an outlet, though you’ll want spare batteries ready. Choose based on where you work and how much runtime your project demands.
How Do I Prevent Kickback When Cutting?
Kickback happens when a blade binds and throws the tool or material back toward you. Keep your blades sharp, feed the material at a steady pace, and never force the cut. Support your workpiece properly so it doesn’t pinch the blade partway through. Standing slightly to the side, rather than directly behind the tool, adds another layer of safety.
How Often Should I Maintain My Equipment?
Give your tools a quick clean after every use and a deeper check every few months. Wipe away dust, inspect cords and batteries, and replace worn bits or blades promptly. Some tools need occasional lubrication, so check your manual for specifics. Regular upkeep keeps everything running smoothly and stretches the life of your investment.
What Should I Do If a Tool Overheats?
Stop immediately and let the tool rest before you continue. Overheating often means you’re pushing too hard or working the motor beyond its limits. Check that your bit or blade is sharp and the vents aren’t clogged with dust. If it keeps overheating during normal use, have it inspected before it fails completely.
Conclusion
Learning how to use power tools well comes down to preparation, patience, and a healthy respect for the machine. Gear up, secure your work, start slow, and let the tool do the heavy lifting. Follow these steps and each project will feel less intimidating and far more rewarding. If you haven’t found your first tool yet, check out our recommended picks above to get started with confidence. Ready to build your skills further? Explore our other DIY and tool guides on the site for more hands-on tips and project ideas.
