
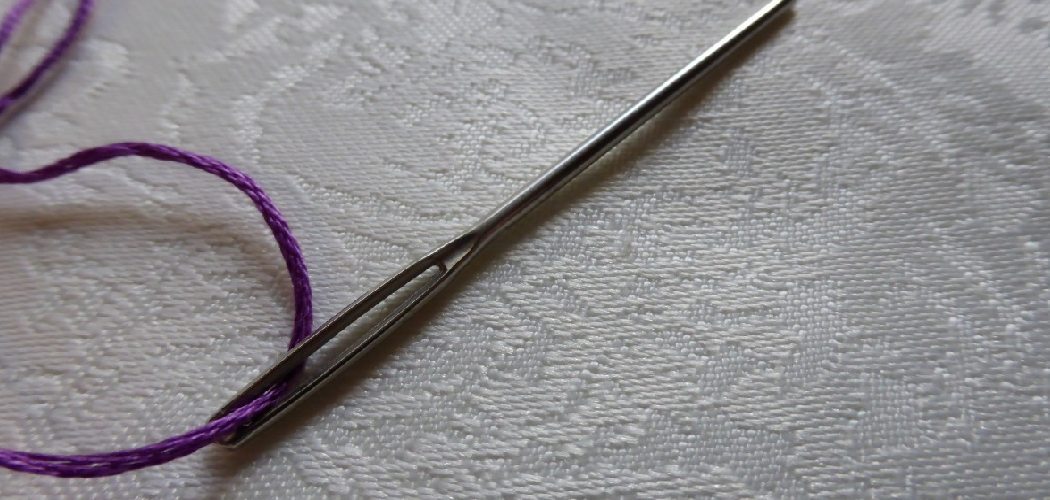
You squint at the eye of a needle, wet the thread, aim carefully, and miss. Again. Your hands feel a little shaky, the light isn’t great, and that tiny hole seems to shrink every second. If this sounds familiar, how to use a needle threading tool is about to become your new best friend. This clever little gadget takes the guesswork out of threading, so you can skip the frustration and get straight to sewing.
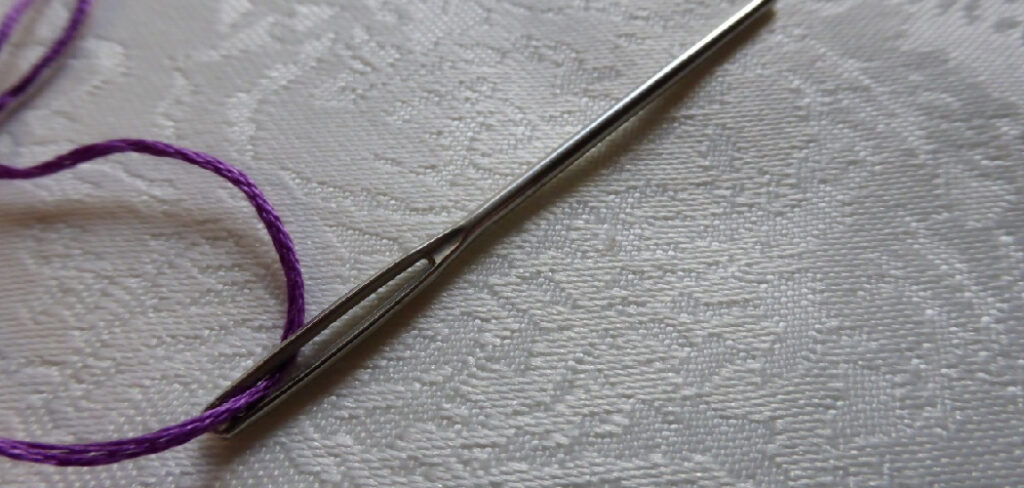
In this guide, you’ll learn exactly what this tool does and what you’ll need to get started. We’ll walk through each step, share a few insider tips, and answer the questions people ask most. Whether you’re mending a button or starting your first quilt, you’ll be threading needles in seconds by the end.
What Is a Needle Threading Tool?
A needle threading tool is a small handheld device that helps you pull thread through the eye of a needle quickly and easily. Most versions use a thin wire loop or a slotted mechanism that guides the thread into place without straining your eyes. Some are simple diamond-shaped wire threaders, while others are spring-loaded gadgets that do the work with the push of a button. It’s a favorite among sewers who struggle with fine motor tasks, low light, or tiny needle eyes.
What You’ll Need
Gather these few things before you sit down to thread:
- A needle threader (wire-loop or automatic style)
- Your sewing needle
- Thread that matches your project
- Small scissors or thread snips
- A well-lit workspace
- A flat surface or table to rest your hands
- Reading glasses or a magnifier (optional, but handy)
That’s all. No fancy equipment or special skills required.
Step-by-Step Guide on How to Use a Needle Threading Tool
Step 1: Choose the Right Needle and Thread
Start by matching your needle to your fabric and thread. A fine needle pairs well with lightweight fabric and thin thread, while a thicker needle handles heavy materials. Make sure your thread isn’t too bulky for the needle’s eye, or it simply won’t fit. Trim the thread end at a sharp angle with your scissors for a clean, pointed tip. This small step makes the whole process smoother. A frayed or fat thread end is the number one reason threading goes wrong.
Step 2: Set Up Good Lighting
Find a spot with bright, even light before you begin. Natural daylight near a window works beautifully, but a desk lamp does the job too. Position the light so it shines on your work, not into your eyes. Good lighting helps you line up the thread and the needle eye without straining. If your eyes tire easily, add a magnifier for extra clarity. Comfort here saves you from squinting and second-guessing.
Step 3: Hold the Needle Steady
Pick up your needle and hold it firmly between your thumb and forefinger. Keep the eye of the needle facing you so you can see straight through it. Rest your hands on the table if you feel any shakiness. A steady grip gives you the control you need for the next few steps. Try not to squeeze too hard, or your fingers may cramp. Relaxed but firm is the sweet spot.
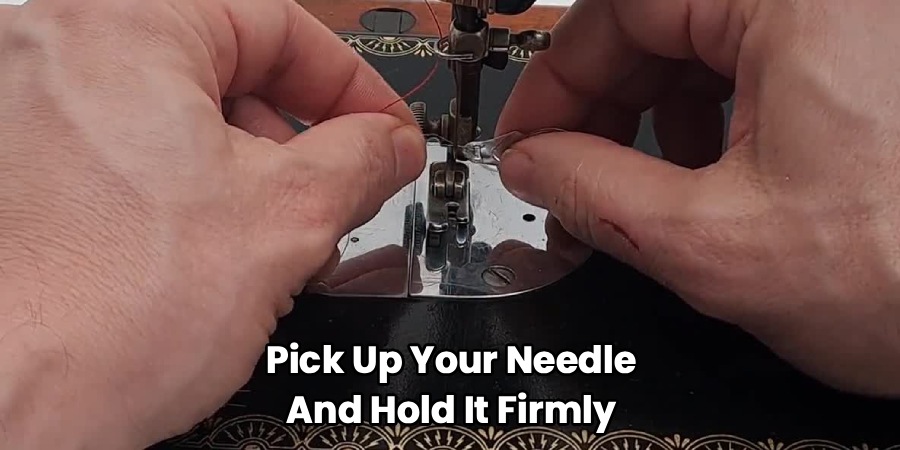
Step 4: Insert the Wire Loop Through the Eye
Take your wire-loop threader and gently push the thin diamond-shaped loop through the needle’s eye. The wire is flexible, so it slides through easily even on small needles. Push it far enough that the whole loop pokes out the other side. Be gentle here, since forcing it can bend or kink the delicate wire. If the loop won’t fit, your needle eye may be too small for that particular tool. Switch to a finer threader or a needle with a larger eye.
Step 5: Thread Your Thread Through the Loop
Now slip your thread through the open wire loop. Pull about two inches of thread through so it doesn’t slip back out. The loop is much bigger than the needle’s eye, which is exactly why this method works so well. Hold both the threader and the thread steady with your fingers. Take your time and don’t rush this part. Once the thread sits securely in the loop, you’re ready for the fun part.
Step 6: Pull the Loop Back Through the Needle
Gently draw the wire loop back through the eye of the needle. As the loop passes through, it carries your thread right along with it. Keep the motion slow and steady so the thread doesn’t slip free. When the loop clears the eye, your thread will follow neatly behind it. Just like that, your needle is threaded. This is the moment that makes the whole tool feel like magic.
Step 7: Remove the Threader and Even Out the Thread
Slide the wire threader off the thread and set it aside for next time. Pull the two ends of thread until they’re roughly even, or leave a longer tail for a single strand. Give the thread a light tug to make sure it’s seated in the eye. If you’re using a doubled thread, knot the ends together at the bottom. Now your needle is ready to stitch. A quick check now prevents the thread from popping out mid-seam.
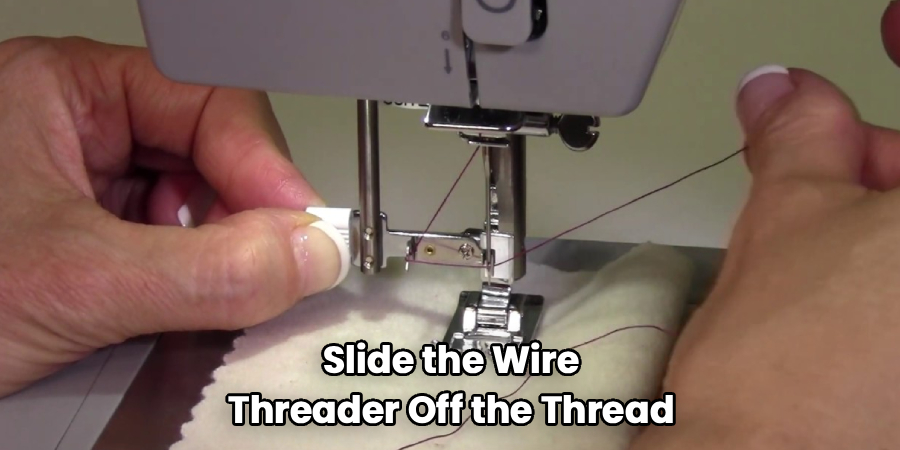
Step 8: Try an Automatic Threader for Speed
If you own a spring-loaded or automatic needle threading tool, the steps are even faster. Place your needle into the tool’s slot, lay the thread across the guide, then press the button or lever. The mechanism pushes the thread through the eye in one smooth motion. These gadgets shine when your eyes are tired or your hands aren’t as nimble. Read the instructions once, since each brand works a little differently. After a try or two, you’ll thread needles almost without looking.
Tips for Best Results
- Trim your thread at an angle. A sharp, slanted tip glides through the loop and the needle eye far easier than a blunt or frayed end. This one trick solves most threading headaches.
- Keep a backup threader handy. The thin wire loops bend and break over time, especially with heavy use. Buying a small multipack means you’re never stuck mid-project.
- Use a light-colored surface behind your work. Holding your needle against a white cloth or paper makes the tiny eye stand out. This simple contrast trick helps enormously in dim rooms.
- Condition slippery thread with a dab of beeswax. A quick pass through beeswax tames fraying and stiffens the tip. Waxed thread threads faster and tangles less while you sew.
- Match the threader to your needle size. Fine threaders suit delicate beading needles, while sturdier ones handle upholstery needles. Using the right size protects both the tool and your patience.
Frequently Asked Questions
What Is the Easiest Way to Thread a Needle?
The easiest method is using a wire-loop needle threader, which does the hard part for you. You push the loop through the eye, feed your thread through the loop, then pull it back. This works especially well for anyone with vision trouble or unsteady hands. It turns a frustrating chore into a quick, reliable task.
Can I Use a Needle Threader on Any Needle?
Most threaders work on standard sewing needles with a normal-sized eye. Very fine needles, like tiny beading needles, may need a specialty fine-wire threader instead. Always check that the wire loop actually fits through the eye before you push. If it won’t slide through, switch to a smaller threader or a needle with a bigger eye.
Why Does My Needle Threader Keep Breaking?
The thin wire loop is delicate, so forcing it through a small eye is the usual culprit. Pushing too hard or at an odd angle bends and snaps the wire over time. Guide it gently and straight through the eye to make it last longer. Keeping a spare threader on hand saves you from a stalled project.
How Do I Thread a Needle Without a Tool?
You can pinch the thread tip flat, wet it lightly, and aim it through the eye. Holding the needle against a light background helps you see the hole clearly. Cutting the thread at a sharp angle also makes a big difference. Still, a dedicated tool is faster and far kinder to your eyes.
Is a Needle Threader Good for Beginners?
Absolutely. A threader removes one of the most frustrating parts of learning to sew. Beginners can focus on their stitches instead of battling a tiny needle eye. It builds confidence early and keeps the whole experience enjoyable.
Do Automatic Needle Threaders Really Work?
Yes, when you use them correctly. Automatic threaders push the thread through the eye with a spring mechanism, saving both time and eyestrain. They do best with standard needles and everyday thread weights. Read your model’s directions once, and you’ll get smooth results every time.
Conclusion
Threading a needle doesn’t have to test your patience or your eyesight. With a needle threading tool and a few simple steps, you can skip the squinting and get straight to sewing. Just remember the routine: trim your thread, guide the loop through the eye, and pull your thread neatly into place. A little practice makes it second nature. If you haven’t grabbed one yet, check out our recommended picks above. Ready to tackle your next project? Explore our other sewing and DIY guides on the site for more helpful tips.
