
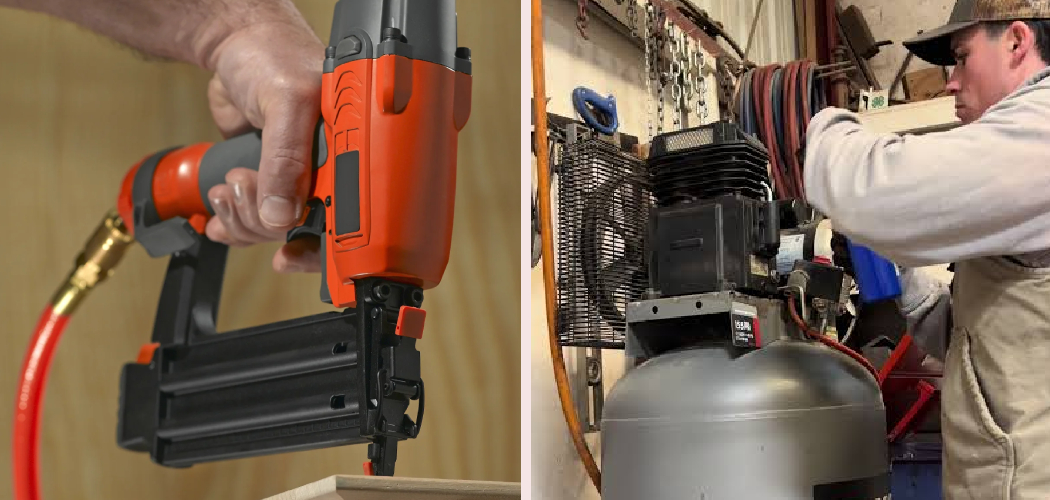
That satisfying whir of a pneumatic tool can turn into a sad, sputtering wheeze fast if you skip one simple habit. Learning how to oil an air tool is the single best thing you can do to keep your gear running smooth for years. Air tools have moving parts that spin and slam thousands of times a minute. Without proper lubrication, those parts grind, overheat, and wear out way too soon.
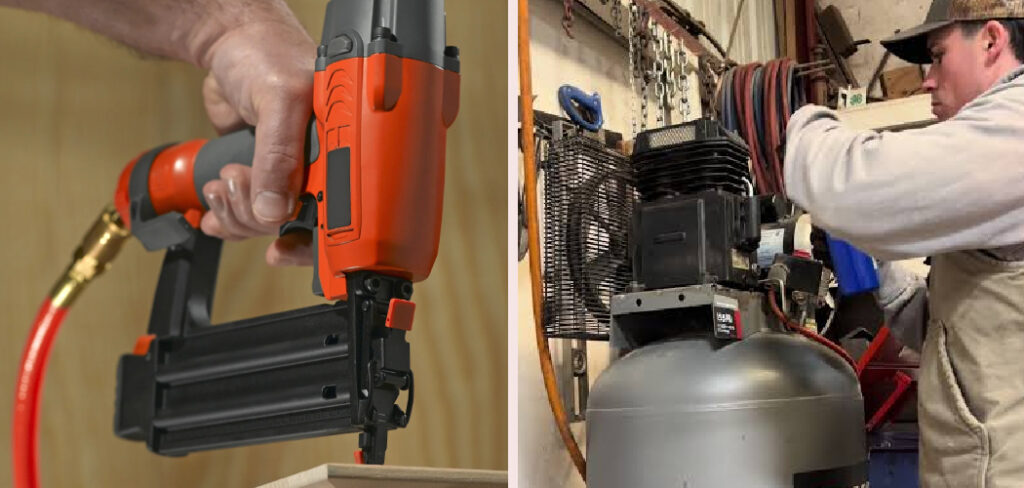
The good news? Oiling is quick, cheap, and easy once you know the drill. In this guide, you’ll learn exactly what supplies you need, the step-by-step process, and some insider tips the pros swear by. Whether you own an impact wrench, a nailer, or a die grinder, you’ll walk away confident. Let’s get your tools purring again.
What You’ll Need
Before you start, gather a few basics. Nothing here breaks the bank, and most of it fits in a small drawer.
- Air tool oil — a lightweight, non-detergent oil made for pneumatic tools (never motor oil)
- A clean rag or shop towel — for wiping down the tool and catching drips
- Safety glasses — oil can spray back when you fire the tool
- Your air compressor — to cycle the oil through after applying
- A small funnel or dropper — optional, but handy for tight air inlets
- An inline oiler — optional, if you want automatic lubrication
- Compressed air or a brush — to clear dust before you add oil
Keep everything within reach. That way you won’t be hunting for a rag mid-job with oily hands.
Step-by-Step Guide on How to Oil an Air Tool
Follow these steps in order. Each one takes only a minute or two, and the whole routine wraps up in under ten minutes.
Step 1: Disconnect the Tool From the Air Supply
Safety comes first, always. Before you touch anything, unplug the tool from the air hose. An air tool can fire unexpectedly if it stays connected, and that’s a quick way to get hurt. Pull the quick-connect coupler and set the hose aside where it won’t roll around.
Give the trigger a couple of squeezes to release any trapped pressure. This clears leftover air from the internal chambers. Now you can work without worrying about a surprise blast.
Step 2: Clean the Tool Before You Oil It
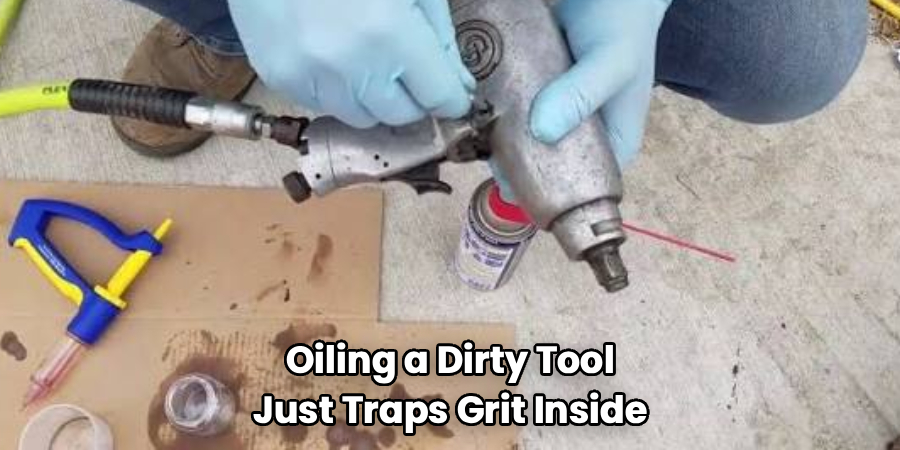
Oiling a dirty tool just traps grit inside, which does more harm than good. Grab your rag and wipe down the outside of the tool. Pay attention to the air inlet, since that’s where dust loves to gather. If you have compressed air handy, give the vents a quick blast to knock loose any debris.
For sticky buildup, a slightly damp cloth works well. Just make sure the tool dries fully before you add oil. A clean start means the lubrication actually reaches the parts that need it.
Step 3: Locate the Air Inlet
The air inlet is the threaded hole where the hose connects. This is your main entry point for oiling most pneumatic tools. Flip the tool over and take a good look if you’re not sure. On some models, you’ll spot a small oil port instead, often marked with a drop icon.
Check your owner’s manual if you can find it. Different tools take oil in different spots, and using the right one matters. When in doubt, the air inlet is almost always a safe bet.
Step 4: Add the Right Amount of Air Tool Oil
Now for the main event. Place two to four drops of air tool oil directly into the air inlet. Resist the urge to overdo it, because too much oil gums up the works and sprays everywhere. For most handheld tools, a few drops is plenty.
Larger tools like a big impact wrench might need five or six drops. Use your dropper or funnel if the opening is tight. Remember: light, lubricating oil made for pneumatics only. Motor oil is too thick and will clog the internals.
Step 5: Work the Oil In by Hand
Once the oil is in, cover the air inlet with your thumb and tilt the tool back and forth. This helps the oil spread across the internal parts before you power up. Give the trigger a few gentle pulls too, if the design allows. You’re basically coating everything inside with a thin protective film.
This step takes just fifteen seconds but makes a real difference. It stops the first burst of air from blowing all the fresh oil straight out. Think of it as priming the pump.
Step 6: Reconnect and Run the Tool
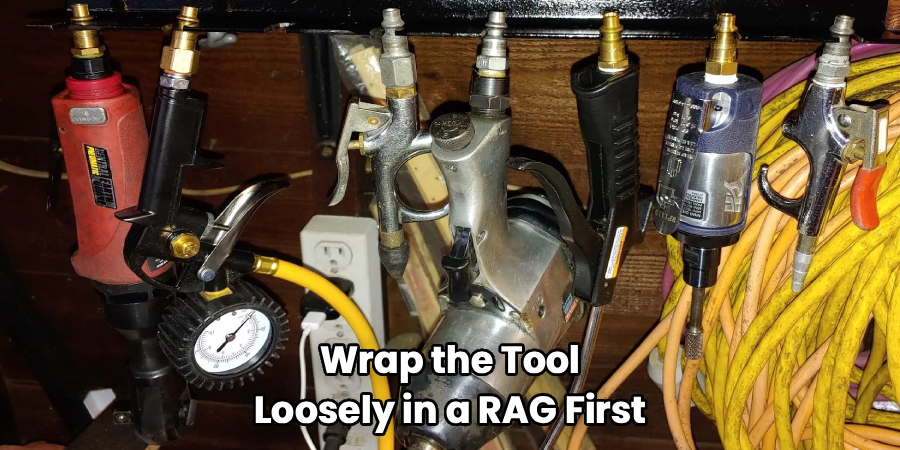
Wrap the tool loosely in a rag first, since a little oil often sprays out on startup. Reconnect the air hose to your air compressor and the tool. Then fire the tool in short bursts for ten to twenty seconds. This cycles the lubrication through every moving part.
You might see a light mist of oil escape the exhaust, which is totally normal. Point the exhaust away from your face and anything you don’t want speckled. Once it runs smooth and quiet, you’re nearly done.
Step 7: Wipe Down and Store Properly
Disconnect the tool again and wipe off any excess oil from the outside. A clean exterior keeps dust from sticking to oily surfaces later. Check the air inlet for drips and dab them away. Your tool should now feel and sound noticeably better.
Store the tool in a dry spot, ideally a case or a drawer away from moisture. Damp conditions cause rust inside pneumatic tools, which oiling helps prevent but can’t fully fix. A quick wipe now saves you a headache down the road.
Step 8: Set a Regular Oiling Schedule
Consistency beats a one-time deep clean every time. As a rule of thumb, oil your air tool before each use or after every few hours of runtime. Heavy-use tools like grinders may need it more often. Light-duty tools you pull out once a month can go a bit longer.
Jot the routine on a sticky note near your workbench if you tend to forget. Building the habit keeps performance high and repair bills low. Your future self will thank you.
Tips for Best Results
Once you’ve got the basics down, these insider tricks take your maintenance game up a notch.
- Consider an inline oiler for frequent use. If you run air tools daily, an inline oiler attaches to your air line and lubricates automatically. It saves you from manual oiling every session and keeps a steady flow of protection.
- Drain your air compressor tank regularly. Moisture builds up inside the tank and travels down the hose into your tool. That water causes rust and washes away oil. Drain the tank after each use to keep the air dry.
- Warm the tool slightly in cold weather. Cold oil moves like molasses and won’t coat the parts well. In a chilly garage, let the tool sit indoors for a bit or run it briefly before oiling. Warmer oil spreads far better.
- Never substitute WD-40 for tool oil. WD-40 is a solvent, not a lubricant, and it can actually strip away the protective film inside. Stick with dedicated air tool oil for real, lasting lubrication.
- Inspect O-rings and seals while you oil. A quick glance at the seals during your routine catches cracks early. Replacing a cheap O-ring beats replacing the whole tool.
Frequently Asked Questions
How Often Should I Oil My Air Tool?
For most hobbyists, oiling before each use is the safest bet. If you’re running a tool continuously, add a few drops every couple of hours during the job. Tools that see heavy action, like impact wrenches and grinders, need more frequent attention. When in doubt, err on the side of oiling more often rather than less.
Can I Use Regular Motor Oil Instead of Air Tool Oil?
No, and this trips up a lot of beginners. Motor oil is too thick and contains detergents that gum up the delicate internal parts of a pneumatic tool. Air tool oil is a lightweight, non-detergent formula designed to move freely through tiny passages. Using the right oil keeps your tool running smooth and protects your warranty.
What Happens If I Put Too Much Oil in My Air Tool?
A little extra won’t wreck your tool, but too much creates a mess. Excess oil sprays out the exhaust when you fire it, coating your workpiece and everything nearby. It can also cause sluggish performance until the surplus clears. Stick to two to four drops for most tools and you’ll avoid the problem entirely.
Is It Safe to Oil an Air Tool While It’s Connected to the Compressor?
Always disconnect the tool from the air supply before oiling. A connected tool can fire unexpectedly, which risks injury and sends oil flying. Releasing the trapped pressure first makes the whole process safer and cleaner. Only reconnect once the oil is in and you’re ready to cycle it through.
Do I Need an Inline Oiler?
You don’t strictly need one, but it’s a great convenience for regular users. An inline oiler mounts on your air line and delivers a steady mist of lubrication every time air flows through. That means you can skip manual oiling for most jobs. For occasional weekend projects, though, hand-oiling works just fine.
Why Does My Air Tool Still Sputter After Oiling?
Sputtering often points to moisture in your air line rather than a lack of oil. Drain your air compressor tank and check for water in the hose. It could also mean worn internal seals or a clogged air inlet that needs cleaning. If the problem sticks around after fresh oil and a dry line, inspect the O-rings for damage.
Conclusion
Keeping your air tools happy really comes down to a few drops of oil and a steady routine. Now that you know how to oil an air tool the right way, you’ll get smoother performance, quieter operation, and gear that lasts for years. It’s one of the easiest habits you can build in your workshop.
If you haven’t grabbed a bottle of quality air tool oil or an inline oiler yet, check out our picks above. Ready to keep your gear in top shape? Explore our other maintenance guides on the site and become the go-to tool expert in your circle.
