
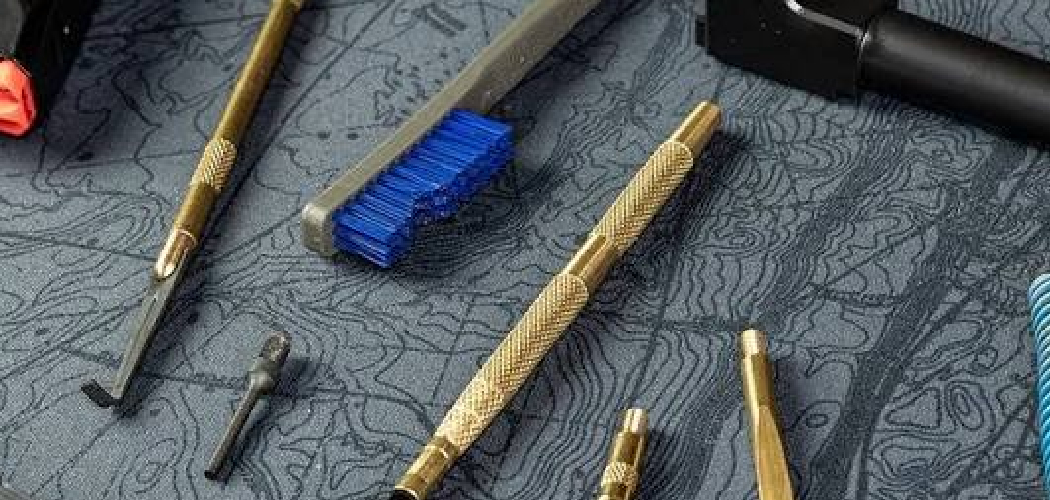
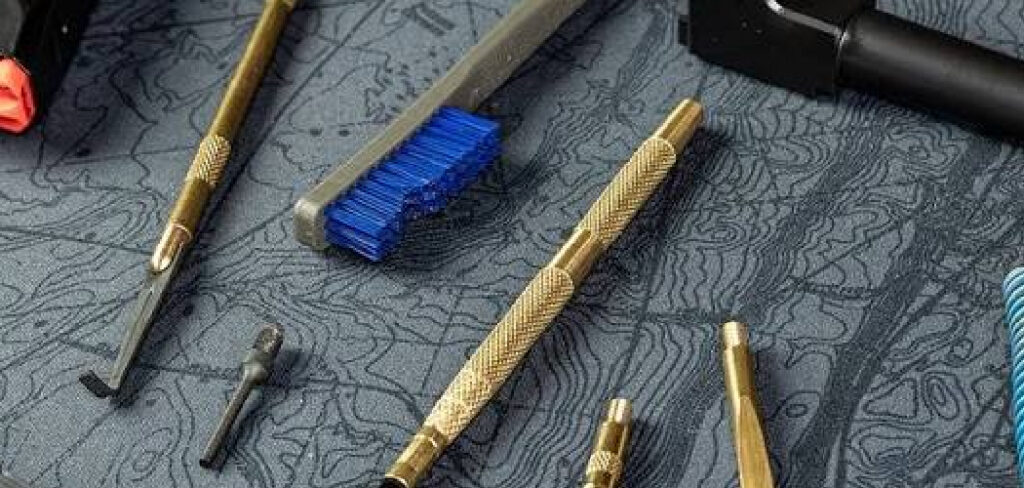
You just cut a piece of copper pipe or drilled a hole through sheet metal, and now the edge feels razor-sharp with tiny rough bits sticking out. Those jagged leftovers are called burrs, and a deburring tool is exactly what clears them away. Skip this step, and you risk sliced fingers, leaky fittings, or parts that simply won’t slide together right.
In this guide, How to Use a Deburring Tool for Cleandoes, what supplies to gather, and how to use it step by step. We’ll walk through both metal and plastic, share pro tips that save time, and answer the questions people ask most. Whether you’re a weekend hobbyist or just tackling your first plumbing repair, you’ll finish knowing how to leave every edge smooth and safe. Let’s dig in.
What Is a Deburring Tool?
A deburring tool is a small handheld device with a swiveling blade that shaves off the rough edges left behind after cutting, drilling, or sawing. That swiveling head follows the contour of an edge, slicing away burrs on the inside and outside of pipes, holes, and flat stock. Most versions come with a replaceable blade and a comfortable handle you can spin with one hand. You’ll find them used in plumbing, metalworking, woodworking, and 3D printing cleanup.
What You’ll Need
Gather these items before you start so the job flows smoothly:
- A deburring tool with a sharp, swiveling blade
- Replacement blades (they dull faster than you’d think)
- The workpiece: metal tubing, pipe, plastic, or sheet metal
- A bench vise or clamp to hold your material steady
- Safety glasses and work gloves
- A fine file or scraper for touch-ups
- A rotary tool or drill bit for larger jobs (optional)
- A rag to wipe away shavings
- A countersink bit for chamfering hole edges (optional)
- Good lighting so you can see the edge clearly
Having everything within reach means you won’t stop mid-task hunting for a missing blade.
Step-by-Step Guide on How to Use a Deburring Tool for Clean
Step 1: Set Up and Secure Your Workpiece
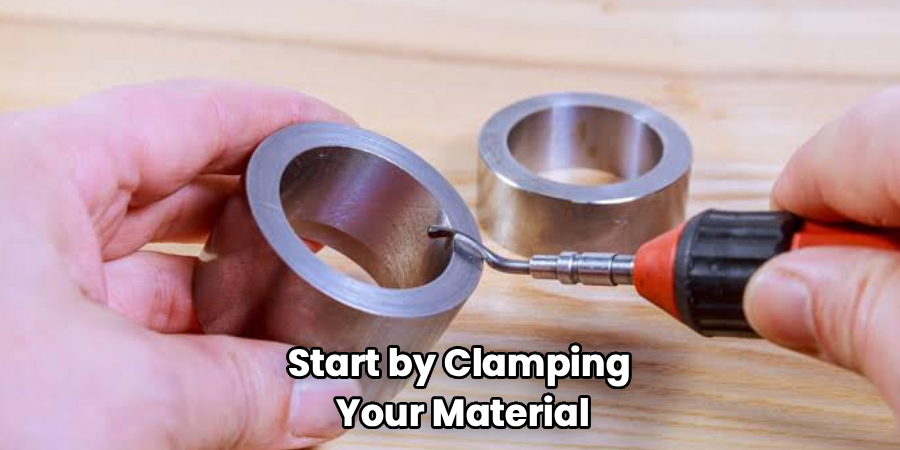
Start by clamping your material in a vise or holding it firmly on a stable surface. A wobbly workpiece makes it hard to control the blade, and that’s how slips and gouges happen. Position the piece so the sharp edges face you and sit at a comfortable height. Good lighting matters here, so aim a lamp at the cut if your workspace is dim. Take a second to check that nothing will shift once you apply pressure. A solid setup is half the battle.
Step 2: Inspect the Edge and Identify the Burrs
Run your gloved finger lightly along the cut to feel where the rough spots hide. Burrs often cling to both the inside and outside of a pipe or hole, so check all around. Look closely at the metal or plastic under the light, since some burrs are tiny curls you can barely see. Knowing exactly where the roughness sits helps you target your strokes. Don’t rush this part. A quick inspection saves you from missing a jagged section that could snag later.
Step 3: Position the Blade at the Right Angle
Hold the deburring tool so the swiveling blade rests against the edge at roughly a 45-degree angle. That angle lets the blade catch the burr without digging into the surface. Let the head pivot naturally to match the shape of the pipe or hole. If you force it flat, you’ll scratch the material instead of shaving cleanly. A light, confident grip works better than a white-knuckle squeeze. The tool does the cutting, so you just guide it.
Step 4: Make Your First Pass
Apply gentle pressure and pull the blade along the edge in one smooth motion. You should feel it slice off a thin curl of material with almost no effort. Move around the entire circumference of a pipe, or along the full length of a flat edge. Keep the stroke steady rather than jabbing back and forth. If the blade skips or chatters, ease up on the pressure. One controlled pass usually removes most of the burr in a single sweep.
Step 5: Deburr the Inside Edge
Rough spots love to hide on the inside lip of tubing and drilled holes. Tilt the blade into the opening and rotate the tool to shave that inner rim clean. This step matters a lot for plumbing, since inside burrs restrict flow and can catch debris. Work slowly and let the swiveling head follow the curve. Feel inside with a fingertip afterward to confirm it’s smooth. A clean inner edge helps fittings seat properly and seal tight.
Step 6: Rotate and Repeat as Needed
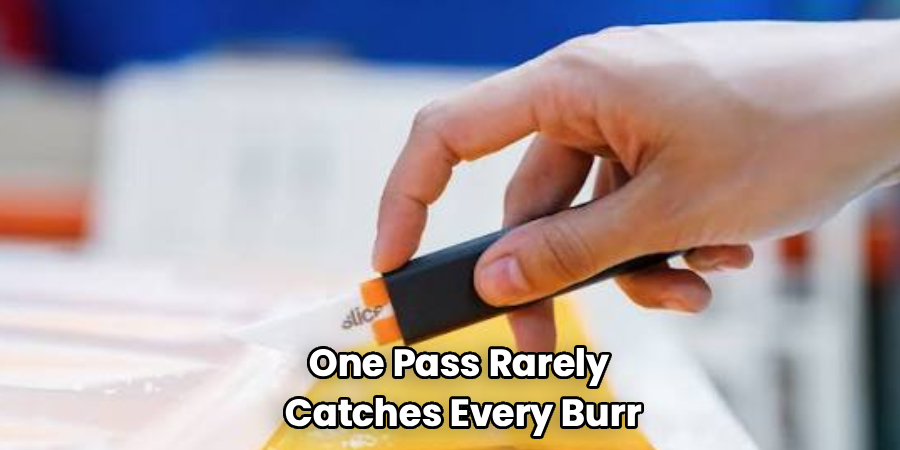
One pass rarely catches every burr, so spin the workpiece or the tool and go again. Check each section by touch between passes to track your progress. For thicker metal, you might need three or four light strokes rather than one hard scrape. Resist the urge to bear down, since heavy pressure dulls the blade and gouges the surface. Patience wins here. Repeating light passes gives you a cleaner, more even edge every time.
Step 7: Chamfer the Edge for a Professional Finish
If you want a slight beveled edge, angle the blade a touch more and make a final light pass. This chamfer removes the last sharpness and gives parts a crisp, finished look. For hole edges, a countersink bit in your drill creates a clean chamfer fast. Chamfering also helps screws and pipes slide in without catching. It’s an optional touch, but it separates rushed work from clean work. Your fingers will thank you later.
Step 8: Clean Up and Inspect Your Work
Wipe away the shavings and curls with a rag, then run your finger over every edge one last time. It should feel smooth with no sharp spots or leftover roughness. Hold the piece to the light and look for any dull patches you missed. If something still catches, go back with the deburring tool for a quick touch-up. A fine file or scraper handles any stubborn corners. Once it’s smooth all around, you’re done.
Tips for Best Results
- Let the blade do the work. Light pressure gives you cleaner cuts and makes your blade last far longer. If you’re pushing hard, the edge is probably dull and needs swapping.
- Match the blade to the material. Some blades handle soft copper and plastic beautifully, while others are built for hardened steel. Using the right one prevents chatter and gouging.
- Keep spare blades on hand. A dull blade tears instead of slices, leaving a ragged edge. Swapping in a fresh one takes seconds and instantly improves your results.
- Deburr right after cutting. Fresh burrs come off easier than ones that have been handled and bent flat. Make it part of your cutting routine.
- Use a rotary tool for big jobs. When you’re finishing dozens of pieces, a rotary tool with a deburring bit saves your wrist and speeds things up dramatically.
Frequently Asked Questions
What Is the Difference Between Deburring and Chamfering?
Deburring removes the rough, jagged bits left behind after cutting or drilling, leaving a smooth edge. Chamfering goes a step further by cutting a small angled bevel along that edge. You’ll often do both in one session, deburring first and then adding a light chamfer. The chamfer gives a cleaner look and helps parts fit together more easily.
Can I Use a Deburring Tool on Plastic and 3D Prints?
Yes, and it works wonderfully on plastic tubing, PVC pipe, and 3D printed parts. The swiveling blade shaves away stringy edges and print seams with a light touch. Just go slow, since plastic can gouge more easily than metal if you press too hard. Many hobbyists keep one on the bench specifically for cleaning up prints.
How Do I Know When to Replace the Blade?
A sharp blade slices off clean curls with almost no effort. When you notice it tearing, skipping, or forcing you to press harder, it’s time for a fresh one. Dull blades leave ragged edges and can slip off the surface. Blades are cheap, so swap them the moment cutting feels like a struggle.
Is It Safe to Use a Deburring Tool by Hand?
It is, as long as you keep your material clamped and your free hand clear of the blade’s path. Wear safety glasses to guard against flying shavings and gloves to protect against sharp edges. Pull the tool in controlled strokes rather than jabbing at the edge. With steady, deliberate movements, it’s one of the safest tools on your bench.
What Can I Use if I Don’t Have a Deburring Tool?
A fine metal file, a sharp utility blade, or fine sandpaper can knock down burrs in a pinch. A countersink bit chucked into a drill also works well for hole edges. These substitutes take more time and give less consistent results, though. For frequent work, a dedicated tool is worth the small investment.
Conclusion
Cleaning up sharp edges doesn’t have to be a chore. With a good deburring tool and a little practice, you’ll turn rough, jagged cuts into smooth, safe edges in seconds. Remember to secure your workpiece, use light pressure, and let the swiveling blade do the cutting. Check every edge by touch before you call it done. If you haven’t picked up a reliable tool yet, check out our recommended picks above. Ready for your next project? Explore our other hands-on guides for more tips that keep you working confidently.
