
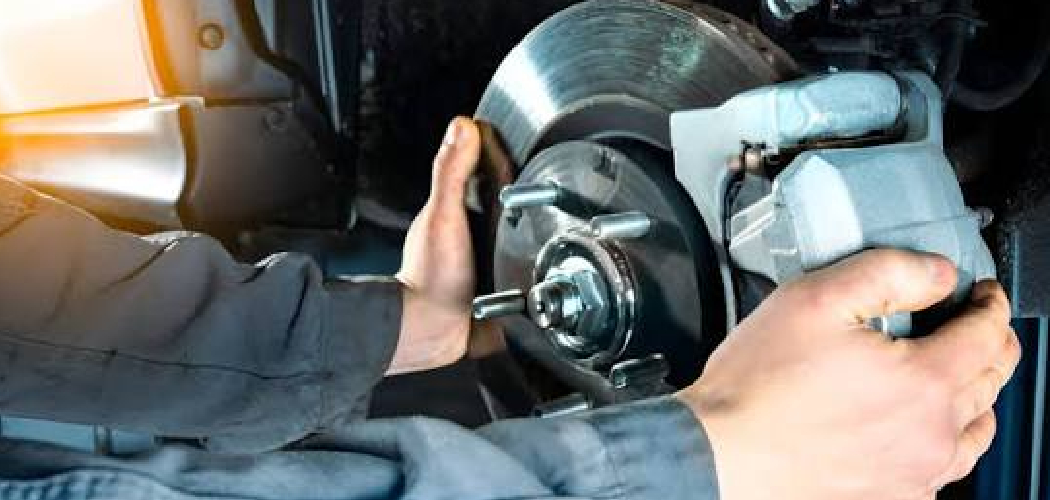
You’re under the car, wrench in hand, and you spot it: a rusty brake line weeping fluid onto the driveway. Replacing that line means creating a clean, leak-proof connection, and that’s exactly where a brake line flaring tool earns its keep. Get the flare wrong, and you’ve got a soft pedal or worse. Get it right, and you’ve saved yourself a costly shop visit.
In this guide, you’ll learn How to Use a Brake Line Flaring Tool that seal like factory work. We’ll cover the supplies you need, walk through each step, and share pro tips that keep your flares clean and consistent. Whether you’re new to brake work or you’ve turned a few wrenches before, you’ll finish with the confidence to tackle your own brake tubing. Let’s get into it.
What Is a Brake Line Flaring Tool?
A brake line flaring tool is a device that shapes the end of a metal brake line into a cone or “flare.” That flare is what forms a tight, high-pressure seal against a flare fitting inside your hydraulic brake system. Since brakes run on serious pressure, a sloppy connection leaks brake fluid and puts your stopping power at risk. The tool clamps the tubing firmly, then presses a die into the end to form either a bubble flare or a full double flare.
What You’ll Need
Gather everything before you start so you’re not hunting for parts mid-job:
- A quality flaring kit (with dies for double and bubble flares)
- Brake line tubing (steel, stainless, or nickel-copper)
- A tubing cutter for clean, square cuts
- A deburring tool or fine file
- Replacement flare nuts (slide them on before flaring!)
- A bench vise or the clamp built into your kit
- Emery cloth or fine sandpaper
- A few drops of light oil or brake fluid for lubrication
- Shop rags and safety glasses
- A tape measure or ruler
Having each item within reach makes the whole process smoother and a lot less frustrating.
Step-by-Step Guide on How to Use a Brake Line Flaring Tool
Step 1: Measure and Cut Your Brake Tubing
Start by measuring the length of line you need, then add a little extra for adjustment. Use a tubing cutter rather than a hacksaw, since a cutter gives you a straight, square cut with no metal shavings inside. Rotate the cutter slowly and tighten it a quarter turn each pass. Rushing this step crushes the tube and ruins the flare before you even begin. A clean cut is the foundation of a leak-free connection.
Step 2: Deburr and Smooth the Cut End
After cutting, the inside edge of the tube almost always has a small ridge or burr. Run a deburring tool inside the opening to shave that ridge away, then lightly touch the outside edge too. A rough edge stops the metal from folding evenly, which leads to cracks and leaks. Wipe the end clean and check that the opening is perfectly round. This tiny step makes a huge difference in flare quality.
Step 3: Slide On the Flare Nut First
This is the mistake nearly everyone makes at least once. Before you flare anything, slide the correct flare nut onto the brake tubing and make sure it faces the right direction. Once you form the flare, that nut is trapped on the line forever. There’s nothing worse than finishing a perfect flare only to realize you forgot the fitting. Double-check it now, and thank yourself later.
Step 4: Clamp the Tubing in the Brake Line Flaring Tool
Set the tube into the correct hole in the clamp block, matching the die size to your tubing diameter. The end needs to stick up above the block by a precise amount, usually the height of the flaring die or a set measurement in your kit’s instructions. Tighten the clamp hard so the tube can’t slip when pressure builds. If it slides, your flare will come out lopsided. A firm, level grip keeps everything square.
Step 5: Form the First Stage of the Double Flare
For a double flare, you’ll use the adapter or “button” that comes with your kit. Place it over the tube end, add a drop of oil for smooth action, and press the cone down onto it. This first pass folds the tube’s edge outward into a rounded bubble flare shape. Turn the handle steadily until the adapter bottoms out against the clamp. Back it off gently and remove the button to check your progress.
Step 6: Complete the Double Flare
Now swap out the adapter and press the cone directly onto that folded edge. This second pass rolls the metal back on itself, creating the thick, doubled-over seal that brake systems demand. Turn the handle smoothly and stop once you feel firm resistance. Don’t overtighten, since crushing the flare cracks the metal. When you back it off, you should see a neat, symmetrical brake line flare with a smooth face.
Step 7: Inspect the Flare Closely
Release the tube and give the flare a careful look. It should be even all the way around, with no cracks, splits, or thin spots. Run a fingernail across the face to feel for rough edges or uneven folds. Hold it up to the light and check that the cone is centered on the tube. If anything looks off, cut it back and start again, since a flawed flare will leak brake fluid under pressure.
Step 8: Test-Fit the Flare Fitting
Thread the flare nut onto the matching flare fitting by hand first. It should spin on smoothly without cross-threading or binding. Snug it up with a wrench, but don’t crank it down to full torque yet. This dry test confirms the flare seats properly against the fitting before the line goes back on the car. A clean, easy fit here tells you the flare is shaped correctly.
Step 9: Install the Line and Bleed the System
Route the finished line carefully, keeping it away from hot exhaust and moving parts. Secure it with clips so it can’t rub or vibrate loose over time. Tighten the flare nuts to the proper torque, then bleed the hydraulic brake system to remove any air. Check every connection for leaks while a helper presses the pedal. A firm pedal and dry fittings mean you nailed it.
Tips for Best Results
- Practice on scrap first. Grab a spare piece of brake tubing and make a few test flares before you touch the real line. This warms up your technique and helps you feel the right amount of pressure.
- Match your die to your tube exactly. A die that’s even slightly off-size gives you a weak or misshapen flare. Line size markings save you here, so measure twice.
- Choose nickel-copper line for easier work. It cuts, bends, and flares far more easily than steel, and it won’t rust. Beginners find it much more forgiving.
- Keep everything lubricated. A tiny drop of oil on the cone reduces friction, prevents metal galling, and gives you a cleaner fold every single time.
- Never reuse an old flare nut on a fresh flare. Worn threads compromise the seal, and a fresh nut costs next to nothing compared to a brake failure.
Frequently Asked Questions
What Is the Difference Between a Double Flare and a Bubble Flare?
A double flare folds the tubing over on itself twice, creating a thick, reinforced seal common on domestic vehicles. A bubble flare, often called an ISO flare, is a single rounded fold used on many imports and European cars. Both handle high pressure well, but they aren’t interchangeable. Always match the flare type to what your vehicle’s flare fitting requires.
Can I Use a Brake Line Flaring Tool on Stainless Steel Tubing?
Yes, but stainless is much harder than standard steel or nickel-copper, so it takes more effort and a heavy-duty kit. Cheaper flaring tools can struggle and produce cracked or uneven flares on stainless. If you plan to work with stainless often, invest in a hydraulic or high-quality bench-mount tool. Take your time and keep the die well lubricated for the best result.
How Do I Know If My Brake Flare Is Sealing Correctly?
After installation, tighten the flare nut to spec and bleed the system fully. Then have a helper press the brake pedal while you watch each connection for weeping brake fluid. A properly seated flare stays completely dry and gives you a firm pedal. If you spot even a small bead of fluid, loosen the fitting and inspect the flare for damage.
Is It Safe to Reuse Old Brake Line Fittings?
You can reuse a flare nut if the threads are clean and undamaged, but you should never reuse an old flare itself. Once you cut a line, always form a fresh flare on the new end. Worn or corroded fittings are cheap to replace and not worth the risk. When in doubt, swap in a new flare nut for peace of mind.
Why Does My Flare Keep Cracking or Splitting?
Cracking usually comes from a rough cut, a missed deburring step, or over-tightening the tool. Hard tubing like steel or stainless splits more easily if you rush the press. Slow down, deburr thoroughly, and add a drop of oil before you form the flare. If it keeps happening, switch to softer nickel-copper line, which folds far more forgivingly.
What Size Brake Line Do Most Cars Use?
Most passenger vehicles use 3/16-inch brake tubing for the main lines, though some use 1/4-inch on larger applications. Your flaring kit should include dies for these common sizes. Always confirm your vehicle’s exact spec before cutting, since a mismatched line won’t seal against the fitting. Checking a service manual or your old line takes only a minute.
Conclusion
Making your own brake flares feels intimidating at first, but it comes down to a few careful, repeatable steps. Cut clean, deburr well, remember that flare nut, and take your time on both passes of the double flare. With a little practice, your connections will seal tight and your pedal will feel rock solid. If you haven’t picked up a reliable brake line flaring tool yet, check out our recommended picks above. Ready for your next project? Explore our other DIY guides for more hands-on tips that keep you wrenching with confidence.
