
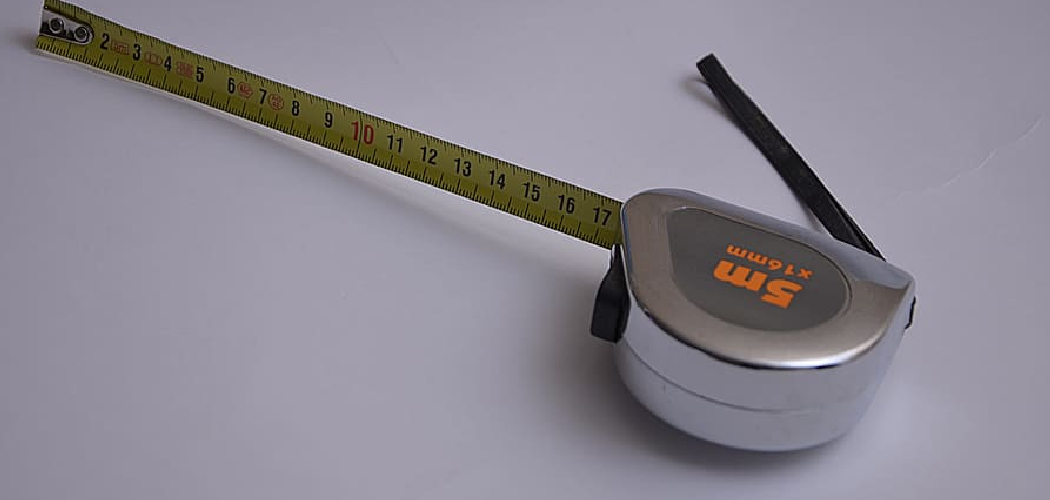
You pull out your tape measure, and instead of a smooth glide, the blade jams halfway. Or worse, it flops out limp and won’t retract at all. Maybe the little metal hook snapped off, or the numbers now sit crooked. Knowing how to fix measuring tape saves you from tossing a perfectly good tool and rushing out to buy a new one.
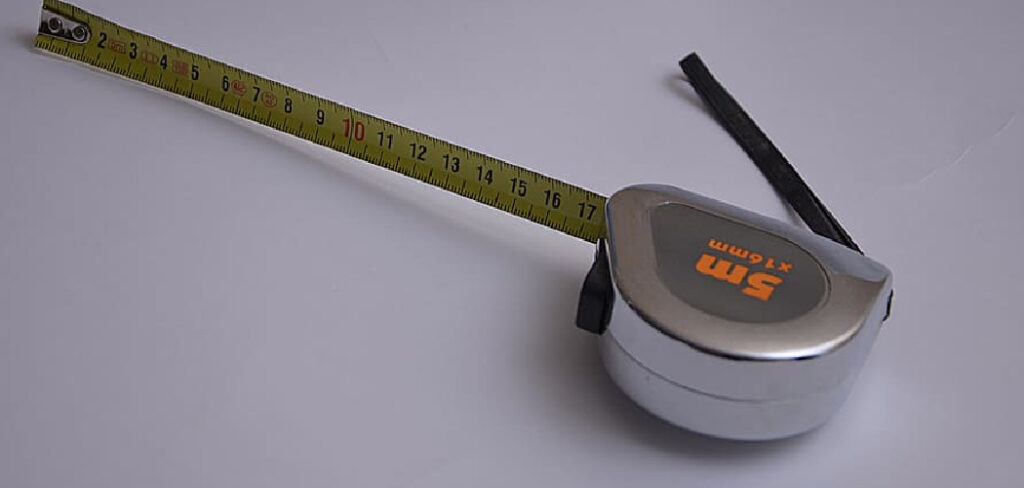
Most tape measure problems come down to a few common issues: a bent hook, a tangled spring, a broken blade, or a stuck retract mechanism. The good news? You can fix nearly all of them at your kitchen table in under an hour. In this guide, you’ll learn how to open the case safely, tackle each problem step by step, and get your tape rolling smoothly again. Let’s dig in.
What You’ll Need
Before you start, gather a few basic supplies. Nothing here is fancy, and you likely have most of it lying around.
- A small Phillips screwdriver (and a flathead as backup)
- Needle-nose pliers for gripping small parts
- A pair of safety glasses (springs can snap out fast)
- Work gloves to protect against sharp blade edges
- A clean, flat work surface with good lighting
- A small container to hold tiny screws and parts
- Fine-grit sandpaper or a metal file for smoothing burrs
- A rivet, small bolt, or replacement hook (if yours is broken)
- A dry cloth and a bit of light machine oil
Having everything within reach makes the whole job smoother. A magnetic tray is a nice bonus for keeping screws from rolling away.
Step-by-Step Guide on How to Fix Measuring Tape
Work through these steps in order. Start with the simplest fixes before opening the case, since many issues are easier than they look.
Step 1: Diagnose the Problem First
Before you grab a screwdriver, figure out what’s actually wrong. Pull the blade out slowly and watch how it moves. Does it jam, refuse to retract, or come out crooked? Check the hook at the end for bends or cracks, and look for kinks along the blade.
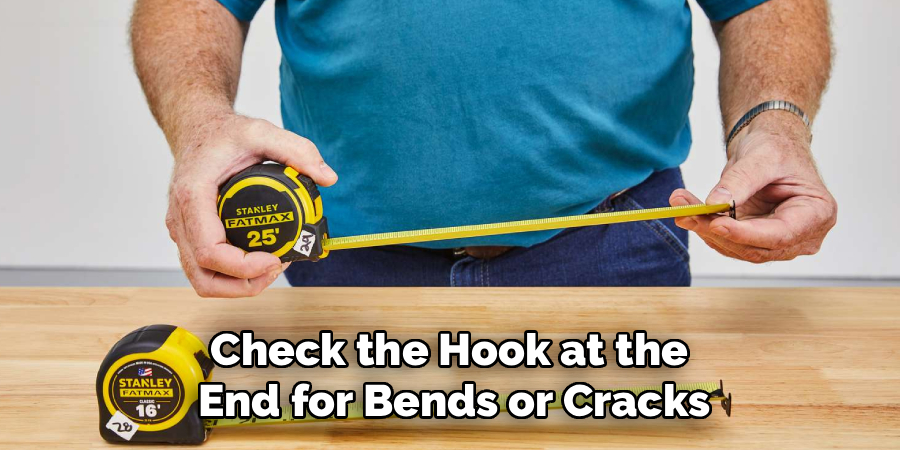
Knowing the exact issue saves you time and prevents unnecessary tinkering. A loose hook is a two-minute fix, while a broken spring takes more effort. Take a moment to inspect everything before you commit to opening the case.
Step 2: Fix a Bent or Loose Hook
A wobbly hook throws off every measurement, so start here if the end piece looks damaged. First, remember that a little movement is normal by design, so don’t panic over slight play. If the hook is bent, gently straighten it with your needle-nose pliers until it sits flat and square.
If the rivets holding it feel loose, tap them lightly with a hammer to tighten the grip. For a hook that’s cracked or missing, replace it with a matching one or a small rivet. Test your fix against a known measurement, like a ruler, to confirm accuracy.
Step 3: Open the Tape Measure Case Safely
For internal problems, you’ll need to open the housing. Put on your safety glasses first, because the coiled spring inside stores real tension. Lay the tape flat and locate the screws on the back of the case, usually two to four Phillips screws.
Loosen them slowly and keep one hand pressing the case shut as you work. Lift the top half away gently, watching for the spring underneath. Set each screw in your container so nothing goes missing. Go slow here, since a spring popping out unexpectedly can startle you and scatter parts everywhere.
Step 4: Untangle or Reset the Spring
The coiled spring is what pulls your blade back in, and a tangled one is a common culprit. Look inside and check whether the spring has slipped off its hub or bunched up. If it’s simply loose, guide it back onto the center post with your gloved fingers.
Wind it a few turns in the same direction it naturally coils to restore tension. Keep firm control, because a released spring can whip out fast. If the spring looks stretched or snapped, you’ll likely need a replacement, since a broken spring rarely holds tension again.
Step 5: Repair or Replace a Broken Blade
A snapped or badly kinked blade is frustrating, but not always fatal. For a small kink, lay the blade flat and smooth it gently with your fingers or a soft mallet. If the very end broke off, you can trim the damaged section and reattach the hook, though you’ll lose a bit of length.
For a clean break near the middle, replacement is usually your best bet. Feed the new blade or trimmed end back through the case slot and reattach it to the spring hub. Learning how to fix measuring tape blades takes patience, so work slowly and avoid forcing anything.
Step 6: Clear a Jammed Retract Mechanism
If the blade sticks when retracting, dirt or debris is often to blame. With the case open, look for sawdust, grit, or bits of metal clogging the channel. Wipe the interior clean with a dry cloth and clear the blade slot completely.
Check that the blade sits flat and hasn’t folded over inside the housing. A tiny drop of light machine oil on the moving parts helps everything glide again. Avoid heavy grease, since it attracts more dust and can gum up the works over time.
Step 7: Reassemble the Case
Once your repair is done, it’s time to close everything up. Make sure the spring is seated, the blade feeds through the slot, and nothing is pinched. Line up both halves of the case carefully so the screw holes match.
Hold the case firmly shut while you drive each screw back in, working in a crisscross pattern for an even fit. Don’t overtighten, as that can crack the plastic housing. Give the case a gentle shake afterward to confirm nothing rattles loose inside.
Step 8: Test the Blade Movement
With the case sealed, pull the blade out slowly to check your work. It should extend smoothly and lock in place if your tape has a lock button. Release it and watch how it retracts, guiding it with your fingers rather than letting it snap back.
Extend and retract it a few times to make sure the motion stays consistent. If it still jams or won’t pull back, open the case again and recheck the spring and blade path. A little fine-tuning now prevents repeat problems later.
Step 9: Verify Measurement Accuracy
A working tape still needs to measure correctly. Line your repaired tape up against a ruler or a second tape you trust. Check the first few inches closely, since the hook end affects short measurements most.
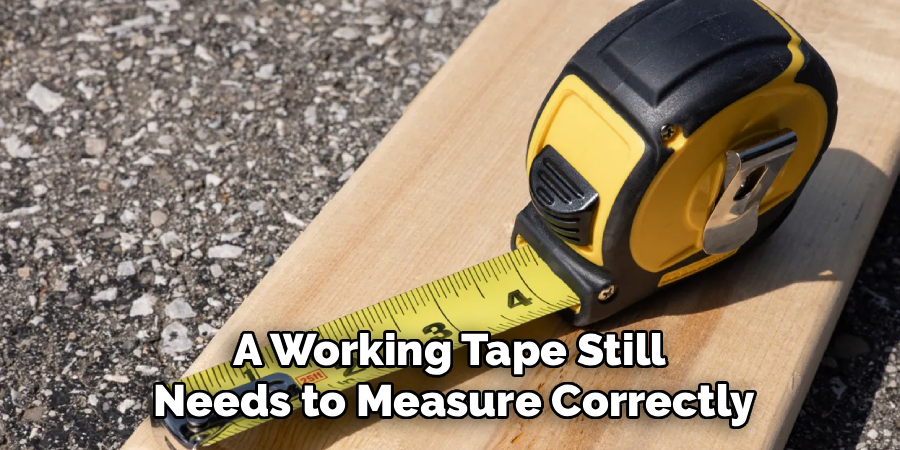
If the numbers match, you’re all set. If they’re off by a consistent amount, the hook likely needs slight adjustment. Bend it in or out a hair with your pliers until the readings line up. Accurate results are the whole point, so don’t skip this final check.
Tips for Best Results
These extra pointers come from plenty of hands-on repair sessions and will make your job easier.
- Photograph the inside before you disassemble. Snap a quick picture with your phone once the case is open. When it’s time to reassemble, you’ll know exactly where the spring and blade belong.
- Work inside a clear plastic bag for spring jobs. If you’re worried about the spring flying out, do the risky part inside a large transparent bag. It catches loose parts while letting you see what you’re doing.
- Keep an old tape for spare parts. Don’t toss a dead tape measure. The hook, spring, and screws make handy replacements when you repair another one down the road.
- Match blade width when replacing. Tape blades come in different widths, so measure yours before buying a replacement. A mismatched blade won’t feed through the slot properly.
- Add a drop of oil during every repair. A tiny bit of light lubricant on the moving parts keeps your tape smooth and helps prevent future jams.
Frequently Asked Questions
Why Won’t My Tape Measure Retract Anymore?
A tape that won’t pull back usually has a broken or slipped spring, or debris jamming the blade channel. Open the case and check whether the spring sits on its hub and holds tension. Clear out any sawdust or grit while you’re in there. If the spring looks stretched or snapped, a replacement is the surest fix.
Can I Fix a Tape Measure Without Opening the Case?
Yes, many problems don’t require opening the housing at all. A bent hook, a slight kink in the blade, or a dirty exterior slot are all fixable from the outside. Straighten the hook with pliers and wipe the blade clean with a dry cloth. Only open the case when the spring or internal mechanism is clearly the issue.
Is It Safe to Open a Tape Measure Myself?
It’s safe as long as you wear safety glasses and work slowly. The coiled spring inside holds tension and can pop out unexpectedly, so keep one hand on the case as you open it. Working inside a clear bag adds extra protection. Take your time, and you’ll avoid startling snaps and lost parts.
How Do I Know if My Tape Measure Hook Is Broken or Just Loose?
Give the hook a gentle wiggle first, since a small amount of movement is intentional and normal. If it flops around excessively, sits crooked, or shows cracks, it needs attention. Compare a short measurement against a ruler to catch accuracy issues. A quick bend with pliers usually fixes a loose hook, while cracks call for replacement.
When Should I Just Replace My Tape Measure Instead of Fixing It?
If the blade is snapped in multiple spots or the case is cracked beyond repair, replacement often makes more sense. A stretched-out spring that won’t hold tension is another sign it’s time to move on. Weigh the cost of parts against a new tape. For a cheap tape with major damage, buying fresh is usually the smarter call.
Conclusion
Fixing a tape measure is far easier than most people expect, and now you’ve got the know-how to tackle the most common problems. The key takeaway is simple: diagnose the issue first, work slowly and safely, then test for accuracy before you trust your repair. A little patience brings your trusty tool right back to life.
If your old tape is truly beyond saving, check out our recommended tape measures above to find a reliable replacement. Want to keep sharpening your DIY skills? Browse our other tool repair guides and keep building your confidence one fix at a time.
