
You’re standing in the hardware store aisle, staring at a shelf you want to build, when it hits you: you’re not totally sure you measured that wall correctly. Sound familiar? A tape measure looks simple, but small mistakes lead to crooked shelves, wasted lumber, and plenty of frustration. Learning how to use measuring tape the right way saves you time, money, and a whole lot of headaches.
In this guide, you’ll learn how to read the markings, hold the tape steady, and get accurate numbers every single time. We’ll cover reading fractions, using the little tricks built into your tape, and avoiding the mistakes that trip up beginners. By the end, you’ll measure with the confidence of a seasoned DIYer. Let’s grab a tape and get started.
What You’ll Need
You don’t need much to start measuring like a pro. Gather these few items before you begin.
- A quality tape measure (16 to 25 feet works for most home projects)
- A pencil or fine-tip marker for marking your measurements
- A notepad or your phone to jot down numbers
- A flat, clear surface or workspace
- A helper for measuring long or awkward spans (optional but handy)
- Good lighting so you can read the small increments clearly
That’s it. Most of your success comes down to technique, not fancy gear. Once you have these basics ready, you’re set to measure anything from a picture frame to a full room.
Step-by-Step Guide on How to Use Measuring Tape
Follow these steps in order, and you’ll get clean, reliable numbers every time.
Step 1: Get to Know Your Tape Measure
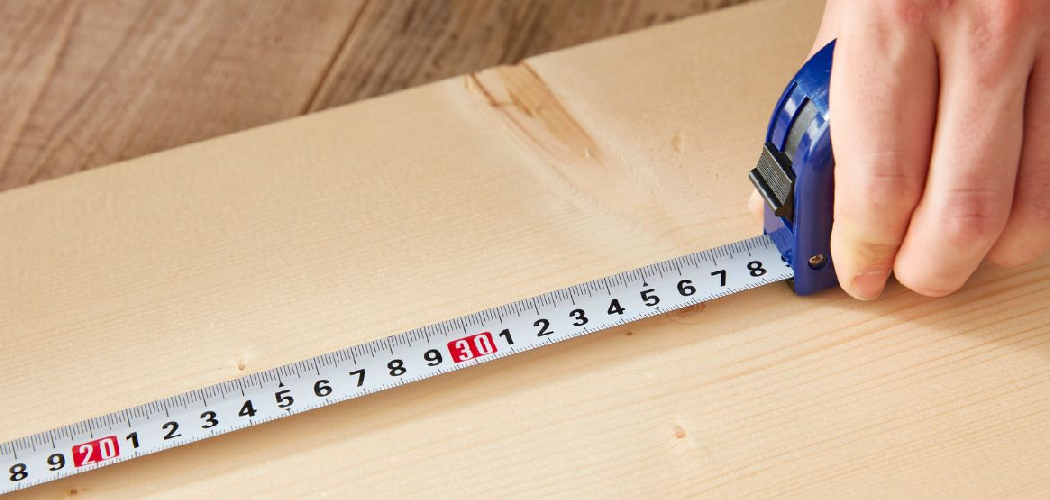
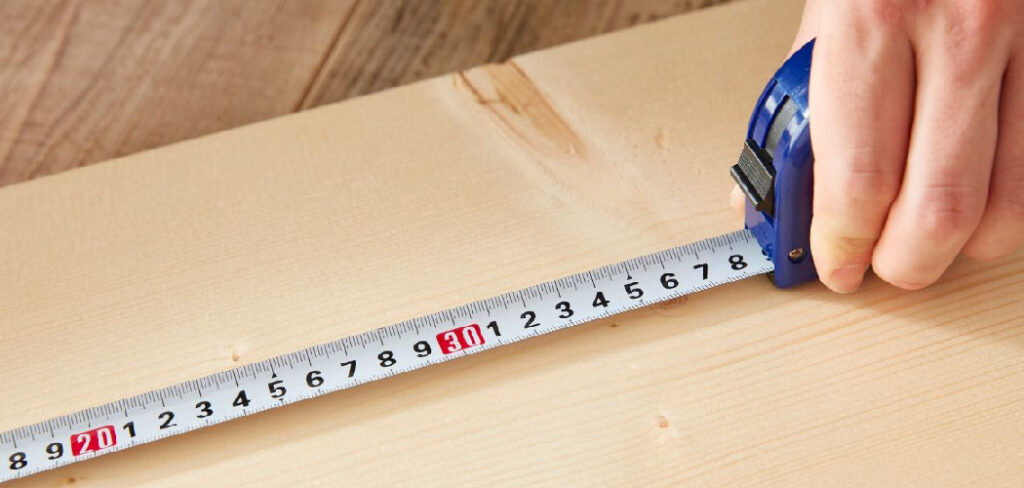
Before you measure anything, take a minute to study your tape. Pull out the blade and look at the numbers, lines, and colors. The big numbers mark inches, while the smaller lines between them mark fractions of an inch. Many tapes highlight every foot and mark 16-inch increments in red for framing studs.
Understanding these markings now saves confusion later. Notice the metal hook at the end and the little slot in it. Getting familiar with your tape’s layout is the first real step in learning how to use measuring tape correctly.
Step 2: Read the Markings and Increments
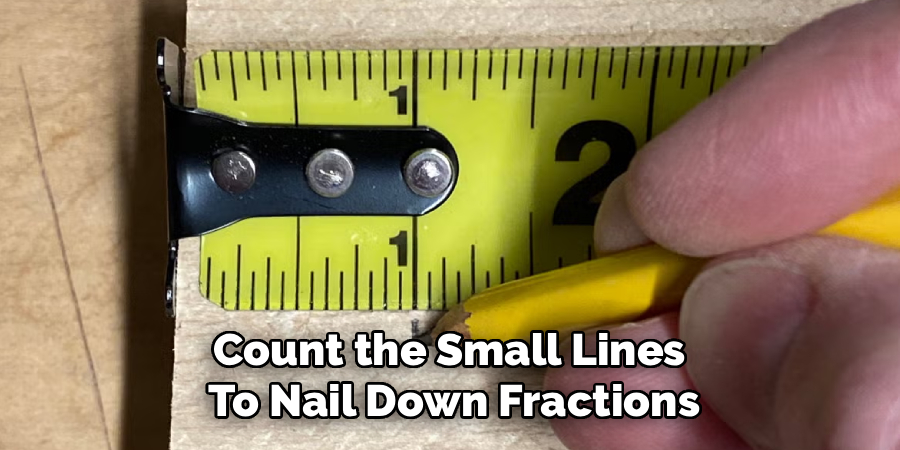
The lines on your tape can look overwhelming at first, but they follow a clear pattern. The longest lines are full inches, and the halfway line marks a half inch. From there, lines get shorter as they split into quarters, eighths, and sixteenths.
Count the small lines to nail down fractions. For example, four sixteenth-lines past the inch mark equals a quarter inch. Take your time until reading these increments feels natural. Rushing here is the most common cause of measurement errors.
Step 3: Understand the Moving Hook
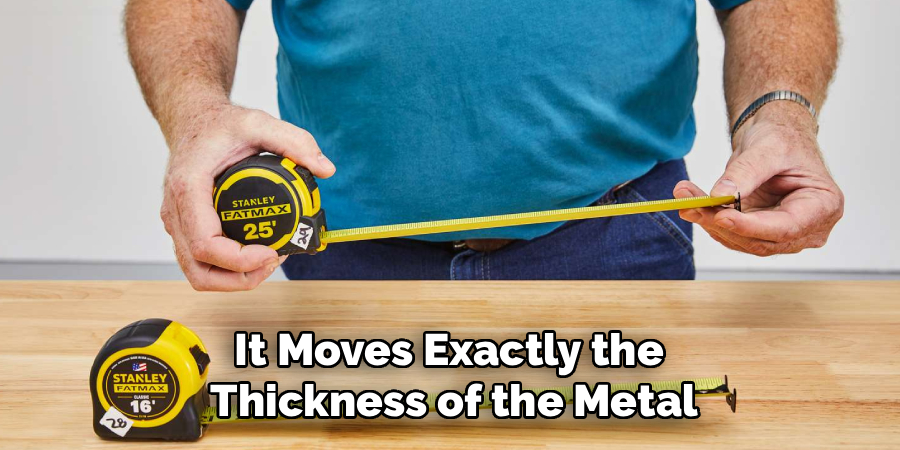
Notice how the metal hook at the end of the blade wiggles a little? That’s not a defect. It’s designed that way for accuracy. The hook slides exactly the thickness of the metal itself.
When you hook it over an edge to measure, it pulls out to give a true reading. When you push it against a surface, it slides in to stay accurate. This clever feature means your measurement stays correct whether you’re pulling or pushing. Never assume the loose hook is broken.
Step 4: Position the Tape Correctly
Hook the end of the blade over the edge of your object or push it flat against a wall. Make sure the tape lies flat and straight along whatever you’re measuring. A sagging or twisted blade throws off your numbers fast.
Keep the tape snug but don’t overstretch it. For vertical measurements, press the blade firmly against the surface so it doesn’t bow out. Good positioning is where accuracy really begins. A crooked tape gives you a crooked result.
Step 5: Take Your Measurement
With the tape in place, find the point you want to measure to and read the number where it lines up. Look straight down at the mark rather than at an angle. Reading from the side causes what’s called parallax error, which skews your number slightly.
Note both the whole inch and the fraction. Say the measurement out loud or write it down right away so you don’t forget. If your number lands between two lines, round to the nearest small increment. Precision here pays off later.
Step 6: Mark Your Measurement Clearly
Once you have your number, mark the spot with a pencil. Use a small V-shape or a crisp dot instead of a fat line. A thin, precise mark keeps you from losing accuracy when you cut or drill.
Place the point of the V exactly at your measurement. This little trick, sometimes called a carpenter’s mark, points right to the spot. Avoid thick marks that cover a sixteenth of an inch or more. In detailed work, that tiny error adds up quickly.
Step 7: Use the Tape’s Built-In Features
Your tape measure hides a few handy tools. Look at the metal hook again and you’ll often see a small nail slot or a serrated edge. The slot lets you catch a screw head so you can measure solo without a helper.
The serrated edge on some hooks scratches a light mark when you don’t have a pencil. Many tapes also print the length of their own case, so you can measure inside corners by adding that number. These features make tricky jobs far easier once you know they exist.
Step 8: Measure Curves and Inside Spaces
Not everything you measure is a straight line. For curves, a flexible tape bends around the shape while you follow the surface. Keep the blade flush against the curve for the truest reading.
For inside measurements, like the width of a drawer, push the tape into the corner and read where it bends, or use the case-length trick from the last step. Take your time with these awkward spots. A steady hand and a little patience keep your numbers honest.
Step 9: Double-Check Before You Cut
Here’s the golden rule every experienced builder lives by: measure twice, cut once. Before you make any permanent cut, take the measurement a second time. A quick re-check catches slips, misreads, and shifted tape.
This habit costs you ten seconds but can save an entire board or panel. Confirm both the whole number and the fraction match your notes. Once you’re sure, you can cut or drill with total confidence. This final check is your best defense against costly mistakes.
Tips for Best Results
These extra pointers come straight from years of hands-on measuring.
- Lock the blade for long measurements. Slide the lock button to hold the tape in place. This frees your hands and stops the blade from creeping while you read or mark.
- Burn an inch for perfect precision. When exact accuracy matters, start from the 1-inch mark instead of the hook, then subtract an inch. This removes any wiggle from the hook entirely.
- Keep the blade clean and dry. Dirt and moisture wear down the printed numbers and cause rust. Wipe the blade with a dry cloth before you retract it after messy jobs.
- Retract the tape gently. Letting the blade snap back at full speed bends the hook and shortens your tape’s life. Guide it back with your fingers for smoother, longer-lasting use.
- Match the tape to the task. A wide, stiff blade stands out farther without bending, which helps for solo overhead measuring. A narrow tape works fine for small indoor projects.
Frequently Asked Questions
How Do I Read the Small Lines on a Tape Measure?
The small lines mark fractions of an inch, getting shorter as they divide into halves, quarters, eighths, and sixteenths. Count the tiny lines from the last whole inch to find your fraction. For example, eight sixteenth-lines past the inch mark equals a half inch. With a little practice, reading these increments becomes second nature.
Why Is the Metal Hook on My Tape Loose?
That loose hook is intentional, not a defect. It moves exactly the thickness of the metal to keep your readings accurate. When you hook it over an edge, it slides out; when you push it against something, it slides in. This clever design gives you a true measurement whether you pull or push.
What Do the Red Numbers on My Tape Mean?
The red numbers usually mark 16-inch increments, which is the standard spacing for wall studs and joists in framing. They help builders place studs quickly without recounting each time. Some tapes also highlight black diamonds every 19.2 inches for engineered floor layouts. If you’re not framing, you can simply ignore these marks.
How Can I Measure Accurately by Myself?
Use the nail slot in the metal hook to catch a screw or nail head, which holds the tape steady while you pull. You can also lock the blade so it stays extended without your hand. For long spans, a stiff, wide blade stays rigid enough to reach across gaps. These tricks make solo measuring simple and precise.
Is It Better to Start Measuring From the Hook or the One-Inch Mark?
For most jobs, the hook works perfectly because it’s designed to self-adjust. When you need extreme precision, though, start from the 1-inch mark and subtract an inch from your final number. This removes any play in the hook entirely. Just remember to subtract, or your measurement will be an inch too long.
How Do I Take Care of My Tape Measure?
Wipe the blade with a dry cloth to keep dirt and moisture from wearing away the numbers. Avoid letting the tape snap back hard, since that bends the hook over time. Store it in a dry spot to prevent rust on the metal. A little care keeps your tape accurate for years.
Conclusion
Measuring well is a skill anyone can master, and now you know exactly how to use measuring tape from reading fractions to marking clean cuts. Remember the key takeaway: position the tape straight, read the increments carefully, and always measure twice before you cut. Those simple habits make every DIY project smoother and more accurate.
If you’re ready to upgrade your gear, check out our recommended tape measures above and find one that fits your projects. Want to sharpen your skills even more? Explore our other tool guides and keep building your DIY confidence one measurement at a time.
