
Picture this: the microwave dies mid-popcorn, or your car’s dashboard lights blink out on the way home. Nine times out of ten, a blown fuse is the culprit. The good news? You can often fix it yourself in minutes. Knowing how to change a fuse with pliers is one of those simple skills that saves you a service call and a chunk of cash.
In this guide, you’ll learn which pliers work best, how to spot a blown fuse, and how to swap it out safely. We’ll walk through each step so you feel confident, whether you’re working on a car, an appliance, or a home fuse box. No prior experience needed — just a steady hand and a bit of caution. Let’s get that power flowing again.
What You’ll Need
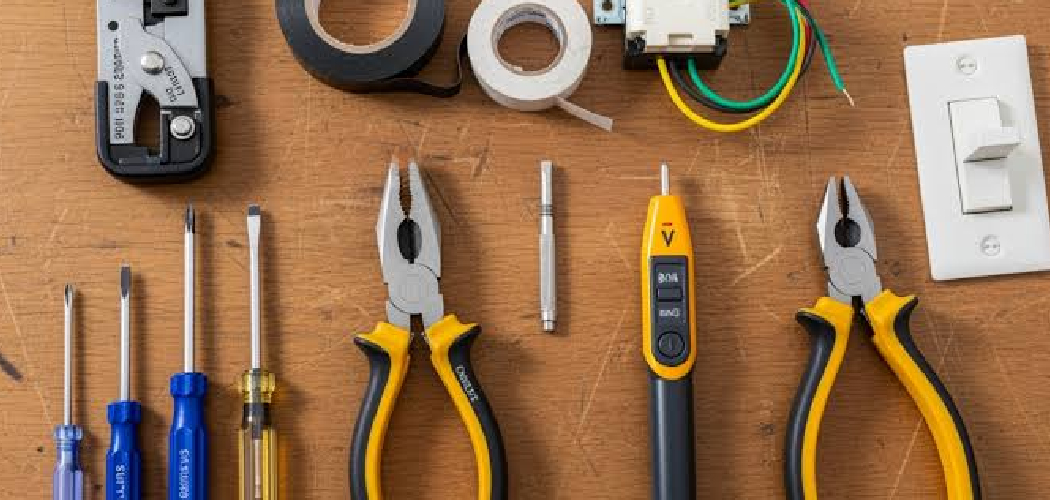
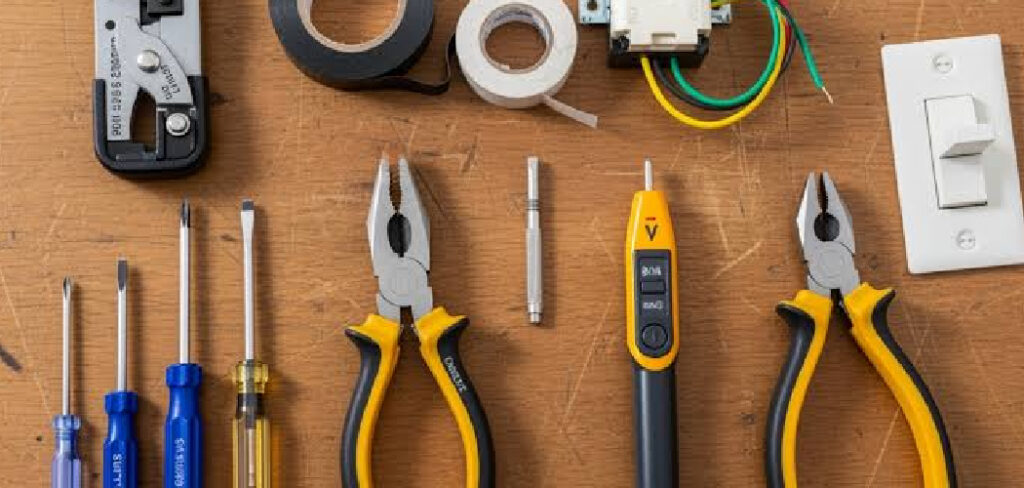
Grab these items before you start. Having everything within reach keeps the job quick and frustration-free.
- A pair of needle-nose pliers — perfect for gripping small fuses in tight spots
- Fuse pullers (optional) — many fuse boxes include a plastic one, but pliers work in a pinch
- A replacement fuse — matching the exact amperage rating of the old one
- A flashlight or headlamp — fuse panels often sit in dark corners
- A voltage tester or multimeter — to confirm the power is off
- Insulated gloves — for extra protection when working near electricity
- A small container — to hold the old fuse and any tiny parts
- Your owner’s manual — for locating the fuse box and reading the fuse map
Lay these out on a clean surface. A little prep now means you won’t be hunting for tools with the power off.
Step-by-Step Guide on How to Change a Fuse with Pliers
Take your time with each step. Safety comes first, and a careful approach beats rushing every single time.
Step 1: Cut the Power at the Source
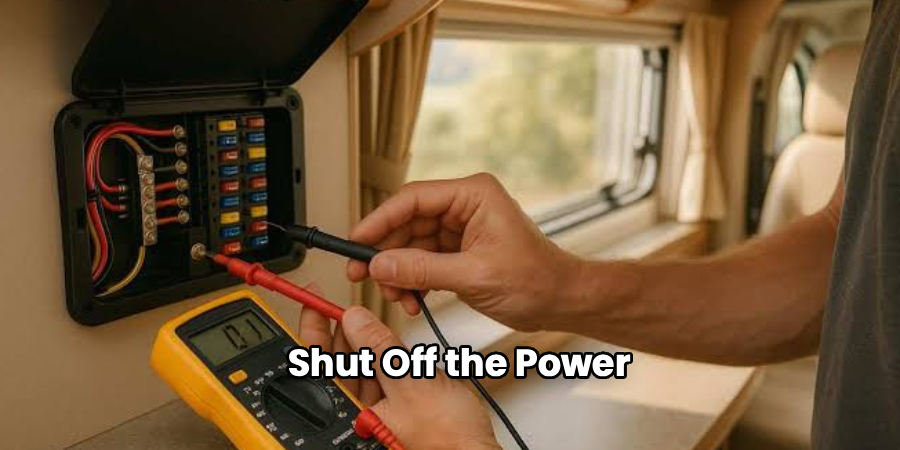
Before you touch anything, shut off the power. For a home fuse box, flip the main breaker or disconnect switch. For a car, turn off the engine and remove the key. For an appliance, unplug it from the wall completely. This single step protects you from a nasty shock and prevents damage to the circuit. Never skip it, even if the job “feels” quick — electricity doesn’t forgive shortcuts.
Step 2: Locate the Right Fuse
Now find the fuse that needs replacing. Your owner’s manual or the diagram inside the fuse box lid shows which fuse controls what. Match the dead device — say, the radio or a kitchen outlet — to its labeled slot. If you’re unsure, look for a fuse that appears darkened, melted, or has a broken metal strip inside. A flashlight helps here, since fuse panels love to hide in cramped, shadowy spots. Take a photo of the layout before you start, just in case.
Step 3: Confirm the Power Is Actually Off
Trust, but verify. Use a voltage tester or multimeter to double-check that no current is flowing to the fuse. Touch the probes to the terminals and watch for any reading. If the tester stays silent, you’re good to go. This quick check takes seconds and gives you real peace of mind. Skipping it is the most common mistake beginners make, so make it a habit every time.
Step 4: Grip the Fuse with Your Pliers
Here’s where your needle-nose pliers earn their keep. Gently clamp the tips around the body of the fuse, not the metal contacts. Keep your grip firm but not crushing — you want to hold it, not snap it. For small blade-style automotive fuses, pinch the plastic top squarely. If the fuse sits in a tight row, angle the pliers slightly to avoid bumping its neighbors. A steady, controlled grip makes the next step smooth.
Step 5: Pull the Old Fuse Straight Out
With a solid grip, pull the fuse straight out — no wiggling side to side. A straight pull protects the fuse holder and surrounding contacts from bending. If it resists, rock it gently while maintaining even pressure. Once it’s free, set it in your small container so it doesn’t roll away. Take a close look at the old fuse to confirm it’s blown. A broken filament or scorched glass tells you that you found the right one.
Step 6: Match the Replacement Fuse Exactly
This step matters more than any other. Check the amperage rating printed on the old fuse, then grab a replacement with the identical number. Never install a higher-rated fuse to “make it last longer” — that defeats the fuse’s whole purpose and can spark a fire. The rating acts as a safety limit, cutting power before wires overheat. If you’re missing the exact match, wait and buy the correct one rather than improvising. Color coding on automotive fuses also helps you match ratings fast.
Step 7: Insert the New Fuse with Your Pliers
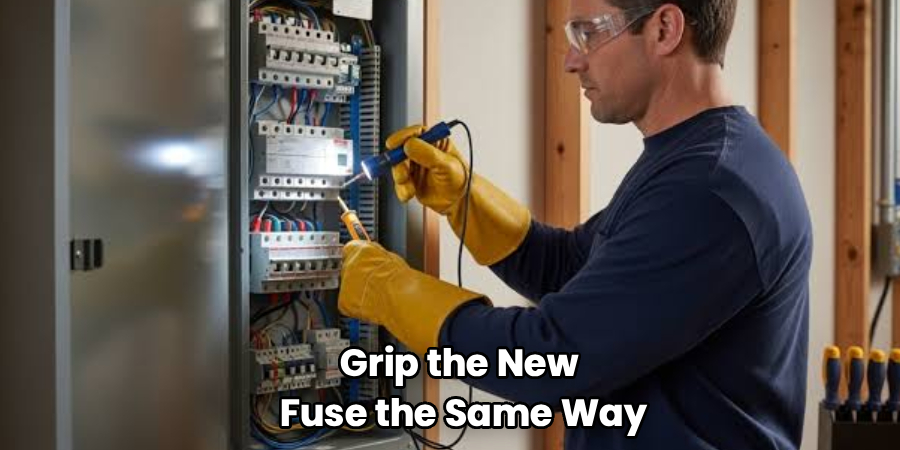
Grip the new fuse the same way you held the old one. Line it up with the empty slot and press it in straight and firm. You should feel it seat fully — a loose fuse can arc or fail early. Use gentle, even pressure rather than forcing it. Once it’s snug, give it a light tug with the pliers to confirm it’s locked in place. When you change a fuse with pliers this carefully, you get a reliable, lasting fix.
Step 8: Restore Power and Test Your Work
Time for the moment of truth. Flip the breaker back on, plug in the appliance, or restart the car. Turn on the device that failed and watch for it to spring back to life. If it works, congratulations — you nailed it. If the new fuse blows again right away, stop and investigate, because a repeat failure points to a deeper wiring or component problem. In that case, calling an electrician or mechanic is the smart move.
Step 9: Tidy Up and Keep Spares Handy
Wrap up by cleaning your work area. Toss the blown fuse responsibly and store your pliers where you can find them next time. Stash a few spare fuses of common ratings in your toolbox or glovebox — future you will be grateful. Jot down the date and which fuse you replaced, especially if the same one keeps failing. A little organization now turns the next repair into a two-minute task.
Tips for Best Results
Ready to level up? These field-tested pointers go beyond the basics.
- Choose fine-tip needle-nose pliers. Their slim jaws reach into crowded fuse panels where chunky tools can’t fit. They also give you precise control, so you won’t accidentally jostle nearby fuses loose.
- Keep a fuse map in your glovebox or toolbox. Snap a photo of the diagram and save it on your phone too. When a fuse blows unexpectedly, you’ll know exactly which slot to check without digging through a manual.
- Buy a variety pack of fuses. Different devices use different amperage ratings, and having a range on hand means you’re never stuck. Store them by rating so you grab the right one in seconds.
- Wrap your plier tips in electrical tape. A thin layer adds a touch of insulation and improves grip on smooth glass or plastic fuses. It’s a cheap trick that makes handling small fuses easier and safer.
- Note recurring failures. If the same fuse keeps blowing, the problem isn’t the fuse — it’s the circuit. Track the pattern so you can explain it clearly to a pro.
Frequently Aasked Questions
Is It Safe to Change a Fuse with Pliers?
Yes, as long as you cut the power first and confirm it’s off with a tester. Pliers work well for gripping small fuses, but use plastic or insulated tips near electricity when you can. Never work on a live circuit, and wear insulated gloves for extra protection. When you follow the safety steps, it’s a straightforward and low-risk job.
What Kind of Pliers Work Best for Removing a Fuse?
Needle-nose pliers are the top choice because their slim, pointed tips reach into tight fuse boxes. They let you grip a fuse firmly without bumping the ones beside it. For blade-style automotive fuses, the fine tips pinch the plastic body cleanly. If your fuse box came with a plastic fuse puller, that’s even safer, but good pliers get the job done.
How Do I Know Which Fuse Is Blown?
Look for visible clues first — a darkened glass fuse, a melted spot, or a broken metal strip inside. Your owner’s manual and the fuse box diagram help you match the dead device to its slot. If you can’t tell by sight, a multimeter set to continuity will confirm whether a fuse still carries current. A blown fuse shows no continuity, so the tester stays silent.
Can I Use a Higher-Rated Fuse if I Don’t Have the Right One?
No — this is one of the most dangerous mistakes you can make. A fuse’s amperage rating is a safety limit that cuts power before wires overheat. Installing a higher rating lets too much current flow, which can melt wiring or start a fire. Always wait and install the exact replacement rating, even if it means a quick trip to the store.
Why Does My Fuse Keep Blowing After I Replace It?
A fuse that blows repeatedly signals a deeper issue, not a faulty fuse. It usually points to an overloaded circuit, a short, or a failing component drawing too much power. Unplug devices on that circuit and test again to narrow down the cause. If it keeps happening, call a licensed electrician or mechanic to inspect the wiring.
How Long Does It Take to Change a Fuse?
Once you know the steps, the whole job usually takes under ten minutes. Locating the right fuse often takes the longest, especially the first time. With a fuse map handy and spares in your toolbox, future swaps drop to just a couple of minutes. Practice makes the process fast and stress-free.
Conclusion
Swapping a blown fuse isn’t as scary as it sounds. With the power off, the right amperage match, and a steady grip, you can handle this repair yourself in minutes. The key is patience and safety — verify the power is off, match the rating exactly, and test your work before calling it done. Now that you know how to change a fuse with pliers, you’re ready to tackle small electrical hiccups with confidence. If you still need a solid pair of pliers, check out our recommended picks above. Explore our other DIY repair guides on the site to keep building your skills.
