
That rough idle, the stubborn check engine light, or a faint fuel smell near the engine bay — these little signs often trace back to one small part. Before you spend money on special gear, you can test purge valve without vacuum pump using tools you likely already own. It’s a simple job that saves you a shop visit and helps you catch an EVAP system problem early.
In this guide, you’ll learn How to Test Purge Valve Without Vacuum Pump, the supplies you’ll need, and a clear step-by-step process to check it at home. We’ll also share expert tips and answer the questions people ask most. Whether you’re new to car repair or a weekend gearhead, you’ll finish confident that you know exactly how your purge valve is behaving.
What Is a Purge Valve?
A purge valve is a small solenoid valve that sits in your car’s evaporative emissions control system, better known as the EVAP system. Its job is to route stored fuel vapor from the charcoal canister into the engine, where it gets burned during combustion. The engine’s computer opens and closes this solenoid at just the right moments to keep emissions low and fuel use efficient. When it sticks open or clogs shut, you’ll often see a check engine light and codes like P0441 or P0443.
What You’ll Need
Gather these before you start. Everything here is affordable and easy to find.
- A 9-volt battery (or a set of jumper wires with a 12V source)
- Two jumper wires with alligator clips
- A basic hand pump or your own lungs for the airflow test
- A short length of clean hose that fits the valve ports
- An OBD scanner to read and clear trouble codes
- A socket set or screwdriver to remove the valve
- A clean rag to wipe away dirt and debris
- Safety glasses and gloves
- Your vehicle’s repair manual for the valve’s exact location
Work in a well-ventilated space. You’ll be dealing with fuel vapor, so keep sparks and flames far away.
Step-by-Step Guide on How to Test Purge Valve Without Vacuum Pump
Step 1: Locate and Access the Purge Valve
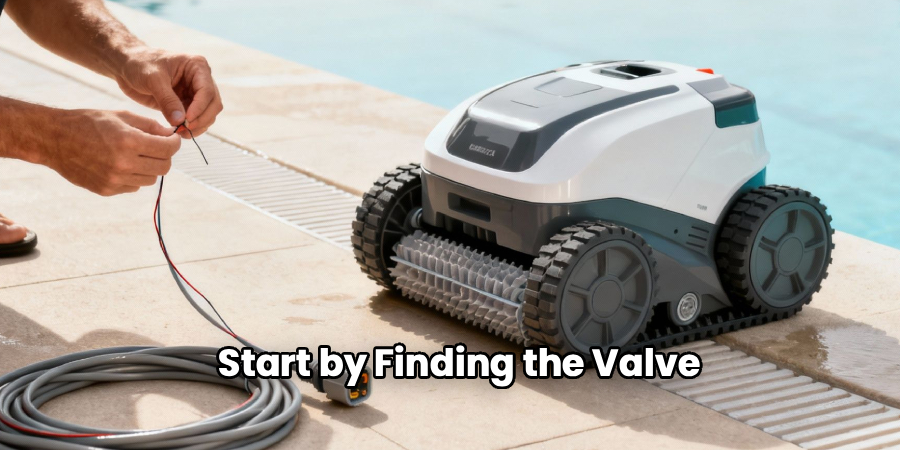
Start by finding the valve, which usually sits near the intake manifold or along the fuel line toward the charcoal canister. Check your repair manual if you’re unsure, since placement varies by make and model. Once you spot it, note how the hoses and electrical connector attach so you can put everything back correctly. Snap a quick photo with your phone as a reference. This small habit saves you guesswork later. A clear view of the valve makes the whole job smoother.
Step 2: Disconnect the Battery and Wiring
Safety first — disconnect the negative terminal on your car battery before you touch any wiring. This prevents accidental shorts and protects the engine’s computer. Next, unplug the electrical connector from the purge valve by pressing the release tab and pulling gently. Don’t yank the wires, since the connector clips can crack easily. Set the connector aside where it won’t get dirty. With power cut and wiring free, you’re ready to remove the valve safely.
Step 3: Remove the Purge Valve
Carefully detach the vacuum hoses from both ports on the solenoid valve. They may be snug, so twist gently rather than pulling hard. Then unbolt or unclip the valve from its mounting bracket using your socket set or screwdriver. Keep any small bolts in a cup so they don’t roll away. Wipe the valve down with a clean rag to clear off road grime. Now you have it in hand, ready to inspect and test on your workbench.
Step 4: Inspect for Visible Damage and Debris
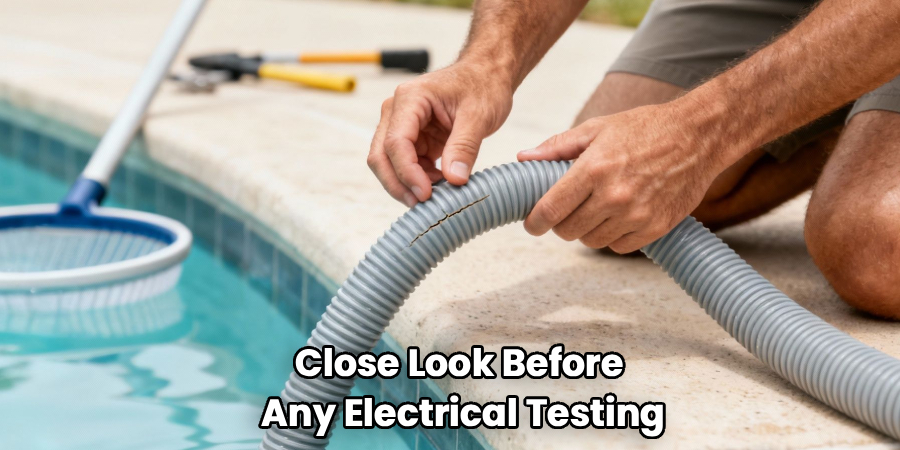
Give the valve a close look before any electrical testing. Check the ports for cracks, melted plastic, or trapped debris that could block airflow. Peer inside each opening — a clogged passage often causes the same symptoms as a failed solenoid. Shake it gently and listen for loose bits rattling around. If you spot obvious damage, you’ve likely found your problem already. A clean, undamaged valve is worth testing further.
Step 5: Do the Airflow Test in the Resting State
Here’s a big reason you can test purge valve without vacuum pump — a simple breath test works great. With no power connected, try blowing air through the valve using your short hose. A healthy purge valve stays closed when it’s at rest, so air should not pass through. If you can blow air freely, the solenoid is stuck open and needs replacing. This quick check tells you a lot before you even add electricity. Just avoid getting your mouth on fuel-soaked parts.
Step 6: Apply Power to Activate the Solenoid
Now bring the valve to life. Connect your two jumper wires to the valve’s electrical terminals, then briefly touch them to a 9-volt battery. You should hear a distinct click as the solenoid opens inside. That click is the sound of a working valve responding to power. If you hear nothing, the solenoid coil may be dead. Keep the connection brief — a few seconds is plenty to confirm movement.
Step 7: Test Airflow With Power Connected
While the battery keeps the valve energized, blow through the hose again. This time, air should pass through easily because the solenoid is holding the valve open. If air moves freely with power and stops without it, congratulations — your purge valve works correctly. If air stays blocked even when powered, the valve is stuck shut. This on-and-off airflow behavior is the clearest sign of a healthy or faulty unit. It confirms both the click and the seal in one move.
Step 8: Reinstall the Valve and Reconnect Everything
Once testing is done, put the valve back in its bracket and tighten the bolts snugly. Reattach the vacuum hoses to the correct ports, matching your earlier photo. Plug the electrical connector back in until it clicks, then reconnect the negative battery terminal. Double-check that no hose is loose or kinked, since a bad seal invites an EVAP leak. Take your time here — a rushed reinstall causes new problems. A tidy setup keeps your emissions system sealed tight.
Step 9: Clear Codes and Verify the Fix
Plug in your OBD scanner to erase any stored trouble codes and reset the check engine light. Start the engine and let it idle for a few minutes while you watch for a smoother run. Take a short drive so the computer can complete its EVAP monitor cycle. If no new codes appear, your repair worked. If the light returns, revisit your hose connections or consider whether the charcoal canister is the real culprit.
Tips for Best Results
- Test the valve at engine temperature when possible. Some solenoids fail only when hot, so a valve that passes cold might still act up on the road. If your symptoms come and go, warm it up before testing.
- Check the vacuum hoses too. A cracked or brittle hose creates the same codes as a bad valve. Squeeze each line and look for splits before you blame the solenoid itself.
- Listen closely for the click. In a noisy garage, rest your finger on the valve body while applying power. You’ll often feel the movement even when you can’t hear it clearly.
- Never force air through with high pressure. Your lungs or a gentle hand pump are enough. Blasting compressed air can damage the internal seals and give you a false failure.
- Keep a can of electronics cleaner handy. A light spray inside the ports can clear minor debris and sometimes revives a sticky valve without a full replacement.
Frequently Asked Questions
How Do I Know if My Purge Valve Is Bad?
Common signs include a rough or surging idle, trouble starting, a faint fuel smell, and a check engine light. Scan codes like P0441, P0443, or P0446 often point straight to the purge valve or its circuit. The airflow and click tests in this guide confirm the diagnosis at home. If the valve fails either test, it’s time for a replacement.
Can I Really Test the Valve Without Any Special Tools?
Yes, and that’s the beauty of it. A 9-volt battery, a couple of jumper wires, and your own breath are enough to check both the solenoid and the seal. You listen for the click when power hits the coil and feel for airflow changing between the powered and resting states. These basic checks match what a shop confirms with fancier gear.
Is It Safe to Blow Through the Purge Valve With My Mouth?
For a valve that’s clean and dry, a gentle breath test is safe and effective. Avoid it if the valve is soaked in fuel or gunk, since you don’t want to taste or inhale those residues. In that case, use a hand pump or a short hose instead. Always wear safety glasses and work in a ventilated area away from open flames.
What Happens if I Keep Driving With a Faulty Purge Valve?
A stuck valve can cause poor fuel economy, rough running, and failed emissions tests. A valve stuck open may pull raw fuel vapor into the engine, leading to hard starts and a rich condition. Over time, this stresses other parts of the emissions system. Fixing it promptly keeps your car efficient and helps you pass inspections.
How Much Does a Replacement Purge Valve Cost?
Most purge valves are budget-friendly, often ranging from $20 to $80 depending on your vehicle. Because the part is inexpensive and the swap is quick, replacing it yourself saves a good chunk of labor cost. Testing first ensures you don’t waste money replacing a part that still works. Always match the new solenoid valve to your exact make and model.
Will Clearing the Codes Fix the Problem Permanently?
Clearing codes only resets the light — it doesn’t repair a faulty valve. If the underlying issue remains, the check engine light will return after a drive cycle or two. Use the scanner to confirm your repair actually worked, not to mask the symptom. A lasting fix means addressing the valve, hoses, or canister behind the code.
Conclusion
Checking this little part is far easier than it first seems. With a 9-volt battery, a couple of jumper wires, and a simple breath test, you can test purge valve without vacuum pump in minutes and know exactly where you stand. Listen for that click, feel for the airflow change, and you’ll diagnose an EVAP issue like a pro — no expensive gear required.
If you still need reliable tools for the job, check out our recommended products above to gear up with confidence. Ready for more? Explore our other guides on OBD diagnostics, emissions repairs, and everyday car maintenance.
