
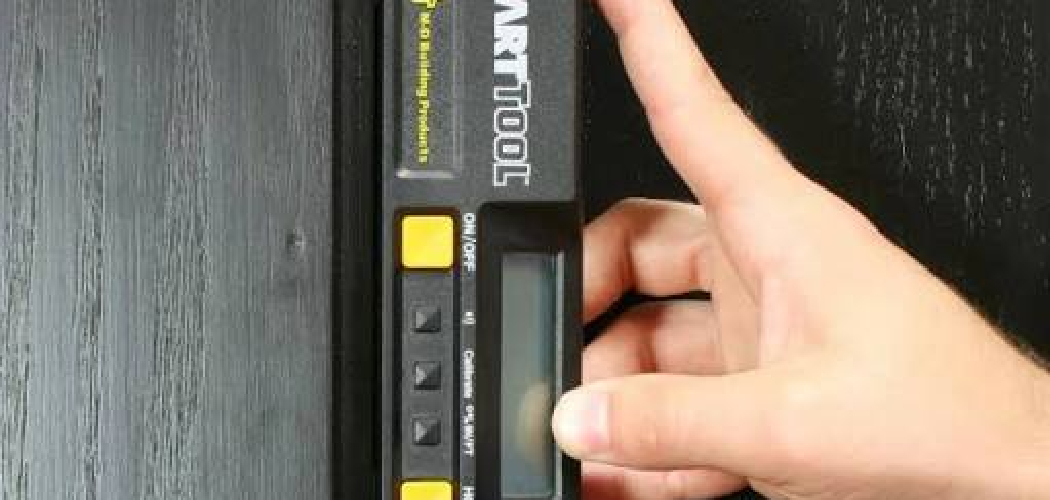
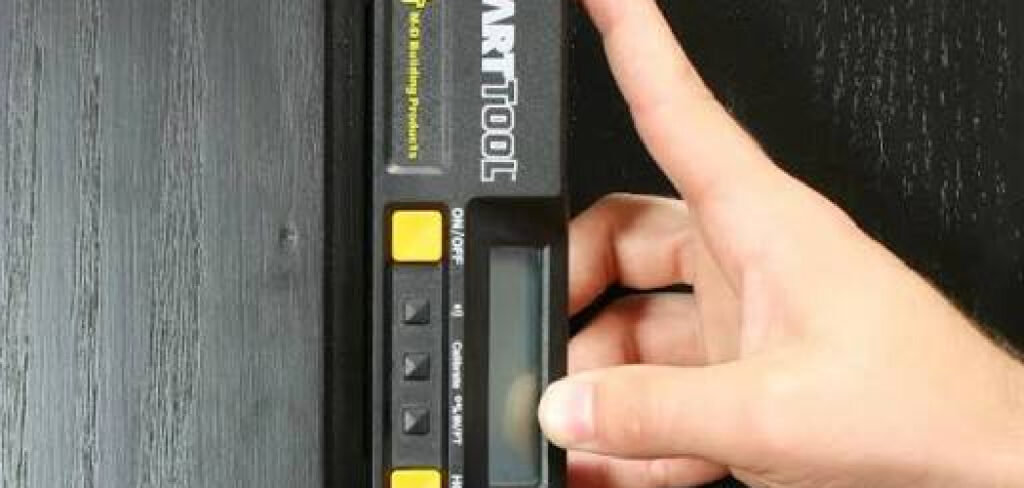
Picture this: you’re hanging a row of floating shelves, your smart level reads dead flat, but when you step back, everything tilts to one side. Frustrating, right? That drift usually means your tool has lost its accuracy and needs attention. Learning to calibrate smart level readings takes just a few minutes and saves you from crooked shelves, uneven picture frames, and wasted materials.
In this guide, you’ll learn How to Calibrate Smart Level, the gear you need, and a clear step-by-step process to get it reading true again. We’ll also share insider tips and answer the questions people ask most. Whether you’re a first-timer or a seasoned DIYer, you’ll walk away confident that your measurement tool tells the truth every single time.
What Is a Smart Level?
A smart level is a digital measuring tool that shows exact angles on an LED or LCD screen instead of relying only on a traditional bubble level. Inside sits a tiny angle sensor, sometimes called an inclinometer, that detects tilt down to a fraction of a degree. Many models beep when you hit level or plumb, and some connect to an app for detailed readings. Think of it as a bubble level and a protractor rolled into one precise, easy-to-read package.
What You’ll Need
Gather these before you start. Having everything ready keeps the process smooth and quick.
- Your smart level (fully charged or with fresh batteries)
- A flat, stable reference surface like a machined countertop or thick glass
- A clean, dry cloth to wipe the base rails
- A screwdriver if your battery compartment needs one
- The user manual for your specific model
- Fresh batteries as a backup
- A pencil to mark your reference spot
- A soft brush for clearing dust from the base
- Patience — rushing leads to off readings
Keep the workspace tidy. Even a speck of grit under the base can throw off your accuracy.
Step-by-Step Guide on How to Calibrate Smart Level
Step 1: Check the Batteries and Power
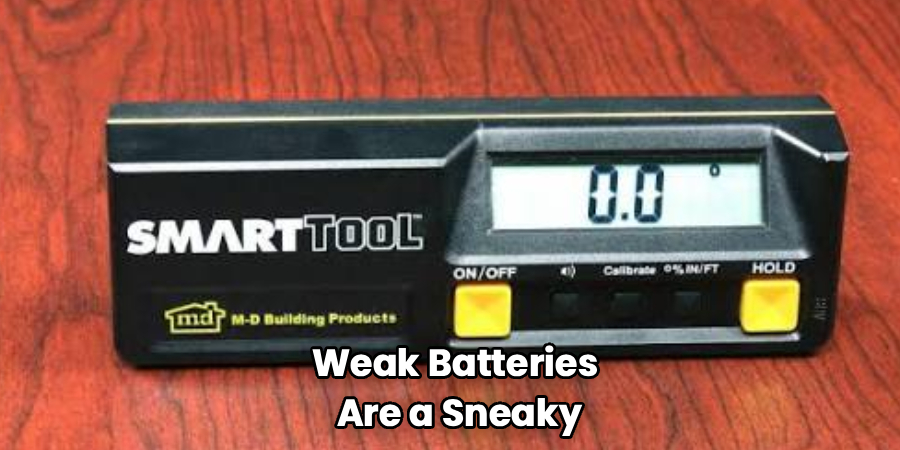
Weak batteries are a sneaky cause of drifting readings. Before anything else, power on your digital level and confirm the battery indicator shows a healthy charge. If the display flickers or dims, swap in fresh cells right away. A low charge can make the angle sensor report inconsistent numbers, which defeats the whole point of recalibration. Take thirty seconds here and you’ll avoid chasing errors that batteries caused in the first place.
Step 2: Clean the Base and Rails
Dust, sawdust, and dried adhesive love to hide on the bottom edge of your tool. Wipe the base rails with a clean, dry cloth, then run a soft brush along any grooves. Even a tiny bump under the base tilts the reading and ruins your accuracy. Check the reference surface too, since debris there causes the same trouble. This quick cleaning step is the one people skip most, and it’s often the whole fix. A spotless base gives you honest numbers.
Step 3: Find a Truly Flat Reference Surface
Your calibration is only as good as the surface you rest on. Look for something dead flat, like a granite countertop, a machined workbench, or a thick pane of glass. Avoid warped wood or a wobbly table, since these fool the inclinometer before you even begin. You don’t need the surface to be perfectly level, just perfectly flat. Set the tool down and make sure it sits without any rock or wobble. A solid reference is the foundation of the whole job.
Step 4: Enter Calibration Mode
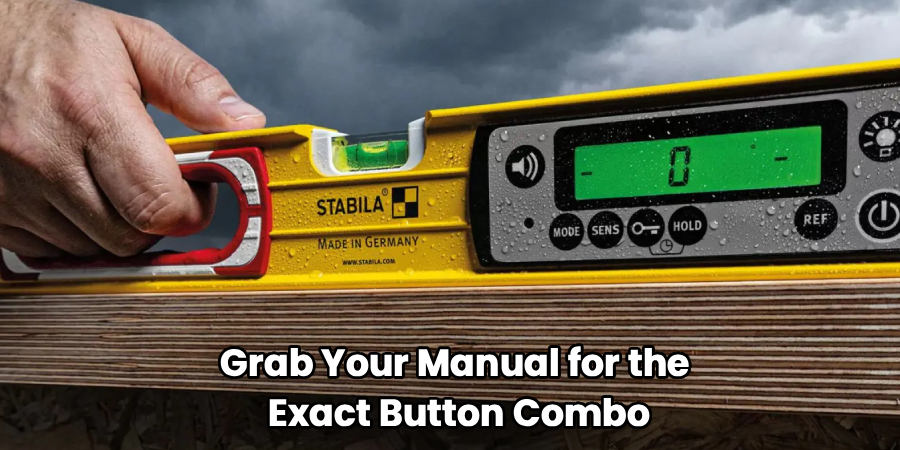
Every model has its own way in, so grab your manual for the exact button combo. Many units use a long press on the mode or unit button, sometimes held for three to five seconds. When you calibrate smart level settings, the screen usually flashes “CAL” or a similar prompt to confirm you’re in the right menu. Read the on-screen instructions carefully before pressing anything else. Guessing here can reset other features or skip a step. A minute with the manual saves real headaches.
Step 5: Set the First Reference Position
With calibration mode active, place the tool flat on your reference surface. Hold it still and press the button that locks in the first reading, as your manual directs. The device now records this position as one baseline point. Keep your hands steady and don’t lean on the surface, since any pressure shifts the angle. Wait for the beep or on-screen confirmation before moving. This first capture teaches your bubble level’s digital brain where “flat” truly sits.
Step 6: Flip the Level 180 Degrees
Here’s the clever part. Rotate the tool exactly end-for-end, keeping it on the same spot of your reference surface. This flip lets the angle sensor compare two opposite readings and cancel out any surface imperfection. Line it up carefully so it sits in the identical position, just reversed. Press the confirm button again and hold steady. Rushing or nudging the tool during the flip is the most common mistake, so move with care.
Step 7: Confirm and Save the Calibration
Once both positions are captured, the tool averages them to find true zero. Watch for a “done,” “PASS,” or steady reading that signals success. Press the save or power button as instructed to lock in your new settings. If the screen shows an error, don’t panic — just repeat the previous steps with a cleaner surface and steadier hands. Saving properly means the recalibration sticks even after you power down. Now your measurement tool remembers its corrected zero.
Step 8: Test the Accuracy
Trust, but verify. Place your level on a surface and note the reading, then flip it 180 degrees in the same spot. A properly calibrated tool shows the same number both ways, or a mirror value like +0.1 and −0.1. If the two readings differ by more than a hair, run the process again. This flip test is the gold standard for checking digital level accuracy. It takes seconds and gives you real peace of mind before any project.
Step 9: Recheck Against a Known Level
For extra confidence, compare your freshly tuned tool against a reliable reference. Lay it beside a quality bubble level or a second digital level you trust on the same flat spot. The readings should agree closely. If they don’t, revisit your reference surface, since a warped one is usually the culprit. This cross-check catches subtle drift the flip test might miss. Once both tools agree, you know your inclinometer is spot-on and ready to work.
Tips for Best Results
- Recalibrate after big temperature swings. Angle sensors react to heat and cold, so a tool stored in a freezing garage may read off indoors. Let it reach room temperature first, then recalibrate for reliable numbers.
- Handle drops with a re-check. If your level takes a hard fall, assume the calibration shifted. Run the flip test before you rely on it again — one dropped tool can ruin a whole day of careful work.
- Store it flat and protected. Tossing your tool loose in a toolbox invites knocks that nudge the sensor. Keep it in its case, laid flat, to hold its accuracy far longer.
- Calibrate on the surface type you use most. If you mostly work with masonry or glass, test on something similar. It builds trust in how your readings translate to real jobs.
- Log your last calibration date. A quick note on masking tape reminds you when a fresh check is due, especially before precision projects.
Frequently Asked Questions
How Often Should I Calibrate a Smart Level?
Most makers suggest checking calibration every few months with regular use. If you use your tool daily or on job sites, a monthly flip test is smart. Always recalibrate after a drop, a big temperature change, or any time the readings look suspicious. Occasional hobby users can get away with checking before each major project.
Can I Calibrate a Smart Level Without a Perfectly Flat Surface?
You need a flat surface, but it does not have to be perfectly level. The 180-degree flip method cancels out small tilts in the reference, which is why it works so well. What matters most is that the surface stays rigid and doesn’t rock or flex. A warped or wobbly base will throw off the angle sensor no matter how careful you are.
Why Does My Digital Level Show Different Readings Each Time?
Inconsistent numbers usually point to a dirty base, low batteries, or an unstable reference surface. Wipe the rails, install fresh cells, and test on something solid before blaming the tool itself. If the drift continues after a clean recalibration, the internal sensor may be failing. In that case, contact the maker, since many models carry a warranty.
Is It Safe to Calibrate a Smart Level Myself?
Absolutely — home calibration is designed to be simple and safe. You’re only pressing buttons and flipping the tool, so there’s no risk to you or the device. Just follow your manual’s exact steps to avoid resetting other features by accident. If your model has no calibration menu at all, check whether the maker offers factory servicing instead.
What’s the Difference Between a Smart Level and a Bubble Level?
A traditional bubble level uses a liquid vial and a floating bubble to show level and plumb. A smart level adds a digital angle sensor that displays exact degrees on a screen, often with audio alerts. That means you get precise numeric readings instead of eyeballing a bubble. Many smart levels include both features, giving you the best of both worlds.
Do All Smart Levels Have a Calibration Feature?
Most quality models include a built-in calibration mode, but not every budget unit does. Check your manual or the manufacturer’s site to confirm yours supports it. If there’s no user calibration option, the tool may rely on factory settings that need professional adjustment. When shopping, look for this feature so you can keep your measurement tool accurate for years.
Conclusion
Keeping your tool accurate is easier than it looks. With a clean base, a flat reference surface, and the simple 180-degree flip method, you can calibrate smart level readings in just a few minutes and trust every measurement again. Regular checks mean no more crooked shelves or wasted materials — just clean, confident results on every project.
If you haven’t found the right tool yet, check out our recommended products above to pick a model with a reliable calibration feature. Ready for more? Explore our other guides on digital levels, measuring tools, and precision DIY techniques.
