


That old garden shed has served you well, but now it’s sitting crooked, the door sticks, and the floor feels spongy underfoot. Maybe the base has rotted, or you simply want to move it to a better spot in the yard. Either way, you need to lift a garden shed safely without cracking the walls or hurting your back. Good news: with the right tools and a steady approach, this job is far more manageable than it looks.
In this guide, you’ll learn exactly How to Lift a Garden Shed step by step. We’ll cover the gear you need, how to protect the structure, and a few pro tricks for leveling and relocation. Whether you’re a weekend DIYer or a seasoned hobbyist, you’ll feel confident before you touch a single jack.
What You’ll Need
Before you start heaving, gather your equipment. Having everything ready keeps the job smooth and safe.
- A hydraulic jack (a bottle jack or floor jack rated well above your shed’s weight)
- Cinder blocks or concrete blocks to support the raised structure
- Wooden blocking and shims for fine adjustments
- Two or more skids or pressure-treated timbers if you plan on moving it
- A pry bar for coaxing stubborn corners loose
- A spirit level (a long one works best) for checking your leveling
- Work gloves and safety glasses
- Steel-toe boots to protect your feet
- A tape measure
- A cordless drill and screws for reinforcing weak floor joists
- A helper or two — this is not a solo job
- A shovel for clearing and prepping the ground
Keep everything within reach. You don’t want to crawl out from under a raised shed to grab a forgotten shim.
Step-by-Step Guide on How to Lift a Garden Shed
Step 1: Inspect the Shed and Its Base
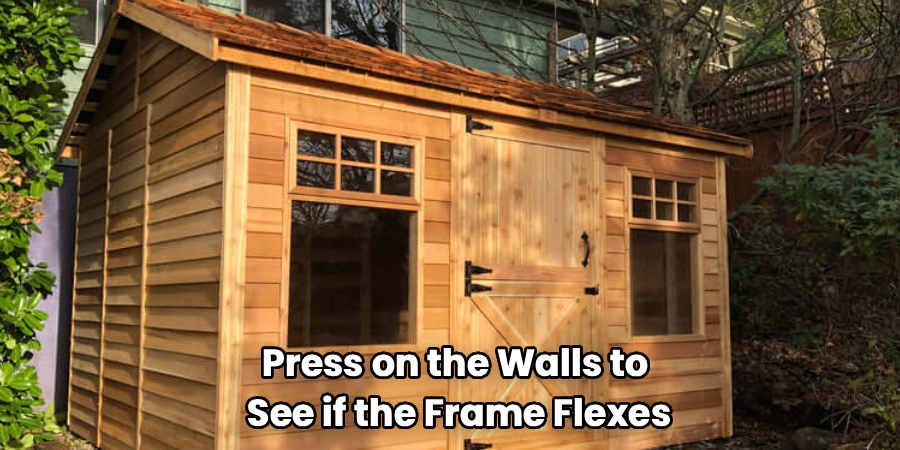
Start by walking around the whole structure. Look for soft spots in the floor, rotted timbers, and any signs of sagging. Press on the walls to see if the frame flexes or feels loose. Check the shed foundation underneath, since a crumbling base often explains why you need to raise it in the first place. Note which corners sit low and which sit high. This quick assessment tells you where to place your jack and how much lifting each corner will need.
Step 2: Empty the Shed Completely
Never try to lift a garden shed with all your gear still inside. Every mower, tool, and bag of soil adds weight and stress to the frame. Clear out everything, including shelving and anything bolted to the walls. A lighter, empty shed lifts more evenly and puts far less strain on the floor joists. It also lowers your risk if something shifts unexpectedly. Take this chance to sweep the floor so you can spot weak boards you’ll want to reinforce later.
Step 3: Reinforce Weak Floor Joists
A shed with rotten or bouncy floor joists can twist or crack when you lift it. Crawl underneath or peek through any gaps to check their condition. If a joist feels soft or looks split, sister it by screwing a fresh length of pressure-treated timber alongside the old one. This spreads the load and keeps the structure rigid during the lift. Skipping this step is a common mistake that leads to sagging floors and warped walls. A few extra minutes here saves you real headaches down the line.
Step 4: Position Your Hydraulic Jack
Find a solid contact point, usually a main floor joist or the base rail near a corner. Place a sturdy wooden block on the ground first, then set your hydraulic jack on top of it. This wide footing stops the jack from sinking into soft soil. Never jack against a thin floorboard, since it will simply punch through. Line the jack up so it pushes straight against the frame, not at an angle. A properly placed jack does the heavy work while you stay in control.
Step 5: Raise One Corner Slowly
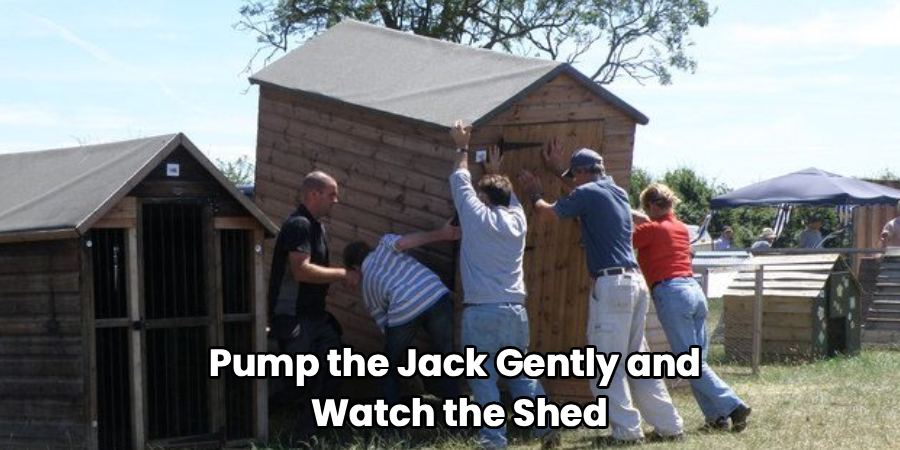
Pump the jack gently and watch the shed carefully. Lift just an inch or two at a time, then pause to check how the frame responds. Listen for cracking sounds and stop immediately if you hear any. Raising one corner too fast can rack the whole structure and pop the wall panels loose. Slow, patient pumping keeps everything square. Once you reach the height you want, hold it steady while your helper slides support into place.
Step 6: Slide Supports Under the Frame
With the corner raised, stack your cinder blocks under the base rail to hold the weight. Add wooden shims on top to fine-tune the height and fill small gaps. Make sure the blocks sit on firm, level ground so they won’t sink or tilt. Never rely on the jack alone to hold the shed up while you work beneath it. The blocks are your safety net. Once the support feels solid, slowly lower the jack until the frame rests fully on the blocks.
Step 7: Repeat Around the Perimeter
Move to the next corner and repeat the same careful process. Work your way around the shed, lifting and supporting each point in turn. Try to keep the whole structure roughly even as you go, rather than jacking one side way up before touching the other. This balanced approach protects the frame from twisting. Keep your spirit level handy and check the base as you progress. Steady, methodical work beats rushing every single time.
Step 8: Level and Secure the Shed
Once the shed sits on its blocks, it’s time for precise leveling. Lay your spirit level across the floor in several directions and note any dips. Adjust individual supports with thin shims until the bubble sits dead center. A level shed keeps doors swinging freely and prevents water from pooling on the roof. When everything reads true, double-check that each block is snug and stable. Tap the shims in firmly so nothing works loose over time.
Step 9: Prepare for Shed Relocation (Optional)
If your goal is moving the shed rather than just leveling it, slide skids underneath now. Position two pressure-treated timbers or steel pipes beneath the base rails while the shed rests on its supports. Lower the structure gently onto the skids, then remove the blocks. With a helper, you can slide or roll the shed to its new spot across firm ground. Take shed relocation slowly, keeping the load balanced so it doesn’t tip. Rope or a small winch makes longer moves much easier.
Step 10: Lower and Finish the Job
Once the shed sits where you want it, set the final foundation. Lower it onto fresh cinder blocks, a gravel pad, or paving slabs, checking your leveling one last time. Remove all jacks, skids, and loose blocking from underneath. Give the frame a gentle shake to confirm it feels solid and secure. Then move your tools and gear back inside. Step back, admire your work, and enjoy a shed that finally sits straight and true.
Tips for Best Results
- Lift on a dry day. Wet soil shifts under your blocks and lets your jack sink. Firm, dry ground gives you the stable base every safe lift depends on.
- Use a jack rated well above the shed’s weight. A tool working near its limit is a tool waiting to fail. Extra capacity means smoother, safer control the whole way through.
- Keep both hands and feet clear of the load. Never slide any body part under a shed held up by the jack alone. Only reach in once solid blocks are carrying the weight.
- Snap a photo before you empty the shed. It gives you a handy reference for putting shelves and hooks back exactly where they belong.
- Add a moisture barrier under the new base. A layer of gravel or a damp-proof membrane keeps the floor joists dry and stretches your shed’s lifespan by years.
Frequently Asked Questions
Can I Lift a Garden Shed by Myself?
For small sheds you can raise one corner solo with a hydraulic jack, but it’s not the safest approach. A shed can shift or tip while you’re distracted, and you’ll want a spare set of hands to slide blocks into place. At the very least, have someone nearby in case something goes wrong. For anything larger than a compact storage unit, always work with a helper.
How Much Weight Can a Garden Shed Handle During Lifting?
The frame itself only bears so much stress before it twists, so lifting empty is essential. Focus your jack on the main floor joists and base rails, which carry the structural load. Weak or rotted timbers can give way, so reinforce them first. When in doubt, lift slowly and support each corner before adding any pressure elsewhere.
Is It Safe to Rest a Shed on Cinder Blocks?
Yes, cinder blocks make a reliable, long-term foundation when placed correctly. Set them on firm, level ground and space them evenly under the base rails and joints. Add pressure-treated wood or shims on top for fine leveling. Just avoid stacking blocks too high without extra bracing, since tall towers can tip under a heavy load.
How Do I Move a Shed Without Breaking It?
Slide skids or timbers under the base while the shed rests on supports, then lower it gently onto them. Keep the structure balanced and move it slowly across firm ground with a helper. For longer distances, a rope or winch helps you pull without straining the frame. Rushing shed relocation is the fastest way to crack a wall panel.
What’s the Best Foundation to Lower My Shed Onto?
A level gravel pad or a grid of concrete paving slabs both work beautifully. They drain well, resist shifting, and keep the floor joists off damp soil. Cinder blocks are great for raising a shed off the ground where airflow matters. Whichever you choose, get the surface level before you lower the shed for good.
Conclusion
Lifting your shed doesn’t have to feel like a gamble. With a solid hydraulic jack, sturdy cinder blocks, and a patient, step-by-step approach, you can raise, level, or relocate it without damaging a thing. Take your time, keep the load balanced, and always support the frame before you crawl beneath it. The payoff is a shed that sits straight, drains properly, and lasts for years.
If you haven’t gathered your gear yet, check out our recommended products above to find the right jack and supports. Ready for more? Explore our other guides on shed foundations, leveling, and yard upgrades.
