
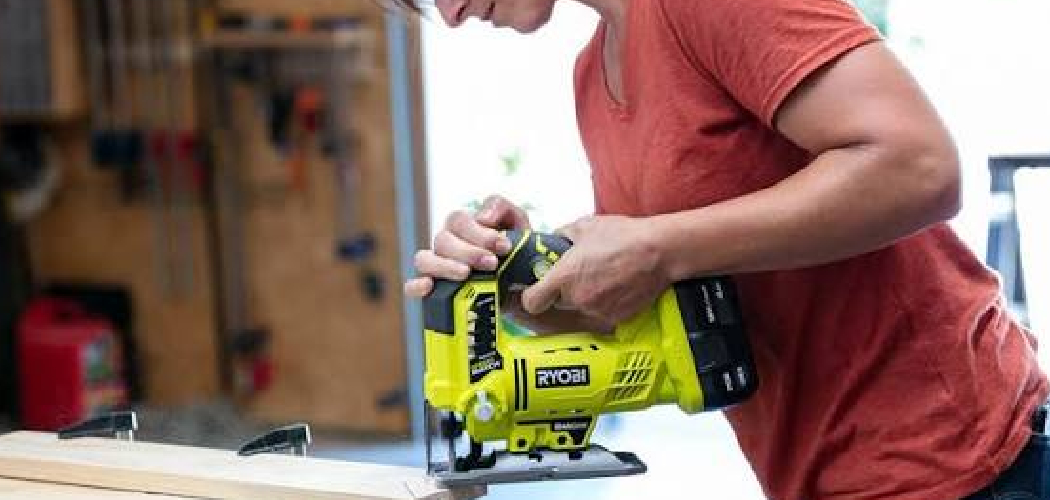
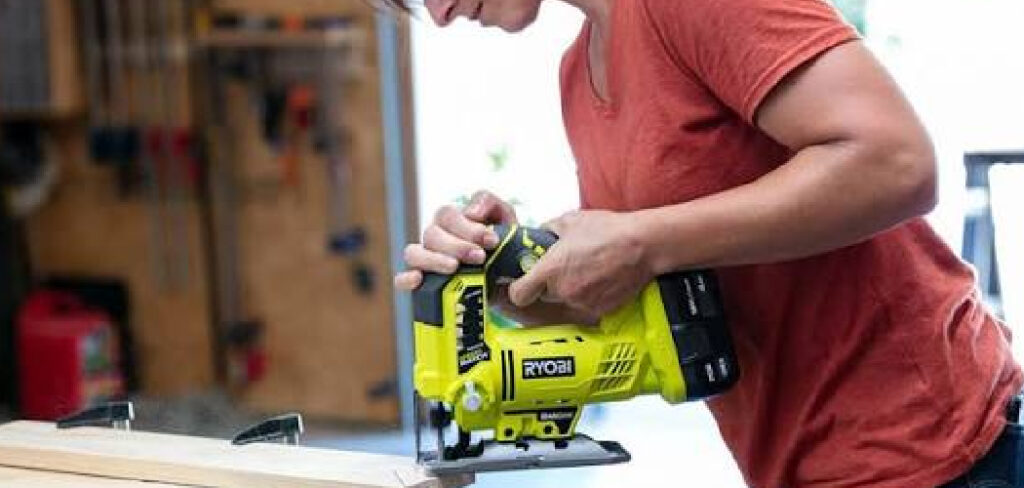
You’ve got a sheet of plywood, a pencil line curving across it, and a project idea that won’t leave you alone. Maybe it’s a rounded shelf, a custom sign, or a hole for a new sink. A straight saw won’t follow that curve, but a jigsaw power tool will glide right along it. This handy saw handles curves, corners, and shapes that other tools simply can’t touch.
In this guide, you’ll learn what supplies to gather, How to Use a Jigsaw Power Tool, and the steps that keep every line smooth. We’ll cover blade choices, orbital action settings, bevel cuts, and plunge cuts along the way. Whether you’re brand new to power tools or brushing up your skills, you’ll walk away ready to cut with confidence. Let’s get started.
What You’ll Need
Round up these items before you flip the switch so nothing slows you down:
- A jigsaw with a variable-speed trigger
- The right blades for your material (wood, metal, or plastic)
- Your workpiece: plywood, lumber, sheet metal, or laminate
- Clamps or a workbench to hold everything steady
- A pencil and a straightedge for marking cut lines
- Safety glasses and hearing protection
- A dust mask for sanding and cutting fine particles
- A shop vacuum or brush to clear sawdust
- Painter’s tape to reduce splintering (optional)
- A speed square for straight guided cuts (optional)
Having your gear within arm’s reach means you can focus on the cut instead of hunting for a missing blade.
Step-by-Step Guide on How to Use a Jigsaw Power Tool
Step 1: Pick and Install the Right Blade

The blade you choose changes everything about your results. Wood blades have larger teeth for fast cutting, while metal blades have fine, closely spaced teeth for slow, clean work. Match the blade to your material, then slide the shank into the tool’s clamp until it clicks or locks. Give it a gentle tug to make sure it’s seated tight. Always unplug the saw or remove the battery before swapping blades. A loose or wrong blade leads to rough edges and dangerous kickback.
Step 2: Mark Your Cut Line Clearly
Grab your pencil and draw a bold, visible line where you want to cut. For straight runs, use a straightedge or speed square so the line stays true. For curves, sketch the shape freehand or trace a template you’ve made. A dark, clean line gives your eyes something easy to follow once the motor is roaring. If your material splinters easily, lay a strip of painter’s tape along the line first. This little trick keeps the top surface from chipping as the teeth pass through.
Step 3: Secure Your Workpiece
A wobbling board is the enemy of a clean cut, so clamp your material firmly to a workbench. Position the piece so your cut line hangs just past the edge of the bench, giving the blade room to move freely underneath. Never let the blade cut into your table or sawhorse. Check that both hands can stay clear of the cutting path once you start. Solid clamping also cuts down on vibration, which means smoother edges and less noise. Take the extra minute here; it pays off every single time.
Step 4: Set the Speed and Orbital Action
Most saws let you dial in the speed and adjust the orbital action, which controls how aggressively the blade swings forward as it moves up. Use high speed and strong orbital action for fast cuts through thick wood. Switch to low speed and zero orbital action for metal, plastic, or tight curves where control matters most. Matching these settings to your material makes a huge difference in finish quality. When you’re unsure, start slow and work your way up. You’ll quickly learn what each setting feels like.
Step 5: Start Your Cut the Right Way
Rest the front of the base plate, called the shoe, flat on your material before the blade touches anything. Line up the blade just outside your cut line, then squeeze the trigger and let the saw reach full speed. Only then should you ease the blade forward into the wood. Starting at full speed prevents the blade from grabbing and jerking. Let the tool do the work rather than forcing it. A gentle, steady push gives you the cleanest edge.
Step 6: Guide the Saw Along Your Line
Keep the base plate flat and push the jigsaw power tool forward at a steady pace, following your marked line. Let the blade cut at its own rhythm instead of shoving it faster than it wants to go. For curves, turn the whole tool slowly and smoothly, keeping the blade centered on the line. If you push too hard, the blade can bend and leave an angled edge on the underside. Watch the line, not the blade, so your eyes stay ahead of the cut. Relax your grip and trust the motion.
Step 7: Make Bevel and Plunge Cuts When Needed
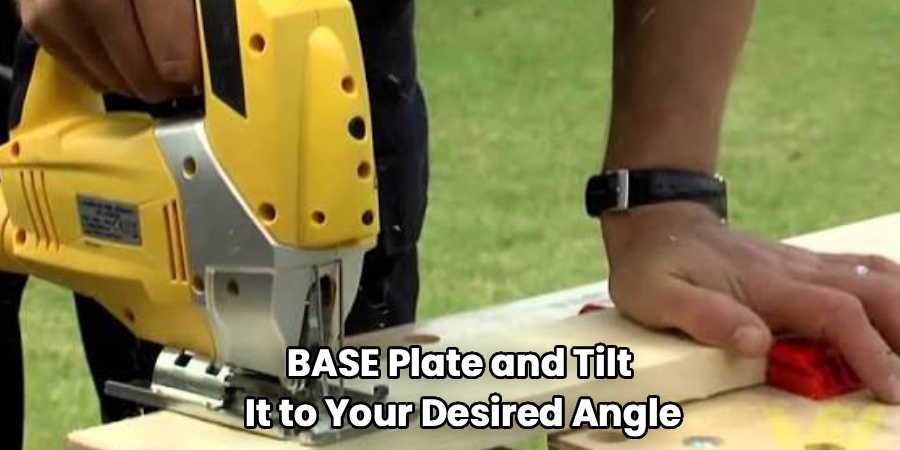
For angled edges, loosen the base plate and tilt it to your desired angle for a clean bevel cut. Lock it back down and cut just as you normally would, following your line at the new angle. To start a cut in the middle of a panel, use a plunge cut: rest the front of the shoe down, tilt the tool so the blade clears the surface, then slowly lower the spinning blade into the wood. Once it breaks through, level the saw and cut forward. These techniques open up sink cutouts, inlays, and interior shapes. Practice both on scrap first.
Step 8: Finish the Cut and Support the Offcut
As you near the end of your line, slow down and hold the waste piece with your free hand or a helper’s hand. This stops the offcut from snapping off and tearing a chunk from your good edge. Let the blade finish moving before you lift the saw away from the material. Release the trigger and wait for the blade to stop completely before setting the tool down. A calm finish protects both your project and your fingers. Rushing the last inch ruins otherwise perfect work.
Step 9: Clean Up and Smooth the Edges
Wipe away the sawdust and inspect your fresh cut under good light. Run a finger along the edge to feel for rough spots, splinters, or burrs. A quick pass with sandpaper or a file smooths everything and gives your project a finished look. Check that curves flow evenly and straight lines stay true. If an edge looks ragged, a finer blade next time will help. Clean edges make the difference between a rushed job and one you’re proud to show off.
Tips for Best Results
- Let the blade cool on long cuts. Blades heat up fast in dense wood or metal, and a hot blade dulls quickly. Pause every so often on big jobs to keep your edges crisp.
- Cut on the waste side of your line. Always aim the blade just outside your mark, since the blade itself removes material. This keeps your finished piece the exact size you planned.
- Use a fresh blade for visible cuts. A dull blade wanders, burns, and splinters the surface. Swapping in a sharp one takes seconds and instantly upgrades your finish.
- Flip delicate material face-down. The teeth cut on the upstroke, so the top surface splinters most. Cutting with the good side down hides any chipping underneath.
- Practice curves on scrap first. Tight turns take a feel you build through repetition. A few practice arcs save you from ruining an expensive board.
Frequently Asked Questions
What Can You Cut With a Jigsaw?
A jigsaw cuts wood, plywood, plastic, laminate, and even sheet metal with the proper blade. It shines at curves, circles, and intricate shapes that straight saws can’t handle. With the right blade and speed, you can tackle everything from a rounded tabletop to a sink cutout. Just match the blade to your material and you’re set for almost any shape.
How Do I Get Straight Cuts With a Jigsaw?
Clamp a straightedge along your cut line and run the base plate against it as a guide. Move at a slow, steady pace and avoid pushing the tool faster than the blade wants to go. Using a sharp, wider blade also helps resist bending and wandering. With a guide and patience, your straight cuts will look clean and professional.
Is It Safe to Use a Jigsaw for Beginners?
Yes, a jigsaw is one of the friendlier power saws for newcomers. Keep your material clamped, both hands on the tool, and your fingers well away from the blade path. Always wear safety glasses and let the blade stop completely before setting the saw down. Start on scrap wood to build confidence before cutting your real project.
Why Is My Jigsaw Blade Bending or Making Angled Cuts?
Bending usually happens when you push the tool too hard or use a blade that’s too thin for the job. Ease up on your forward pressure and let the blade cut at its own speed. Switch to a thicker, sharper blade for straighter results, especially in dense wood. Slowing down through curves also keeps the blade upright and true.
What Is Orbital Action and When Should I Use It?
Orbital action swings the blade slightly forward as it moves up, biting into the material more aggressively. Turn it up for fast, rough cuts through thick wood where speed matters more than smoothness. Dial it down or off for metal, plastic, and delicate curves that need a clean, controlled edge. Matching orbital action to your task gives you the best balance of speed and finish.
Conclusion
Cutting curves and shapes doesn’t have to feel intimidating. With a jigsaw power tool and a bit of practice, you’ll turn plain boards into custom projects in no time. Remember to match your blade to the material, clamp your work tight, and let the saw move at its own pace. Take your time on curves and finish every cut with a clean, smooth edge. If you haven’t picked one up yet, check out our recommended picks above. Ready to build something great? Explore our other hands-on guides for more tips that keep you cutting with confidence.
