
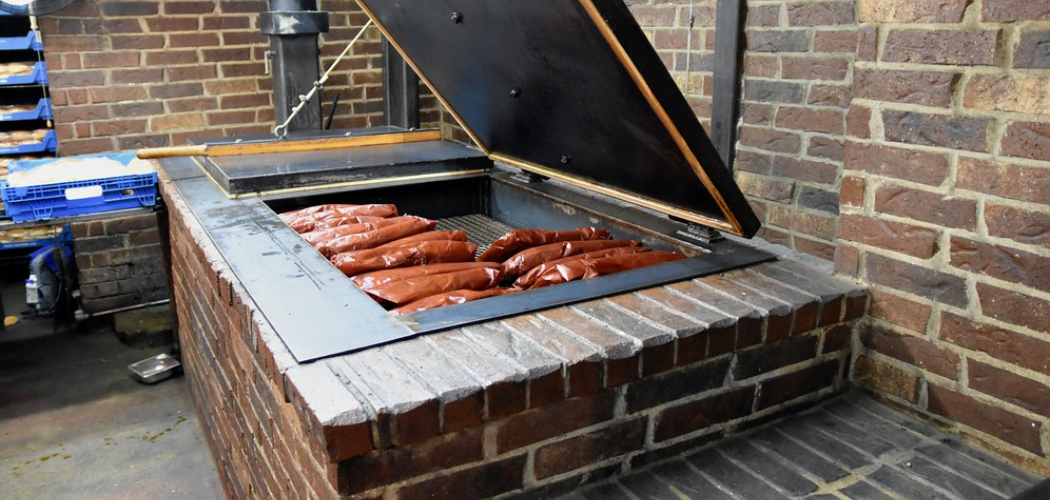
You fire up the grill for burgers, lift the lid, and there it is: a crusty layer of blackened gunk baked onto the grates from last weekend. Scrubbing with a wire brush barely makes a dent, and you’re left wondering if your grill will ever look clean again. A grill brick fixes exactly this problem. This handy little block scours away carbon buildup, grease, and stubborn residue without harsh chemicals or endless elbow grease.
In this guide how to use a grill brick, you’ll learn what this tool is, what you’ll need before you start, and how to clean your grates step by step. We’ll cover insider tips that keep your grill spotless and answer the questions cooks ask most. By the end, you’ll tackle even the grimiest grates with confidence. Let’s clean.
What Is a Grill Brick?
A grill brick is a lightweight block made of pressed pumice or a similar abrasive material. Cooks and pitmasters use it to scrub baked-on carbon, grease, and food residue off grill grates, flat-top griddles, and other cooking surfaces. As you rub it across a hot surface, the block slowly crumbles away, taking the grime with it. It’s a favorite in commercial kitchens because it cleans fast without chemicals or metal bristles.
What You’ll Need
A little prep makes cleanup quick and safe. Gather these items before you begin.
- A pumice cleaning block, sized for your grill or griddle
- Heat-resistant gloves to protect your hands
- A metal scraper or spatula for loosening thick chunks first
- A bucket of warm water to dampen the surface
- A stiff-bristle or nylon brush for finishing touches
- A few clean rags or paper towels for wiping down
- A bit of cooking oil to season the grates afterward
- A dustpan or trash bin for the crumbly residue
- Safety glasses if you’re sensitive to flying debris
Keeping everything within reach means you won’t hunt for supplies with greasy hands.
Step-by-Step Guide on How to Use a Grill Brick
Step 1: Heat the Grill Surface First
Warm grates clean far easier than cold ones. Fire up your grill or griddle and let it run for ten to fifteen minutes on medium-high. The heat softens grease and loosens baked-on carbon, so the block glides instead of fighting. Don’t let it get scorching hot, though, or you risk burning yourself even through gloves. Aim for warm enough to sizzle a drop of water. This simple prep step cuts your scrubbing time in half.
Step 2: Scrape Off the Big Chunks
Before you reach for the block, knock loose the worst of it. Run a metal scraper or the edge of a spatula across the grates to lift thick, flaky buildup. This clears the way so your pumice block lasts longer and works more efficiently. Push the debris toward the grease trap or a waiting dustpan. Skipping this step wears down your block fast and leaves you scrubbing harder than you need to. A quick pass now saves effort later.
Step 3: Dampen the Surface and the Block
Moisture is your friend here. Splash a little warm water across the grates or griddle top, just enough to create a bit of steam and slurry. You can also dip the block briefly, though many cooks prefer wetting the surface instead. The water helps the pumice break down evenly and traps the loosened grime so it doesn’t scatter. Avoid drowning the surface, since too much water cools it down and slows the cleaning. A light, steady dampness works best.
Step 4: Scrub With Firm, Even Pressure
Now grab your grill brick and get to work. Hold it flat against the surface and push in long, steady strokes, following the direction of the grates. Apply firm, even pressure and let the abrasive material do the heavy lifting. You’ll see a gray paste form as the block crumbles and lifts the carbon away. Don’t press so hard that you gouge the metal or snap the block. Steady, patient scrubbing beats furious scrubbing every time.
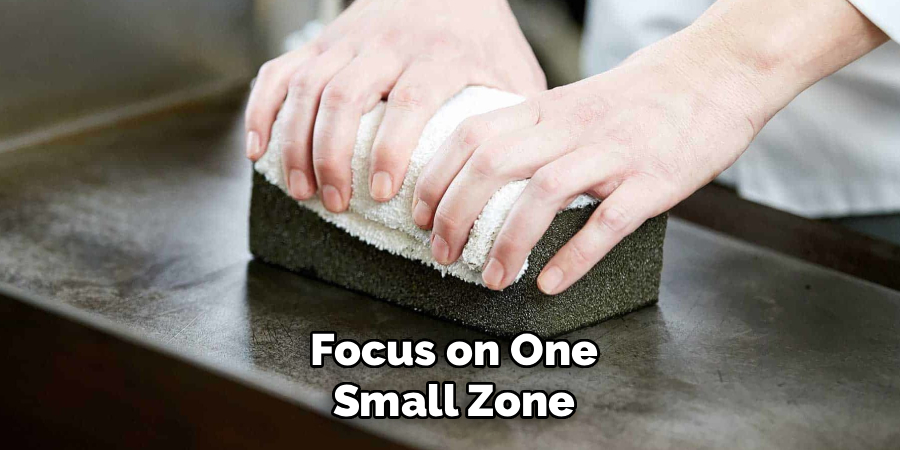
Step 5: Work in Small Sections
Tackle the surface a little at a time instead of racing across the whole thing. Focus on one small zone, scrub until it’s clean, then move to the next. This keeps you from missing spots and lets you gauge your progress. It also helps the water and slurry stay active where you’re working. Rushing over the entire griddle at once usually leaves streaks and stubborn patches behind. Slow and sectioned gives you a uniform, spotless finish.
Step 6: Rinse and Wipe Away the Residue
Once a section looks clean, clear off the gray slurry. Splash a bit more warm water to loosen it, then wipe everything down with a clean rag or paper towel. Check that no gritty pumice residue lingers, since you don’t want that ending up in your next meal. Repeat the rinse until the water runs clear and the surface feels smooth. A stiff nylon brush helps chase residue out of tight grate gaps. Clean wiping now means safer, better-tasting food later.
Step 7: Inspect and Touch Up Any Spots
Take a close look at your work under good light. Tilt your head and check the grates from an angle, where leftover grime shows up best. If you spot any stubborn dark patches, give them another pass with the block and a splash of water. Pay extra attention to corners and edges where buildup loves to hide. Catching these spots now keeps grime from hardening again next time. A thorough inspection is the mark of a job done right.
Step 8: Dry and Season the Grates
Never leave bare metal wet, or you invite rust. Wipe the grates completely dry with a clean towel or let the residual heat evaporate the moisture. Once dry, rub a thin layer of cooking oil across the surface using a folded paper towel. This seasoning step protects the metal and creates a natural non-stick finish for your next cook. Skipping it can leave your grates prone to sticking and corrosion. A quick oil rub keeps everything in top shape.
Step 9: Store the Block Properly
Take care of your cleaning block and it’ll last longer. Rinse off any leftover grease, then set it somewhere dry to air out completely. Storing it damp can cause it to crumble apart or grow grimy over time. Keep it in a dry drawer or container, away from moisture and food. Some cooks let theirs fully dry before the next use to preserve its shape. A little care between cleanings stretches every block further.
Tips for Best Results
Want to clean like a seasoned line cook? These pointers go beyond the basics.
- Clean while it’s still warm after cooking. The best time to scrub is right after you finish grilling, while the grates are warm and the grease hasn’t hardened. A quick pass then beats a marathon scrub next weekend.
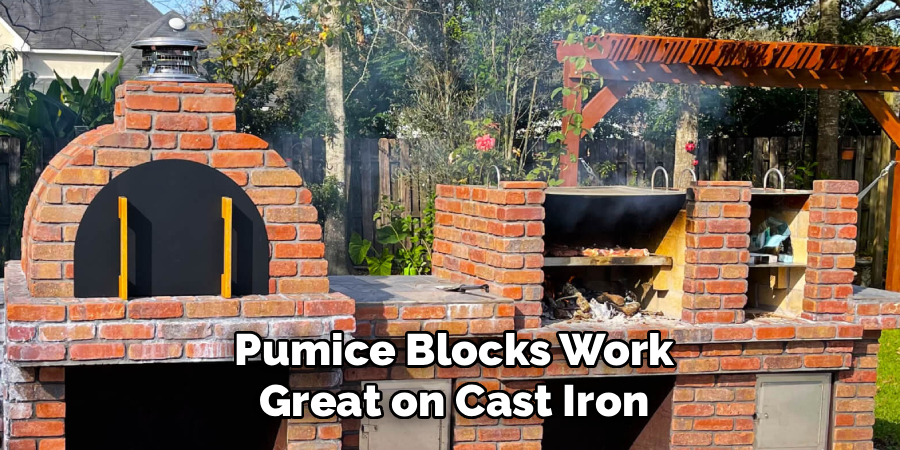
- Match the block to the surface. Pumice blocks work great on cast iron, stainless steel, and chrome griddles, but avoid using them on delicate coated or non-stick surfaces. When in doubt, test a small hidden corner first.
- Don’t fear the crumbling. A block that’s wearing down and turning to paste is doing its job. That gray slurry is the abrasive lifting grime, so resist the urge to switch to a fresh block too early.
- Keep a scraper handy for heavy buildup. For truly neglected grates, alternate between the scraper and the block. Loosen a layer, scrub it clean, then repeat until you hit bare metal.
- Wear gloves, always. Even with careful heat control, warm metal and rough pumice can be tough on your hands. Heat-resistant gloves let you press firmly without worry.
Frequently Asked Questions
What Is a Grill Brick Used For?
It’s used to scour baked-on carbon, grease, and food residue off grill grates, flat-top griddles, and similar cooking surfaces. The pressed pumice material scrubs away grime without harsh chemicals or metal bristles. Restaurants rely on it to keep griddles spotless during busy service. At home, it’s perfect for reviving grates that a wire brush just can’t handle.
Is It Safe to Use on Stainless Steel Griddles?
Yes, pumice blocks work well on stainless steel, cast iron, and chrome flat-tops. Just use firm, even strokes and follow the grain of the metal to avoid visible scratches. Keep the surface damp so the block glides smoothly rather than dragging. Avoid using it on delicate non-stick or coated surfaces, since the abrasive can damage those finishes.
How Often Should I Clean My Grill Grates This Way?
For frequent grillers, a quick scrub after each cooking session keeps buildup from hardening. If you grill occasionally, a thorough clean every few uses usually does the trick. The key is not letting carbon and grease pile up over weeks. Regular light cleaning is far easier than tackling months of baked-on gunk at once.
Do I Need Chemicals or Soap With It?
No, and that’s one of the biggest perks. The abrasive block plus a little warm water handles most grime on its own. Water helps break down the pumice and traps the residue as you scrub. Skip the soap entirely on seasoned cast iron, since it can strip the protective layer you worked to build.
Why Does the Block Crumble So Fast?
That crumbling is completely normal and actually a sign it’s working. As the pumice grinds against the surface, it sheds tiny particles that carry grime away with them. A block that never crumbled wouldn’t clean much of anything. Just expect to replace it periodically, and store it dry between uses to slow the wear.
Conclusion
Grimy grates no longer have to ruin your cookout. Once you get the hang of a grill brick, even the crustiest griddle comes clean in minutes. Just remember the essentials: heat the surface, scrape the big chunks, scrub with steady pressure, then dry and season the metal. Nail those habits and your grill will look and cook like new.
If you haven’t grabbed one yet, check out our recommended picks above to match your setup. Hungry for more? Explore our other grilling and kitchen tool guides, and keep those cookouts sizzling!
