
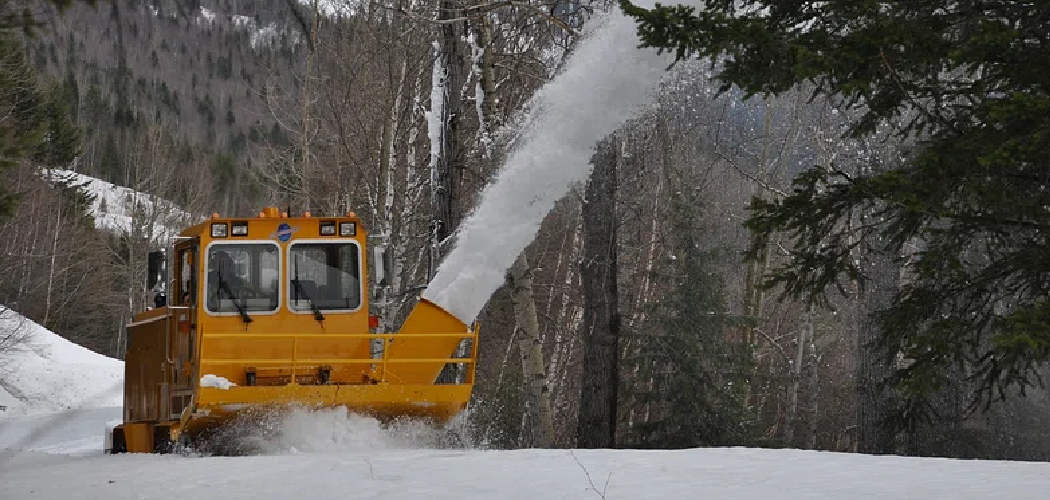
The first big snowfall hits, and you drag your snowblower out of the shed with high hopes. You yank the starter cord again and again, but the engine just coughs and dies. Meanwhile, the driveway keeps piling up, and your back already aches thinking about the shovel. Sound familiar? A little effort now saves you that frustration later.
When you prepare snowblower for winter the right way, you get a machine that fires up on the first pull every time. In this guide, I’ll walk you through each step, from fresh fuel to sharp augers. You’ll learn what supplies to grab, how to prepare snowblower for winter, and the insider tips that keep your engine humming. Let’s get your machine ready before the flakes start flying.
What You’ll Need
Gather everything before you start. Having your supplies close by keeps the job smooth and quick.
- Fresh fuel and a bottle of fuel stabilizer
- New engine oil and an oil drain pan
- A replacement spark plug and a spark plug socket
- A socket set and basic wrenches
- Fresh shear bolts (keep a few spares on hand)
- A grease gun and all-purpose grease
- A tire pressure gauge
- Clean rags and a stiff brush
- Work gloves and safety glasses
- Your owner’s manual for exact specs
A small tray or magnetic dish helps corral loose bolts. Nothing slows a project down like a lost screw rolling under the workbench.
Step-by-Step Guide on How to Prepare Snowblower for Winter
Ready to get your machine season-ready? Work through these steps in order, and don’t rush. A careful setup now means fewer headaches during the first storm.
Step 1: Read the Manual and Set Up Your Space
Start by pulling out your owner’s manual and giving it a quick skim. Every model differs slightly, and the manual lists the exact oil type, spark plug gap, and tire pressure you’ll need. Set up in a well-ventilated spot, like an open garage or driveway, since engines give off fumes.
Lay out your tools and supplies where you can reach them easily. Put on your gloves and safety glasses before you touch anything. A clean, organized space is the foundation of good snowblower maintenance.

Step 2: Change the Engine Oil
Old oil turns thick and dirty over months of sitting, which strains your engine in the cold. Warm the engine for a minute or two so the oil flows out faster. Place your drain pan under the plug, remove it, and let the old oil empty completely. Wipe the plug clean, screw it back in, and add fresh oil to the level your manual recommends. Don’t overfill, since too much oil can foam and cause problems. A clean oil change keeps the engine running smooth all winter long.
Step 3: Handle the Fuel the Right Way
Stale gas is the number one reason a snowblower won’t start. If old fuel sat in the tank all summer, drain it out and dispose of it safely. Fill the tank with fresh gas, then add fuel stabilizer to keep it from breaking down. Run the engine for a few minutes so the treated fuel reaches the carburetor. This simple move prevents gummy buildup that clogs tiny passages. Skipping the stabilizer is a common mistake that leads to a rough-starting engine.
Step 4: Inspect and Replace the Spark Plug
Pull the spark plug out with your socket and take a good look at it. A plug caked in black soot or worn down at the tip won’t spark reliably. Check the gap against your manual’s spec, and swap in a fresh plug if the old one looks rough. A new spark plug costs just a few dollars and makes starting far easier. Hand-tighten it first, then give it a snug turn with the socket. Never crank it too hard, or you risk damaging the threads.
Step 5: Check the Carburetor for Clogs
The carburetor mixes air and fuel, and it clogs easily when old gas dries out inside. If your engine sputtered or stalled last season, this is often the culprit. Spray a little carburetor cleaner into the intake to loosen light gunk. For heavier buildup, you may need to remove the bowl and clean it by hand. Keep this in mind: fresh fuel and stabilizer prevent most carburetor trouble in the first place. A clean carburetor means steady power when you need it most.
Step 6: Inspect the Belts and Auger
Belts drive the auger and wheels, so worn ones leave you stuck. Look closely for cracks, fraying, or glazing along each belt. Replace any that look tired, since a belt that snaps mid-storm ruins your day. Next, check the auger for bent blades, rust, or debris wrapped around the shaft. Spin it by hand to make sure it turns freely. Catching a worn belt or damaged auger now beats discovering it in a blizzard.
Step 7: Examine the Shear Bolts
Shear bolts are small pins designed to snap when the auger hits something hard, protecting your gearbox. Check that yours are intact and not already bent or cracked. Keep a few spare shear bolts in your toolbox, because they break exactly when you need the machine most.
Never replace them with regular hardware store bolts, since standard bolts won’t break on purpose and can wreck the auger. Matching the right shear bolts to your model is a small step with big payoff. This bit of winter prep saves you costly repairs.
Step 8: Grease the Moving Parts and Check the Cables
Cold weather makes stiff parts even harder to move, so grease is your friend. Load your grease gun and hit the fittings on the auger shaft and axle, following your manual’s guide. Wipe away any excess so it won’t attract grit.
While you’re at it, test the throttle cable and control levers for smooth movement. A sticky throttle cable makes the machine hard to control in deep snow. Smooth cables and greased joints keep everything responding the way you expect.
Step 9: Check Tire Pressure and Skid Shoes
Uneven tire pressure makes your snowblower pull to one side and clear snow poorly. Grab your gauge and check both tires against the number in your manual. Add air as needed so both sides match. Then look at the skid shoes on the bottom, which set how high the housing rides. Adjust them so the scraper bar clears your driveway without digging into concrete. Balanced tires and proper skid shoes give you a clean, even path every pass.
Step 10: Do a Test Run Before the Storm
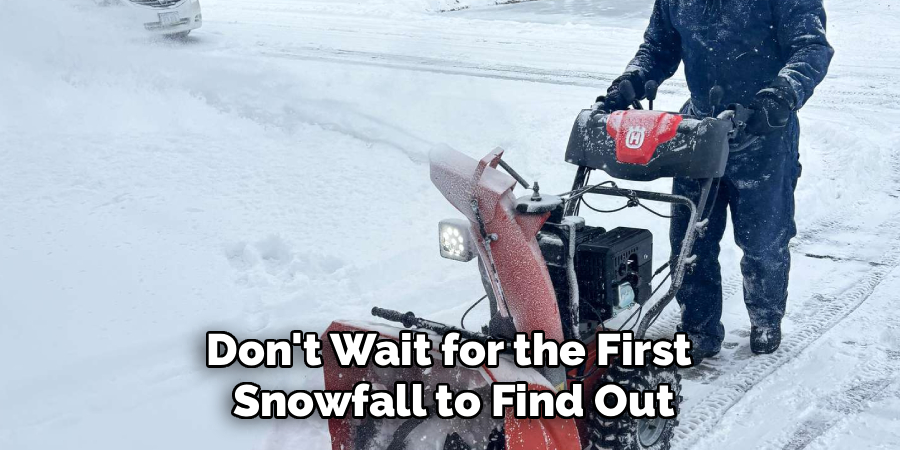
Don’t wait for the first snowfall to find out if your work paid off. Start the engine and let it run for several minutes to confirm it fires up and idles smooth. Engage the auger and drive controls to check that everything moves the way it should. Listen for odd noises, and watch for leaks or smoke. A quick test run gives you time to fix any surprise before you truly need the machine. This final check turns all your effort into real peace of mind.
Tips for Best Results
Want to run your machine like a seasoned pro? These insider tricks go beyond the basics and keep your snowblower dependable all season.
- Always keep fuel fresh. Add stabilizer the moment you fill the tank, not weeks later. Fresh, treated gas prevents the vast majority of no-start problems and protects the carburetor.
- Stock spare shear bolts and a spare belt. Both fail at the worst possible moment. Having replacements on the shelf means a five-minute fix instead of a trip to the store mid-storm.
- Mark your controls and adjustments. Snap a photo of your skid shoe height and throttle settings once they’re dialed in. You’ll thank yourself next year when you set everything up again.
- Warm the engine before heavy work. Let it idle a minute after starting on frigid mornings. This lets the oil circulate and reduces wear on a cold engine.
- Store it clean and dry. After each use, brush off packed snow and let the machine dry. Trapped moisture leads to rust on the auger and housing over time.
Frequently Asked Questions
How Often Should I Change the Oil in My Snowblower?
Most manufacturers suggest changing the oil once a season or after the first few hours on a brand-new machine. Fresh oil protects the engine from the extra strain that cold starts create. Check your owner’s manual for the exact interval and oil type your model needs. When in doubt, a yearly oil change before the season is a safe, smart habit.
Can I Use Regular Bolts Instead of Shear Bolts?
No, and this is a mistake that can cost you real money. Shear bolts break on purpose when the auger hits a rock or chunk of ice, protecting the gearbox from damage. Regular hardware bolts are too strong and won’t snap, so the force transfers straight to expensive parts instead. Always buy the correct shear bolts made for your specific model.
Is It Safe to Store Fuel in the Snowblower Over Summer?
You can, but only if you add fuel stabilizer and run the engine long enough to circulate it. Untreated gas breaks down in a few weeks and gums up the carburetor. If you’d rather play it safe, drain the tank completely and store the machine dry. Either method works, as long as you don’t leave plain old gas sitting for months.
What Should I Do If My Snowblower Won’t Start?
Start with the basics: check for fresh fuel, a clean spark plug, and a properly connected plug wire. Stale gas and a fouled spark plug cause most no-start issues. If those look fine, inspect the carburetor for clogs from old fuel. Working through these one at a time usually gets your engine running again.
How Do I Know If My Belts Need Replacing?
Look for visible cracks, fraying edges, or a shiny glazed surface on the belt. A belt that slips, squeals, or feels loose is also on its way out. Any of these signs mean it’s time to swap in a new one before it snaps. Replacing a worn belt during winter prep is far easier than doing it in the cold.
How Do I Check the Tire Pressure Correctly?
Grab a simple tire pressure gauge and press it onto the valve stem until the reading settles. Compare that number to the pressure listed in your manual or on the tire sidewall. Add air if either tire reads low, and make sure both sides match. Even tire pressure keeps your machine tracking straight and clearing snow evenly.
Conclusion
Getting your machine ready is easier than fighting a dead engine in a blizzard. Once you know how to prepare snowblower for winter, you’ll enjoy first-pull starts and a driveway cleared in no time. Just remember the essentials: fresh fuel with stabilizer, a clean spark plug, an oil change, and a good look at your belts and shear bolts. A little care now pays off with every storm.
If you haven’t stocked up on supplies yet, check out our picks in the recommended products section above. Ready for more? Browse our other DIY guides for handy seasonal tips and easy projects.
