
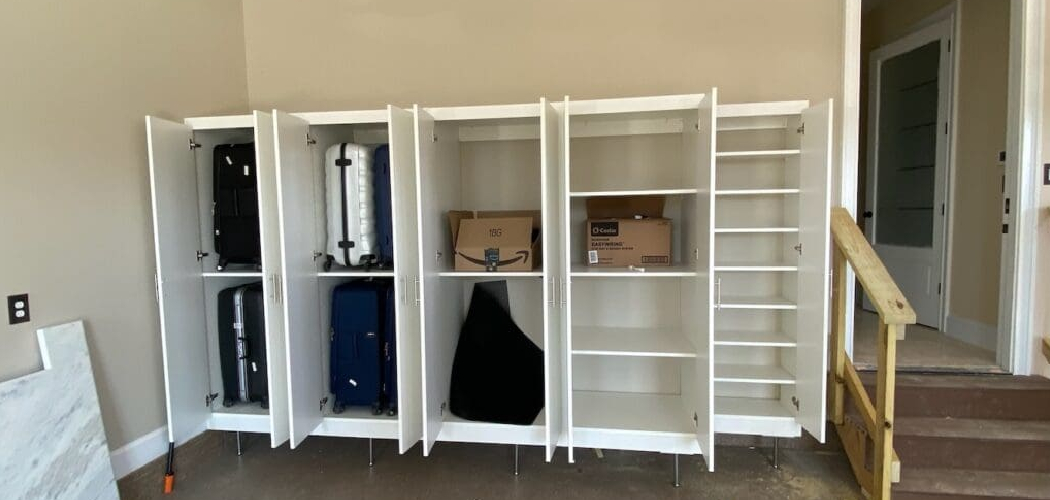
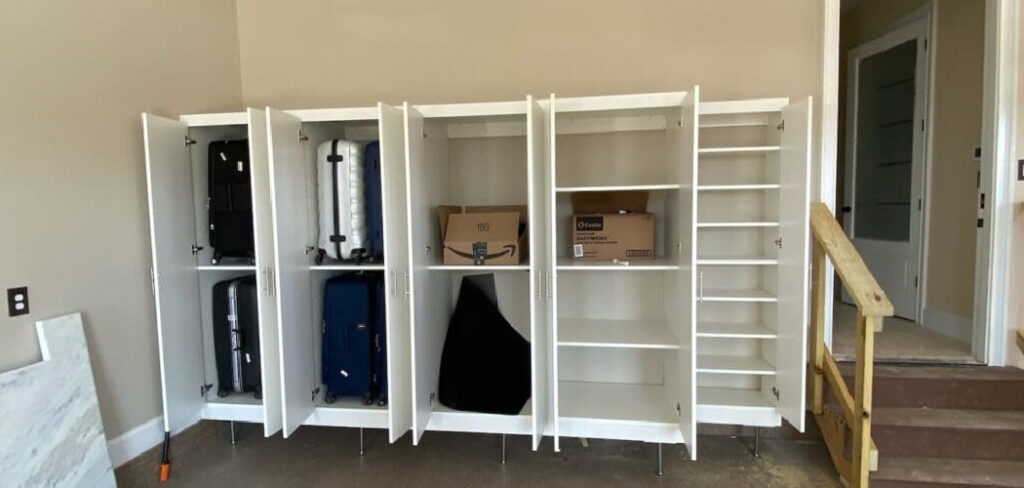
Your car hasn’t fit in the garage for months. Boxes lean against the walls, tools hide in random piles, and finding a screwdriver feels like a treasure hunt. Sound familiar? The clutter creeps in slowly, and before long the whole space becomes a dumping ground. The good news is that learning how to organize a garage on a budget doesn’t require a huge spend or a weekend of misery.
You can reclaim your garage with smart planning, a few cheap supplies, and some elbow grease. In this guide, you’ll learn how to sort your stuff, create useful zones, and build affordable storage that actually lasts. We’ll walk through each step, share insider tips, and answer common questions along the way. By the end, you’ll have a clean, functional space you’re proud of. Let’s roll up our sleeves and dig in.
What You’ll Need
Grab these supplies before you start. You won’t need every item, so pick what fits your garage and your wallet.
- Sturdy garbage bags and boxes — for trash, donations, and items to keep
- Storage bins — clear plastic totes let you see what’s inside
- Wall-mounted shelving — brackets and boards for vertical storage
- Pegboard and hooks — perfect for hanging tools within reach
- Overhead storage racks — for seasonal or rarely used items
- Labels and a marker — a label maker works too, if you have one
- Basic tools — drill, screwdriver, level, measuring tape, and a stud finder
- Cleaning supplies — broom, dustpan, and a shop vacuum
- Hooks and nails — cheap hardware for hanging bikes, ladders, and hoses
- Repurposed containers — old jars, coffee cans, and crates you already own
Set aside a full day or split the work across a weekend. Bigger garages take more time, so pace yourself.
Step-by-Step Guide on How to Organize a Garage on a Budget
Follow these steps in order. Starting with a full clear-out makes everything after it far easier.
Step 1: Empty the Garage Completely
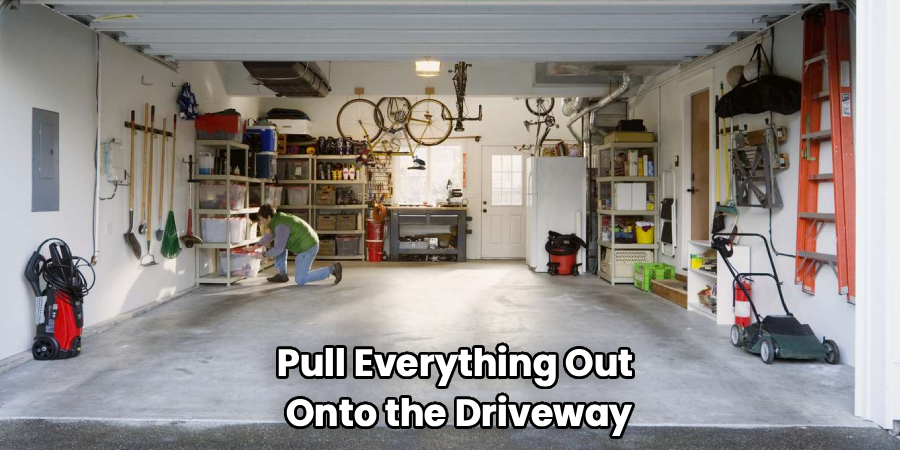
Pull everything out onto the driveway or lawn. This might feel overwhelming, but seeing all your stuff in one place is eye-opening. You’ll quickly notice duplicates, forgotten junk, and items you don’t even remember owning.
An empty garage also gives you a clean slate to plan your layout. Sweep the floor, knock down cobwebs, and wipe down surfaces while the space is bare. Choose a dry, sunny day so nothing gets rained on. Take a quick photo of the empty room, since it helps you visualize where storage will go.
Step 2: Sort Everything Into Clear Categories
Now comes the decluttering. Create four piles: keep, donate, sell, and trash. Be honest with yourself here, because holding onto broken tools and mystery cords just fills space. If you haven’t used something in over a year, it probably needs to go.
Group your “keep” items by type, like gardening gear, power tools, and sports equipment. This grouping sets you up for creating zones later. A common mistake is keeping too much “just in case.” Trust me, a leaner garage is a happier garage.
Step 3: Plan Your Zones
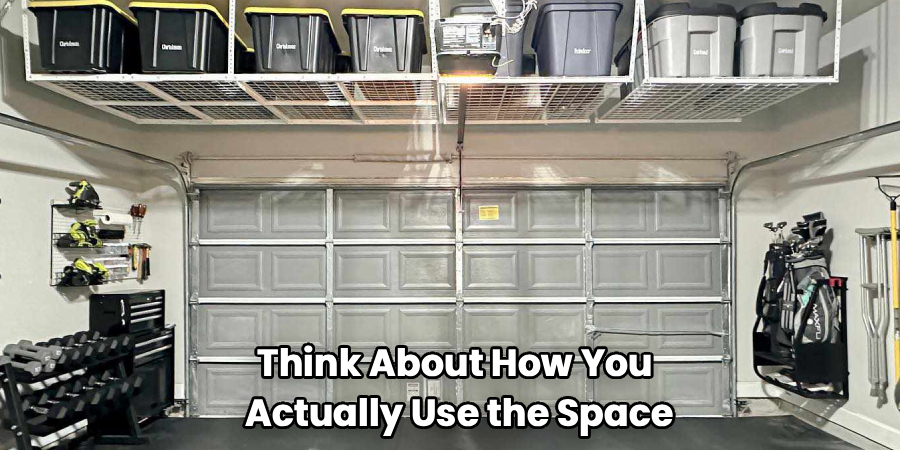
Think about how you actually use the space. Sketch a simple map and assign areas for different activities. You might have a workshop corner, a gardening station, and a sports gear wall.
Keep frequently used items near the entrance for easy grabbing. Store seasonal or rarely touched things in harder-to-reach spots. Grouping by zone means you’ll always know where everything lives. This planning step costs nothing but saves you hours of frustration down the road.
Step 4: Go Vertical With Wall-Mounted Shelving
Your walls are prime real estate that often sit empty. Wall-mounted shelving frees up floor space and keeps items off the ground. Use a stud finder to locate solid anchor points, then mount your brackets securely.
You can find affordable shelf boards at any hardware store, or repurpose old lumber you have lying around. Place heavier items on lower shelves and lighter ones up top. Don’t overload a single shelf, since sagging wood is both ugly and unsafe. Vertical storage is one of the cheapest ways to add serious capacity.
Step 5: Hang Tools on a Pegboard
A pegboard turns a bare wall into a flexible tool station. Mount a sheet above your workbench and add hooks to hold hammers, pliers, and hand tools. Everything stays visible and within arm’s reach, which speeds up any project.
Trace the outline of each tool on the board so you always know where it belongs. This trick keeps the setup tidy and shows you instantly if something’s missing. Pegboards are cheap, and you can rearrange hooks whenever your needs change. It’s a small investment that pays off every single day.
Step 6: Use Storage Bins and Label Everything
Clear storage bins are your best friend for loose items. Sort things like holiday decorations, extra hardware, and cleaning supplies into separate totes. Because they’re see-through, you’ll spot what you need without opening every lid.
Label each bin clearly on the front and top. A label maker looks slick, but a permanent marker works just as well on tape. Stack bins on shelves or slide them under your workbench to save space. Consistent labeling is the secret to keeping your garage organized long-term.
Step 7: Add Overhead Storage for Seasonal Items
The ceiling is often the most wasted space in a garage. Overhead storage racks or simple plywood platforms hold bulky, seldom-used items like holiday decor and camping gear. This keeps the floor and walls open for daily essentials.
Make sure any overhead rack is rated for the weight you plan to load. Anchor it firmly into ceiling joists, not just drywall. Avoid storing heavy items directly above where your car parks, just in case. Overhead space is perfect for things you only reach for a few times a year.
Step 8: Repurpose What You Already Own
Before buying anything new, look around your home for freebies. Old coffee cans hold nails and screws beautifully. Glass jars keep small parts sorted, and wooden crates make rustic shelving.
An old ladder mounted horizontally becomes a hanging rack for tools or hoses. Magnetic strips salvaged from the kitchen grip metal tools on the wall. Getting creative with repurposed items cuts your costs dramatically. This is where budget organizing really shines.
Step 9: Create a Simple Maintenance Routine
Organizing once isn’t enough, because clutter always tries to sneak back. Spend ten minutes each week putting stray items back in their zones. A quick reset keeps the whole system running smoothly.
Do a bigger cleanup every few months to catch anything that’s drifted out of place. Return tools to the pegboard right after you use them. Encourage everyone in the house to follow the same habits. A little upkeep protects all the hard work you just put in.
Tips for Best Results
These extra pointers come from real-world experience and will push your results even further.
- Shop secondhand first. Thrift stores, yard sales, and online marketplaces are goldmines for cheap shelving, bins, and hooks. You’ll often find sturdy items for a fraction of retail price.
- Measure before you buy. Nothing wastes money like shelving that doesn’t fit. Jot down your wall heights and depths, then bring the numbers when you shop.
- Keep the floor as clear as possible. The more you hang and stack, the easier the space is to sweep and use. A clear floor also makes the garage feel twice as big.
- Store like with like. Grouping similar items together means you never buy duplicates by accident. It also makes finding things almost automatic.
- Light it up. A cheap LED shop light transforms a dim garage into a usable workspace. Better visibility makes every task safer and faster.
Frequently Asked Quesations
What Is the Cheapest Way to Organize a Garage?
The cheapest approach starts with decluttering, which costs nothing but time. Getting rid of what you don’t need frees up space instantly. From there, repurpose containers you already own and shop secondhand for shelving and bins. Adding a pegboard and a few wall hooks gives you big results without a big spend.
How Long Does It Take to Organize a Garage?
Most garages take one full day to a single weekend, depending on the size and how much clutter you’ve collected. If you’re pressed for time, break the job into smaller sessions across a few days. Start with the full clear-out and sorting, since that’s the biggest chunk. The installing and labeling go much faster once everything is sorted.
Do I Need Special Tools to Install Wall-Mounted Shelving?
You only need a few basics: a drill, a level, a measuring tape, and a stud finder. The stud finder is key, because anchoring into solid framing keeps your shelves from crashing down. Most kits come with the screws and brackets you need. Take your time to mount everything level, and your wall-mounted shelving will hold strong for years.
How Do I Keep My Garage Organized Long-Term?
Consistent labeling and a weekly ten-minute reset make all the difference. When every item has a dedicated zone, putting things away becomes second nature. Return tools to the pegboard or bin right after each use. A quick seasonal cleanup catches any clutter before it builds back up.
Can I Organize a Garage Without Spending Any Money?
Yes, you can make huge progress with zero budget. Decluttering, cleaning, and creating zones are all free. Repurpose old jars, cans, crates, and even an unused ladder for storage. You won’t get a magazine-perfect setup, but you’ll gain a functional, tidy space using only what you already have.
Is Overhead Storage Safe for Heavy Items?
Overhead storage is safe when installed correctly. Always anchor racks into ceiling joists and check the weight rating before loading them up. Keep the heaviest items on lower shelves and reserve overhead space for lighter, bulkier gear. Avoid hanging heavy loads directly above where you park, just to be cautious.
Conclusion
Reclaiming your garage is easier than it looks. Start by clearing everything out, decluttering ruthlessly, and setting up smart zones. Then add affordable wall-mounted shelving, a pegboard, and labeled storage bins to keep it all in order. Figuring out how to organize a garage on a budget really comes down to planning and a little creativity, not a big wallet.
If you haven’t gathered your supplies yet, check out our recommended picks above to get started. Ready to keep improving your space? Explore our other DIY guides for more handy tips on tools, storage, and home projects.
