
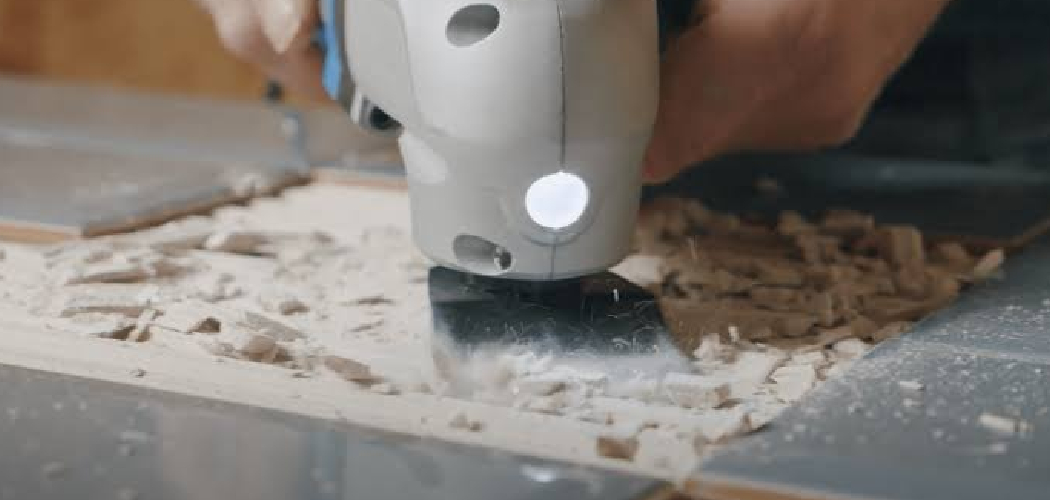
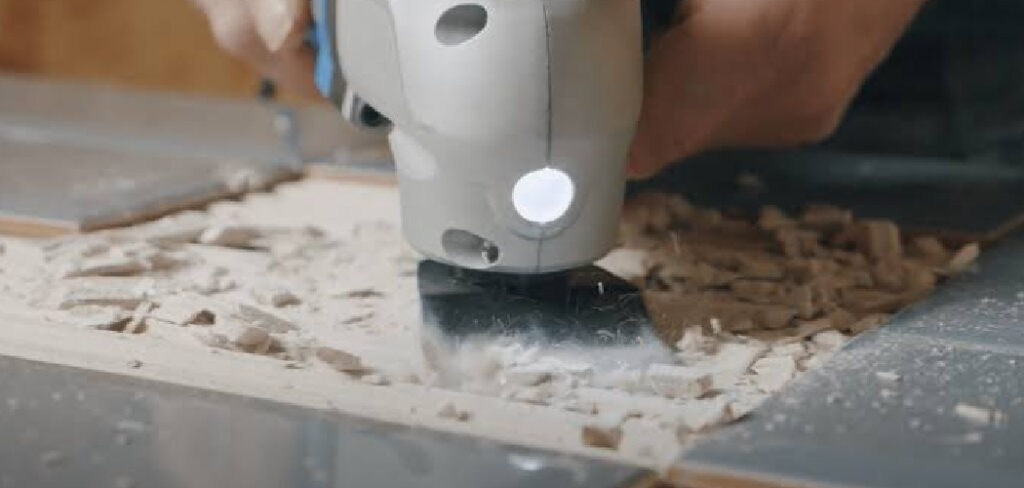
You pulled up those old, dated tiles, and now you’re staring at a concrete slab covered in stubborn, crusty gunk. Frustrating, right? Before you can lay down fresh flooring, you’ll need to remove tile adhesive from concrete floor surfaces completely. Leftover thinset or mastic creates lumps and bumps that ruin any new install.
The good news? You don’t need to be a pro to get this done. With the right tools, a little patience, and some smart technique, you can clear that slab down to bare, smooth concrete.
In this guide, I’ll walk you through How to Remove Tile Adhesive from Concrete Floor step by step. You’ll learn what tools to grab, how to tackle both dry and gummy adhesive, and a few insider tricks that save your back and your budget.
What You’ll Need
Before you dive in, gather your gear. Having everything ready makes the job go faster and safer.
- Floor scraper (long-handled) or a razor scraper
- Hammer and chisel or a masonry chisel
- Oscillating multi-tool with a scraper attachment (optional but handy)
- Angle grinder with a diamond cup wheel (for tough thinset)
- Heat gun (great for softening mastic)
- Adhesive remover or a citrus-based solvent
- Putty knife for smaller spots
- Shop vacuum for dust and debris
- Dust mask or respirator (rated for silica dust)
- Safety goggles and work gloves
- Knee pads (your knees will thank you)
- Bucket, warm water, and rags
- Broom and dustpan
Step-by-Step Guide on How to Remove Tile Adhesive from Concrete Floor
Ready to clear that slab? Follow these steps in order. Each one builds on the last, so don’t skip ahead.
Step 1: Prep and Protect Your Work Area
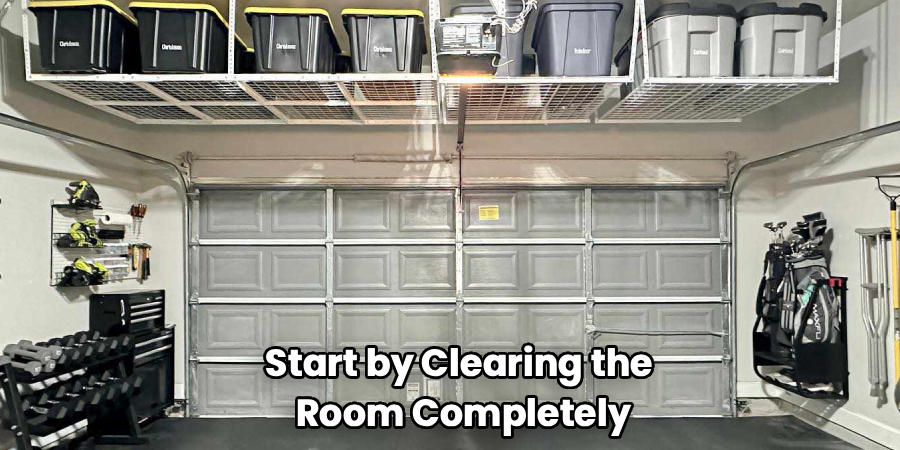
Start by clearing the room completely. Move furniture, tools, and anything you don’t want covered in dust. Adhesive removal gets messy fast, so lay down plastic sheeting over doorways to keep dust from drifting into other rooms.
Open a window or set up a fan for airflow. Then put on your safety gear before you touch anything. Concrete dust contains silica, which you really don’t want in your lungs. A common mistake here is skipping the mask because the job “looks quick.” Don’t. Protect yourself from the start.
Step 2: Identify the Type of Adhesive
Not all adhesive behaves the same way. Thinset is a cement-based mortar that dries rock-hard and gray. Mastic, on the other hand, is an organic glue that stays a bit gummy and often looks tan or yellow.
Knowing which one you’re dealing with changes your approach. Thinset usually needs mechanical force, like a chisel or grinder. Mastic softens with heat or solvent. Scrape a small test spot to see how the adhesive residue reacts. This quick check saves you from wasting effort on the wrong method.
Step 3: Start With Manual Scraping
Grab your long-handled floor scraper and get to work on the loose material first. Hold the blade at a low angle and push forward with steady pressure. You’ll be surprised how much comes up with plain muscle before you need power tools.
Work in small sections so you can see your progress. For tighter spots or edges, switch to a putty knife or razor scraper. A common mistake is going too fast and gouging the concrete surface. Slow, controlled strokes protect the slab underneath. Keep a rhythm and let the tool do the work.
Step 4: Soften Mastic With Heat
If you’re dealing with gummy mastic, heat is your best friend. Aim a heat gun at a small patch and warm it for about 30 seconds. As it softens, it turns tacky and lifts more easily with your scraper.
Move the heat gun slowly and keep it moving to avoid scorching. Work one section at a time so the adhesive doesn’t cool and re-harden before you scrape. Warm mastic peels up almost like taffy. This trick alone can cut your labor in half. Just keep the heat gun away from flammable materials.
Step 5: Use Adhesive Remover for Stubborn Spots
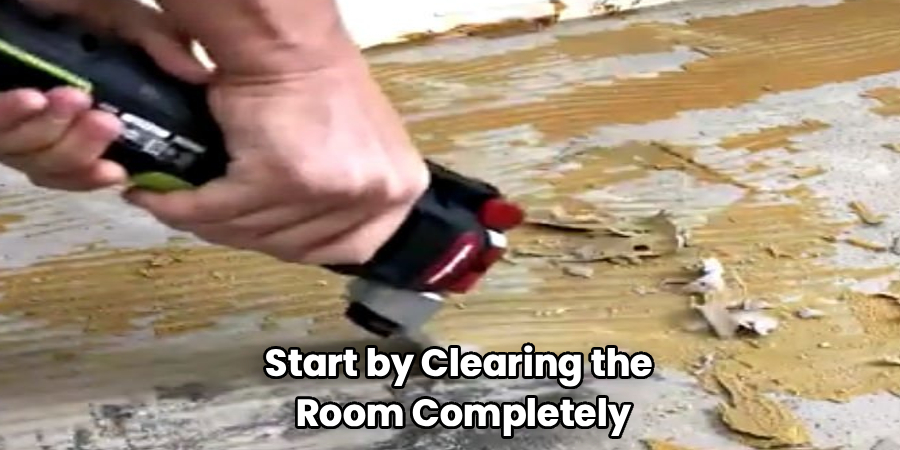
When scraping and heat aren’t enough, bring in a chemical adhesive remover. Choose a citrus-based or low-odor product if you’re working indoors. Pour or spread it over the residue and let it sit for the time listed on the label, usually 20 to 40 minutes.
The solvent breaks down the bond so the leftover glue lifts cleanly. Scrape while it’s still wet for the best results. Always work in a ventilated space and wear gloves. A common mistake is rushing before the remover fully penetrates. Give it time, and the adhesive practically surrenders.
Step 6: Grind Down Hardened Thinset
Thinset is the toughest customer of the bunch. For thick, cement-hard layers, an angle grinder fitted with a diamond cup wheel is the way to go. Attach a dust shroud and hook it to your shop vacuum to keep the mess down.
Move the grinder in slow, overlapping passes across the concrete surface. Keep the wheel flat so you don’t dig grooves into the slab. This step kicks up serious dust, so your respirator is non-negotiable. Take breaks to check your progress and let the tool cool. Patience here gives you a much smoother finish.
Step 7: Tackle the Edges and Corners
Big tools can’t reach every nook. For corners, baseboards, and tight edges, switch to a hammer and chisel or an oscillating multi-tool. Position the chisel at a shallow angle and tap gently to pop off stubborn chunks.
The multi-tool with a scraper blade works wonders in awkward spots. Take your time in these areas since it’s easy to chip the concrete. Missing the edges is a common oversight that causes trouble later when new flooring won’t sit flush. Clean these zones as carefully as the open floor.
Step 8: Clean and Inspect the Concrete Surface
Once the adhesive is gone, it’s cleanup time. Sweep up the big debris, then run your shop vacuum over the entire slab. Follow with a damp mop or rag to lift any fine dust and solvent residue left behind.
Let the floor dry, then inspect it closely under good light. Run your hand across the surface to feel for any bumps or leftover adhesive residue. Circle back to spots you missed with your scraper. A truly clean, level slab is the foundation for whatever flooring comes next.
Step 9: Do a Final Smoothness Check
Before you call it done, test the floor for flatness. Lay a long straightedge or level across the slab and look for gaps underneath. Any high spots from stubborn thinset need one more pass with the grinder.
For low spots or minor pits, you can apply a thin layer of floor leveler later during your floor prep. This final check matters more than people think. Skipping it often leads to uneven tile or cracked planks down the road. A few extra minutes now saves hours of regret later.
Tips for Best Results
Want to work smarter, not harder? These field-tested tips make a real difference.
- Rent the heavy tools. An angle grinder with a dust shroud can be pricey. Most hardware stores rent them by the day, which saves you money for a one-time job.
- Keep the surface slightly damp when scraping thinset. A light misting of water helps loosen the bond and cuts down on airborne dust. Just don’t soak it if you’re using a chemical remover.
- Sharpen or replace your scraper blade often. A dull blade forces you to push harder and risks gouging the slab. Fresh blades glide through adhesive residue with far less effort.
- Work in overlapping zones. Divide the floor into a grid and finish one square before moving on. This keeps you organized and ensures you never miss a patch.
- Test your chemical remover in a hidden corner first. Some products can stain or etch concrete. A quick spot test protects you from surprises across the whole floor.
Frequently Asked Question
What Is the Easiest Way to Remove Tile Adhesive From Concrete?
The easiest method depends on the adhesive type. For soft mastic, a heat gun paired with a sharp floor scraper works fast. For hard thinset, an angle grinder with a diamond wheel does the heavy lifting. Start with manual scraping, then bring in power tools only where you need them.
Can I Use Water to Soften Tile Adhesive?
Water helps a little with certain adhesives, especially older mastic. Misting the surface can loosen the bond and keep dust down while you scrape. However, cement-based thinset won’t dissolve in water since it’s already cured hard. For those tough spots, mechanical grinding is your best bet.
Is It Safe to Grind Adhesive Off a Concrete Floor?
Yes, grinding is safe when you take the right precautions. Always wear a silica-rated respirator, safety goggles, and gloves, since the dust is harmful to breathe. Attach a dust shroud to your grinder and connect a shop vacuum to control the mess. Good ventilation and steady, careful passes keep both you and the slab protected.
How Long Does It Take to Remove Tile Adhesive?
Timing varies with room size and adhesive type. A small bathroom might take a couple of hours, while a large living room could span a full day. Hard thinset takes longer than gummy mastic because it needs grinding. Break the job into sections and pace yourself for the best, cleanest results.
Do I Need to Remove All the Adhesive Before Installing New Flooring?
For most flooring, yes. Leftover adhesive residue creates uneven bumps that prevent tile, vinyl, or planks from sitting flat. A smooth, clean concrete surface is essential for a solid install. Take the extra time during floor prep to clear every bit, and your new floor will last much longer.
Conclusion
Clearing that slab might feel like a big job, but you’ve got this. With the right tools and a steady pace, you can remove tile adhesive from concrete floor surfaces and reveal a clean, ready-to-go base. Remember to protect yourself, match your method to the adhesive, and check your work before moving on.
If you haven’t picked up the right scraper or grinder yet, check out our recommended picks above. And when you’re ready for the next phase, explore our other DIY guides to help you plan your perfect new floor. Happy renovating!
