
Step into your metal shed on a hot afternoon and it feels like an oven. Come winter, it’s an icebox that leaves your tools cold and your stored gear damp. That temperature swing isn’t just uncomfortable, it can rust your equipment and warp anything moisture-sensitive. Learning how to insulate metal shed walls fixes all of that, and it’s a weekend project you can absolutely handle yourself.
In this guide, I’ll walk you through the whole process from start to finish. You’ll learn which materials work best, how to tackle condensation, and the exact steps to seal, insulate, and finish your walls. Whether you use your shed as a workshop, a gym, or plain old storage, a well-insulated space stays comfortable year-round. Let’s turn that tin can into a cozy, usable room.
What You’ll Need
Before you start, round up your supplies. Having everything on hand keeps the job smooth and saves trips to the hardware store.
- Insulation material (rigid foam boards, fiberglass batts, or spray foam)
- Reflective foil insulation or a radiant barrier
- Vapor barrier sheeting (plastic film)
- Tape measure and pencil
- Utility knife or insulation saw
- Caulk gun and silicone or foam sealant
- Construction adhesive (foam-safe)
- Furring strips or thin wood battens (optional, for a frame)
- Cordless drill and self-tapping metal screws
- Foil tape for sealing seams
- Interior wall panels (OSB, plywood, or plasticboard)
- Safety goggles, work gloves, and a dust mask
- Ladder or step stool
- Level and stud finder (if working with a framed shed)
Step-by-Step Guide on How to Insulate Metal Shed
Ready to get comfortable? Follow these steps in order. Each one builds on the last, so take your time and don’t rush the prep work.
Step 1: Clear and Clean the Interior
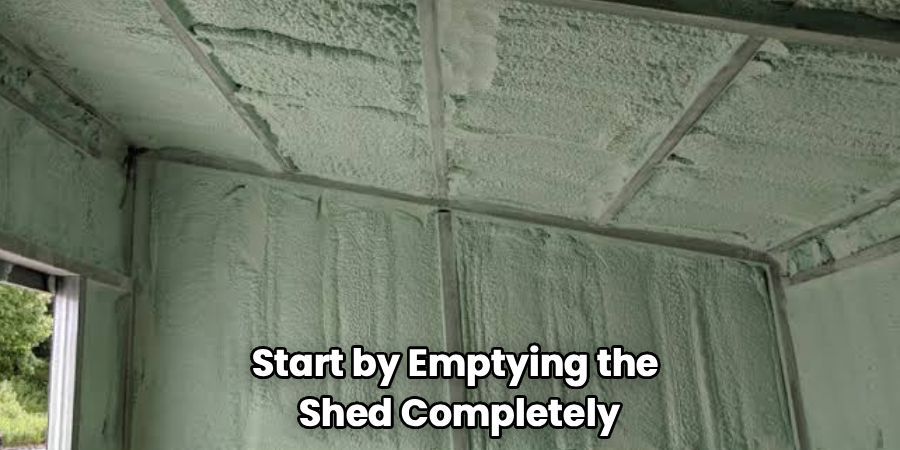
Start by emptying the shed completely. Move out tools, shelving, and anything hanging on the walls so you have full access. A cluttered space makes measuring and cutting a headache, and you’ll miss spots.
Once it’s empty, wipe down the metal walls to remove dust, cobwebs, and grime. Check for any existing rust and treat it before you cover it up. Trapping moisture behind insulation is a recipe for corrosion. A clean, dry starting point sets you up for success.
Step 2: Seal Every Gap and Leak
Metal sheds are notorious for tiny gaps around panels, doors, and roof seams. These openings let in drafts, rain, and humid air that ruin your insulation efforts. Grab your caulk gun and run a bead of silicone sealant along every joint and seam you can find.
Pay special attention to the base where the walls meet the floor. Check around window frames and the door edges too. A common mistake is skipping this step and wondering why the shed still feels drafty later. Sealing first makes everything you do next far more effective.
Step 3: Tackle Condensation With a Vapor Barrier
Condensation is the biggest enemy of any metal building. Warm, moist air hits the cold metal and turns to water droplets, which lead to rust and mold. To fight this, install a vapor barrier against the interior metal surface before adding insulation.
Roll out your plastic sheeting and secure it in place, overlapping the edges by a few inches. Seal those overlaps with foil tape for a continuous shield. This layer keeps moisture from reaching the cold metal skin. Skip it, and you’ll be battling drips no matter how much insulation you add.
Step 4: Add a Reflective Foil Layer
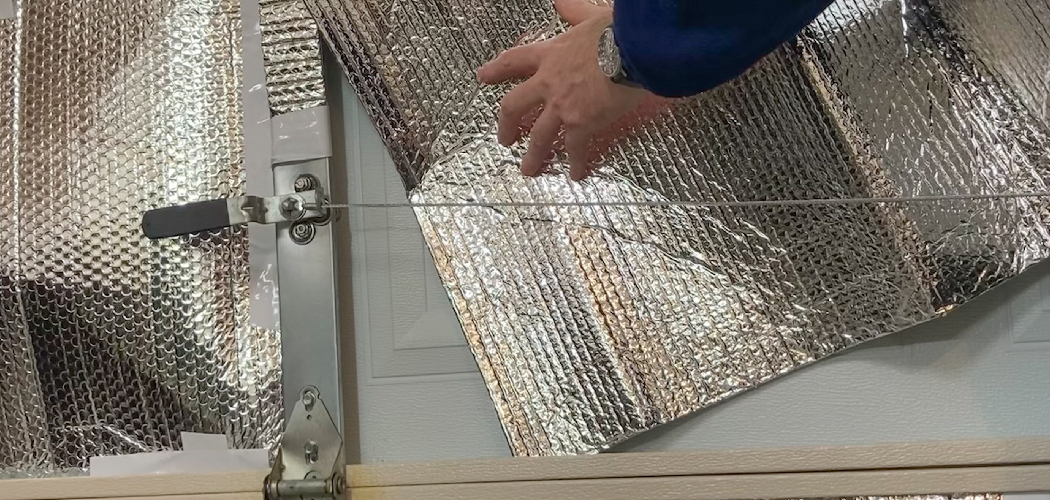
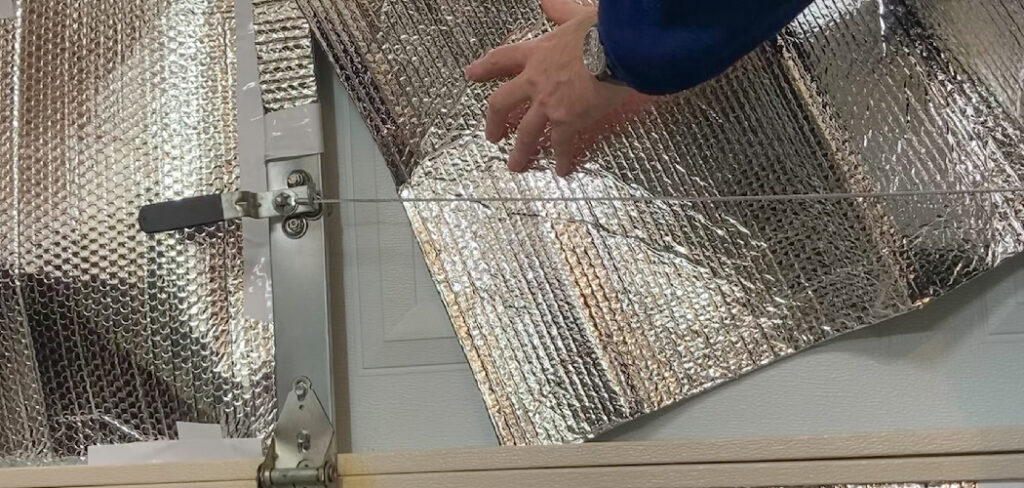
Radiant heat is what makes a metal shed feel like a furnace in summer. A reflective foil insulation layer, sometimes called a radiant barrier, bounces that heat right back out. It’s thin, lightweight, and works wonders in sunny climates.
Attach the foil to the walls and ceiling using construction adhesive or foil tape. Make sure the shiny side faces the interior air gap so it can reflect properly. Keep the seams tight and taped for full coverage. This single layer can drop the interior temperature by several degrees on hot days.
Step 5: Build a Simple Frame (Optional but Smart)
If you want a polished, insulated wall you can hang things on, add furring strips. These thin wood battens create a frame that holds your insulation and gives you a surface to screw panels into. Measure your wall height and space the strips evenly, usually 16 to 24 inches apart.
Attach them to the metal using self-tapping screws and your drill. Use a level to keep everything straight and true. This frame also creates a handy air gap that boosts your insulation’s performance. It’s extra work, but it transforms the shed into a proper room.
Step 6: Install Your Insulation Material
Now for the main event. Cut your rigid foam boards or fiberglass batts to fit snugly between the furring strips or directly against the wall. A tight fit matters because gaps let heat sneak through and reduce efficiency.
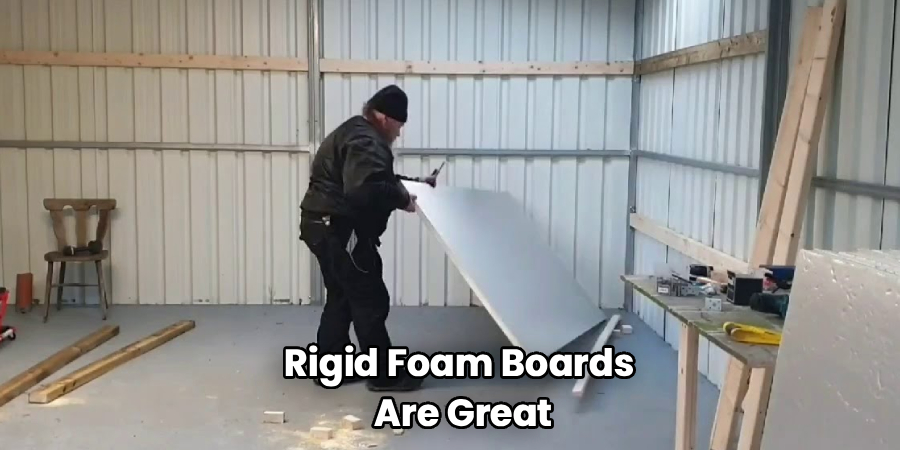
Rigid foam boards are great for their high insulating value and moisture resistance. Fiberglass batts cost less and pack well into framed cavities. Spray foam is the priciest option but seals every nook perfectly. Wear your gloves and mask here, especially with fiberglass, since the fibers irritate skin and lungs.
Step 7: Insulate the Roof and Ceiling
Heat rises, so an insulated roof makes a huge difference in comfort. Don’t stop at the walls and leave the ceiling bare, or you’ll lose most of your gains. Apply the same layered approach: vapor barrier, reflective foil, then insulation.
Rigid foam boards work well overhead since they’re rigid and easy to secure. If your shed has exposed roof trusses, tuck batts between them. Work carefully on the ladder and have a helper steady it if you can. A properly insulated roof keeps summer heat out and winter warmth in.
Step 8: Cover With Interior Wall Panels
With your insulation in place, it’s time to finish the walls. Screw OSB, plywood, or plasticboard panels onto your furring strips for a clean, durable surface. This protects the insulation and gives you walls you can paint, shelve, or decorate.
Measure and cut each panel to fit, leaving a small gap at the floor for expansion. Drive your screws into the wood battens, not the metal, for a solid hold. Take your time lining up the edges so the seams look neat. Now your shed feels like a real, finished space.
Step 9: Seal Seams and Finish Up
Almost there. Go around and seal any gaps between your panels with caulk or trim. This final pass keeps drafts out and gives the interior a tidy, professional look. Check the corners and the spots around your door frame carefully.
Reinstall your shelving and move your gear back in. Take a moment to feel the difference in temperature already. A well-sealed, insulated shed holds its climate far better than bare metal. Enjoy your upgraded, comfortable workspace.
Tips for Best Results
Want to squeeze the most out of your project? These insider tips make a real difference.
- Insulate on a dry day. Trapping humidity inside your walls defeats the purpose. Pick a low-humidity day so moisture doesn’t get sealed behind your vapor barrier.
- Don’t forget the floor. If your shed sits on a concrete slab, cold radiates up through it. Adding foam board or interlocking floor mats keeps your feet warm and cuts overall heat loss.
- Add ventilation to prevent trapped moisture. A small vent or two lets damp air escape. Good airflow works hand in hand with your vapor barrier to keep condensation away.
- Match insulation to your climate. In hot regions, prioritize the reflective foil and roof insulation. In cold zones, thicker batts or rigid foam give you more warmth retention.
- Leave an air gap behind reflective foil. Radiant barriers only work with a gap in front of the shiny side. Pressing panels flat against it kills its reflective power.
Frequently Asked Question
What Is the Best Insulation for a Metal Shed?
Rigid foam boards are often the best all-around choice for a metal shed. They resist moisture, offer strong thermal performance, and install easily against flat walls. Fiberglass batts work well too if you’ve built a frame, and they cost less. For a complete seal, spray foam is unbeatable, though it comes at a higher price.
How Do I Stop Condensation in My Metal Shed?
Condensation forms when warm, humid air meets cold metal. The fix is a proper vapor barrier installed against the interior walls before insulation. Pair that with a couple of small vents to let damp air escape. Together, these steps keep your shed dry and rust-free through every season.
Can I Insulate a Metal Shed Myself?
Absolutely, this is a very doable DIY project. With basic tools like a drill, utility knife, and caulk gun, you can handle the whole job over a weekend. The key is working methodically: seal, add a vapor barrier, insulate, then finish with panels. Take your time on prep, and you’ll get results that rival a pro’s.
Is It Worth Insulating a Metal Shed?
For most owners, yes, it’s well worth the effort. Insulation makes the space usable year-round, whether as a workshop, gym, or storage. It also protects your tools and belongings from temperature swings and moisture damage. The comfort and gear protection you gain easily justify a weekend of work and a modest budget.
How Much Does It Cost to Insulate a Metal Shed?
Costs vary based on shed size and the materials you choose. A small shed with foil and rigid foam might run one to two hundred dollars. Larger sheds or spray foam jobs cost more, but you can save by shopping smart. Buying insulation in bulk and doing the labor yourself keeps the price friendly.
Conclusion
You’ve now got everything you need to turn that sweltering, drafty box into a comfortable, year-round space. Knowing how to insulate metal shed walls the right way, sealing gaps, blocking condensation, and layering your insulation, pays off every single season. Your tools stay protected, and your workspace stays pleasant.
If you haven’t grabbed your insulation, sealant, or panels yet, check out our recommended picks above to get started. And when you’re ready for your next upgrade, explore our other DIY guides for more hands-on inspiration. Happy building!
