
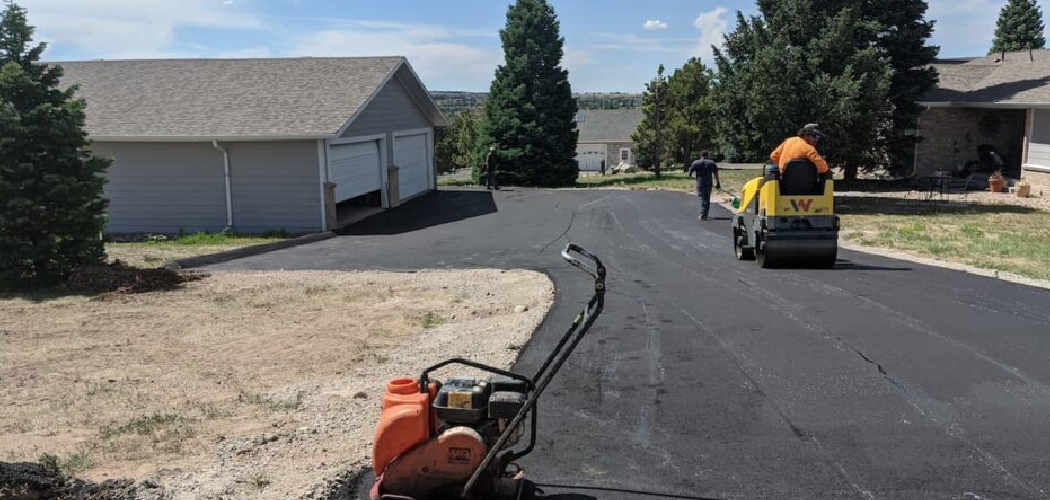
That old crack running across your driveway keeps getting wider, and patching over it just isn’t cutting it anymore. Or maybe you’re adding a drainage channel, trenching for a new water line, or removing a damaged section before repaving. Whatever the reason, you’ll need to cut asphalt driveway surfaces cleanly to get the job done right. The good news? With the right tools and a little patience, this is a project you can tackle yourself.
In this guide, you’ll learn How to Cut Asphalt Driveway, how to make clean, straight cuts, and which mistakes to dodge along the way. We’ll walk through the whole process step by step, share some pro tips, and answer the questions people ask most. Let’s get you set up for a smooth, safe job.
What You’ll Need
Before you fire anything up, gather your gear so you’re not stopping halfway through. Here’s the practical list:
- Walk-behind concrete saw or a handheld cut-off saw (gas or electric)
- Diamond blade rated for asphalt (segmented for faster cutting)
- Cold chisel and a heavy hammer for cleanup
- Chalk line or marking spray paint
- Measuring tape
- Straightedge or a wooden guide board
- Garden hose or water source (for wet cutting)
- Push broom and shovel
- Pry bar for lifting cut sections
- Safety gear: goggles, gloves, ear protection, dust mask or respirator, steel-toe boots
Renting an asphalt saw is smart if you only need it once. Most hardware stores rent them by the day, and it saves you a big upfront cost.
Step-by-Step Guide on How to Cut Asphalt Driveway
Step 1: Plan and Mark Your Cut Line
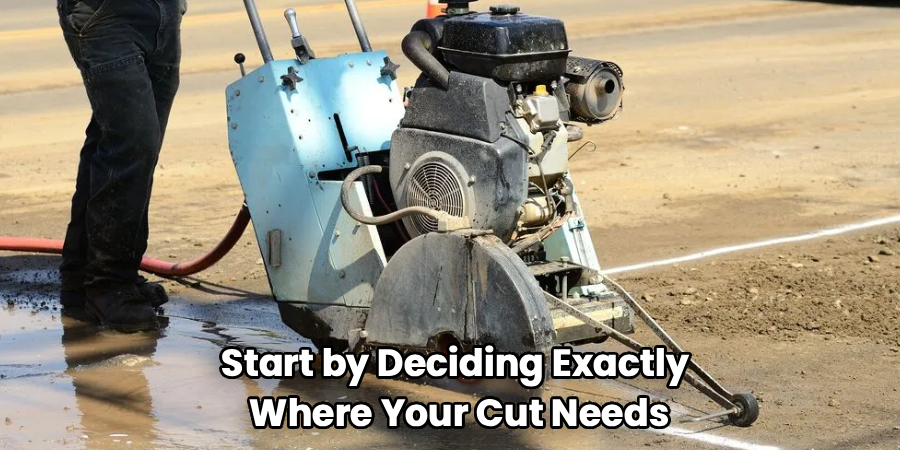
Start by deciding exactly where your cut needs to go. Measure twice, then snap a chalk line or spray a clear guide line along your path. A straight, visible line keeps your cut clean and stops you from wandering. If you’re removing a section, mark the full perimeter so you know your boundaries. Take your time here, because a sloppy line leads to a jagged, uneven cut that’s hard to fix later.
Step 2: Gather and Inspect Your Gear
Lay out all your tools and give them a quick once-over. Check that your diamond blade sits tight and shows no cracks or missing segments. Confirm your saw has fuel or a solid power connection, and test the water feed if you’re wet cutting. Slip on your safety gear before you touch the trigger. A worn blade or loose bolt can turn a simple job into a dangerous one, so never skip this check.
Step 3: Set Up for Dust and Water Control
Cutting asphalt kicks up fine, harmful dust, so plan how you’ll manage it. Wet cutting is the cleaner choice, since water keeps the dust down and cools your blade at the same time. Attach a hose to the saw’s water port, or have a helper trickle water along the cut line. If you cut dry, wear a proper respirator and keep others back. Breathing silica dust is a real hazard, so this step protects your lungs and your neighbors.
Step 4: Score a Shallow Guide Cut
Don’t try to slice through in one deep pass. Instead, make a shallow scoring cut about a quarter to half an inch deep along your marked line. This guide groove keeps the blade tracking straight and stops it from skipping across the surface. Move slowly and let the saw do the work. Rushing this first pass is a common mistake that leads to wavy, off-line cuts you’ll regret.
Step 5: Deepen the Cut in Passes
Now go back over your scored line and cut deeper in stages. Lower the blade an inch or so with each pass rather than forcing it all at once. This keeps your motor from bogging down and helps the diamond blade last longer. Standard asphalt driveways run about two to four inches thick, so plan for several passes. Steady, controlled pressure gives you a straighter result than muscling through.
Step 6: Cut All the Way Through
Keep going until your blade reaches the base layer beneath the asphalt. You’ll feel the resistance ease and often see the cut open up slightly. If you hit the gravel or soil base, you’ve gone deep enough. For a full section removal, complete every side of your marked perimeter using the same layered pavement cutting approach. Watch your blade depth so you don’t chew into the sub-base more than needed.
Step 7: Break and Remove the Section
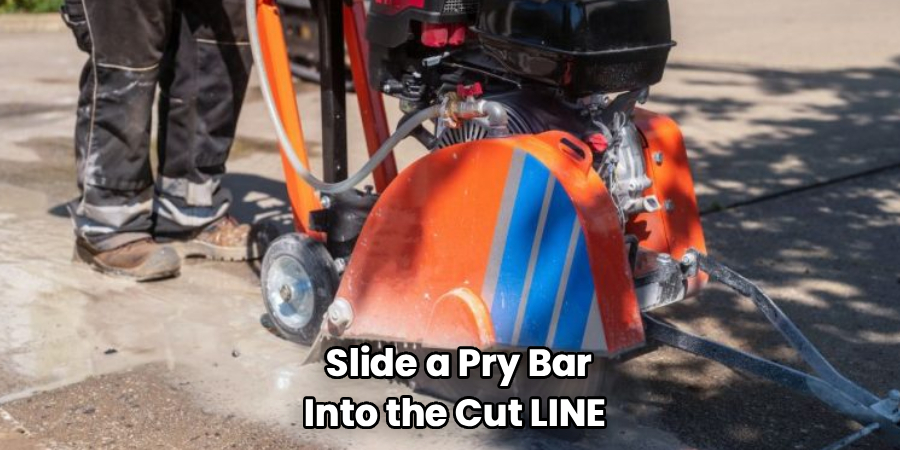
With the cuts complete, it’s time to lift out the piece. Slide a pry bar into the cut line and work it under the slab, prying upward in small movements. For stubborn spots, tap a cold chisel along the edge to loosen the bond. Have a helper ready, since asphalt chunks are heavier than they look. Lift with your legs, not your back, and clear each piece before moving to the next.
Step 8: Clean Up the Edges
Once the section is out, tidy the cut edges for a professional finish. Chip away any loose or crumbling bits with your cold chisel and hammer. Sweep the area with a push broom to clear grit and debris. If you plan on driveway repair or repaving, clean, square edges help the new patch bond tightly. A neat edge now saves you headaches when it’s time to fill the gap.
Step 9: Dispose of Debris Properly
Don’t just toss asphalt chunks in your regular trash. Many recycling centers accept old asphalt, and some even take it for free. Bag the smaller crumbs and load larger pieces carefully to avoid straining yourself. Check your local rules before hauling anything off. Responsible disposal keeps your project clean and keeps you on the right side of local regulations.
Tips for Best Results
- Match your blade to the material. A segmented diamond blade cuts asphalt faster and cooler than a general-purpose one. Using the wrong blade slows you down and wears out fast.
- Cut in the morning when it’s cool. Asphalt softens in heat, which can gum up your blade and make cuts messy. Cooler pavement gives you a crisper, cleaner line.
- Keep the blade wet if you can. Wet cutting cuts dust dramatically and extends blade life. It’s worth the extra setup, especially on long cuts.
- Respect expansion joints and existing seams. If your driveway has expansion joints, plan your cuts to work with them rather than fighting the natural breaks in the surface.
- Don’t force the saw. Let the weight of the tool and the spinning blade do the cutting. Pushing too hard bends the blade and leaves you with an uneven groove.
Frequently Asked Questions
What Is the Best Tool to Cut Asphalt Driveway Surfaces?
A walk-behind concrete saw fitted with a diamond blade is the top choice for long, straight cuts. For tighter spots or smaller jobs, a handheld cut-off saw gives you more control. Both work well as long as you use a blade rated for asphalt. If you only need it once, renting an asphalt saw is the most budget-friendly route.
Can I Cut Asphalt With a Regular Circular Saw?
You can, but only for shallow or small cuts, and you’ll need a masonry or diamond blade. A standard circular saw isn’t built for the depth or the abrasive wear that asphalt causes. It also strains the motor and dulls blades quickly. For anything more than a minor cut, a proper concrete saw is safer and far more effective.
Is It Safe to Cut Asphalt Dry?
Dry cutting is possible, but it throws up a lot of fine silica dust that’s harmful to breathe. If you must cut dry, always wear a fitted respirator and keep everyone else clear of the area. Wet cutting is the safer option since water controls the dust and cools your blade. Whenever you can, choose the wet method for both health and blade life.
How Deep Do I Need to Cut?
You’ll need to cut through the full thickness of the asphalt, which usually runs two to four inches. The goal is to reach the gravel or soil base underneath. Cut in gradual passes rather than one deep plunge to protect your saw and keep your line straight. Once you feel the resistance drop off, you’ve likely reached the base.
How Do I Keep My Cut Straight?
Snap a clear chalk line first, then make a shallow scoring pass to guide the blade. A straightedge or a clamped guide board also helps you stay on track. Move slowly and steadily instead of rushing, since speed is what usually causes wavy cuts. Letting the saw follow your scored groove keeps everything clean and true.
Do I Need a Permit to Cut My Driveway?
For most private driveway repair work, you won’t need a permit. But if your cut affects a public sidewalk, a shared drive, or a utility line, check with your local municipality first. Rules vary widely by area, so a quick phone call saves you trouble. It’s always better to confirm before you start cutting.
Conclusion
Cutting your own driveway might feel intimidating at first, but it’s completely doable with the right approach. Remember the key move: mark a clean line, score it shallow, then deepen your cut in steady passes while keeping the dust down. Take your time, wear your safety gear, and let the tools do the heavy lifting. When you cut asphalt driveway sections this way, you’ll get crisp, professional results every time. If you haven’t picked one up yet, check out our recommended tool picks above. Ready for your next project? Explore our other DIY guides for more hands-on tips.
