
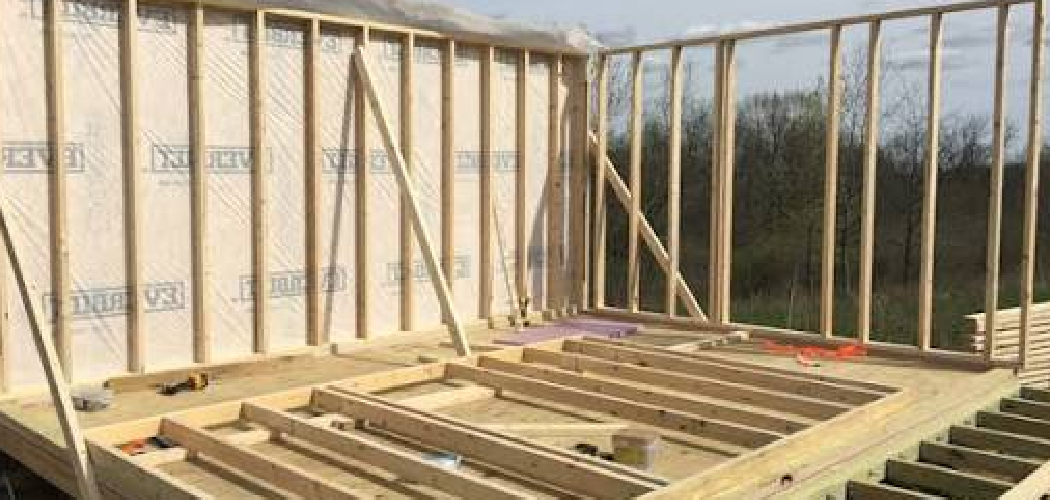
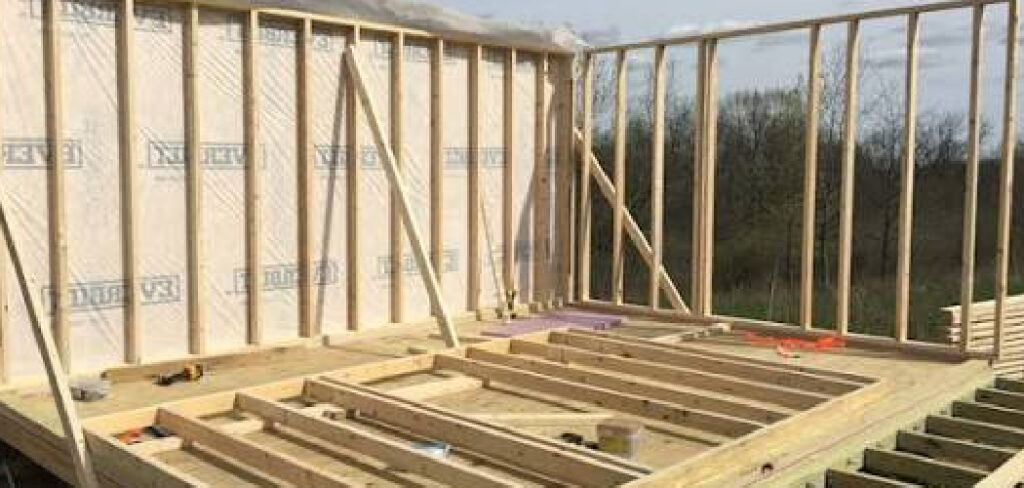
Picture this: your garage is packed to the brim, the lawnmower lives on the patio, and your bikes lean against the fence like they own the place. A backyard shed fixes all of that. And the best part? Learning how to build shed walls is far easier than most people expect. You don’t need to be a master carpenter or own a workshop full of fancy gear.
In this guide, I’ll walk you through every step, from measuring your first board to raising a finished wall. You’ll learn the tools you need, how to frame each section, and a few pro tricks that save time and frustration. Grab a coffee, roll up your sleeves, and let’s get building.
What You’ll Need
Before you start cutting anything, gather your gear. Having everything within reach saves you a dozen trips to the garage.
Tools:
- Circular saw
- Cordless drill or impact driver
- Framing hammer
- Tape measure (25-foot is ideal)
- Speed square
- Carpenter’s pencil
- Chalk line
- 4-foot level
- Framing nailer (optional, but a huge time-saver)
- Safety glasses and work gloves
- Ear protection
Materials:
- 2×4 lumber for studs, plates, and blocking
- Pressure-treated 2x4s for the bottom plate
- 16d framing nails or 3-inch structural screws
- Wall sheathing (OSB or plywood)
- 8d nails for sheathing
- Construction adhesive (optional)
A quick tip: buy about 10% more lumber than your plans call for. Boards warp, cuts go sideways, and it’s better to have spares than to stop mid-project for a hardware run.
Step-by-Step Guide on How to Build Shed Walls
Framing walls follows a simple rhythm once you get going. Take each step slowly, double-check your measurements, and you’ll be surprised how quickly things come together. Here’s the full process from start to finish.
Step 1: Plan Your Wall Layout and Measurements
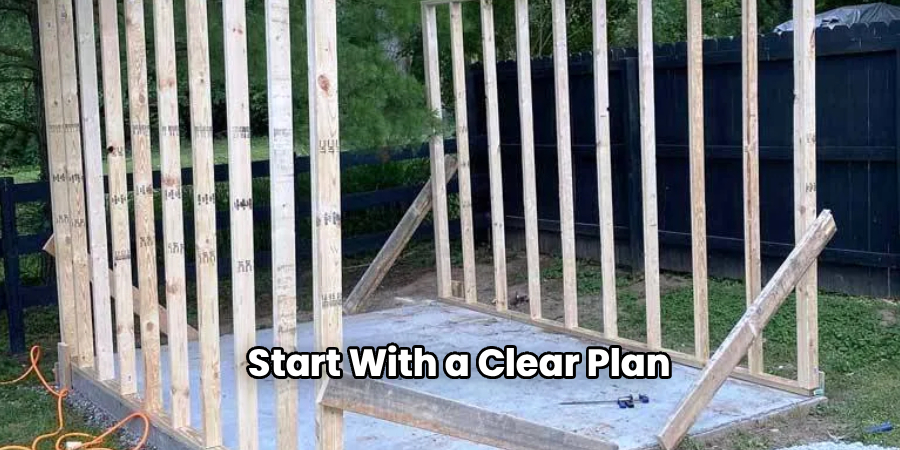
Start with a clear plan before you touch a single board. Sketch out each wall and note its length and height. Most sheds use 8-foot walls, but you can adjust based on your needs. Decide where your door and any windows will go, since these openings change how you space your studs.
Measure your shed floor or foundation carefully, because your walls must match it exactly. Write down the length of all four walls and label them front, back, left, and right. A little planning here prevents big headaches later. Trust me, remeasuring twice beats rebuilding once.
Step 2: Cut Your Top and Bottom Plates
The top plate and bottom plate are the horizontal boards that sandwich your studs. Cut two 2x4s for each wall to match your wall length. Use pressure-treated lumber for the bottom plate, since it sits closest to the ground and resists moisture and rot.
Lay both plates side by side on a flat surface. This lets you mark your stud positions on both at the same time, keeping everything perfectly aligned. Line up the ends so they match exactly. Cutting these accurately sets the tone for the entire shed construction, so take your time with the saw.
Step 3: Mark Your Stud Layout
Stud spacing matters more than beginners realize. Most shed walls use studs placed 16 inches on center, meaning the distance from the center of one stud to the next is 16 inches. This spacing gives your walls strength and makes attaching sheathing easier later.
Hook your tape measure on one end of the paired plates. Make a mark every 16 inches, then use your speed square to draw a straight line across both plates. Add an “X” beside each line so you know exactly where each stud sits. This simple habit keeps your stud layout consistent and prevents costly mistakes when you start nailing.
Step 4: Frame the Door and Window Openings
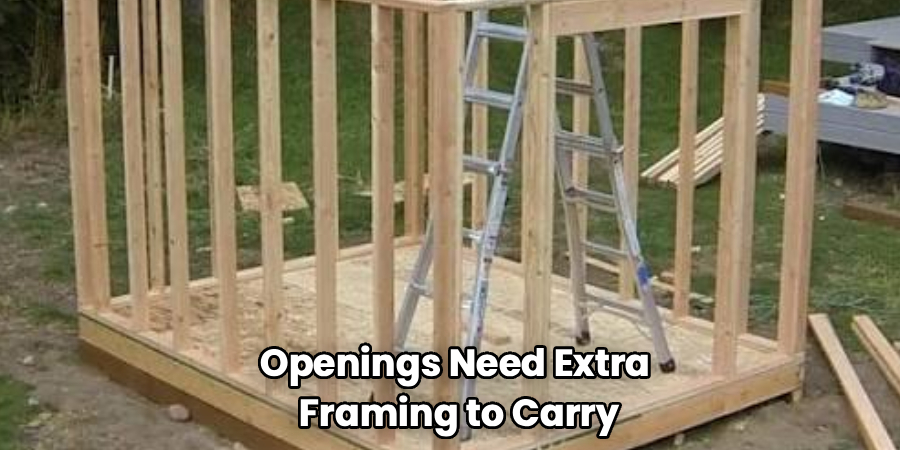
Openings need extra framing to carry the weight around them. For a door or window, you’ll build a rough opening using king studs, jack studs, and a header. The king studs run full height on each side. The jack studs sit inside them and support the header above.
Measure your door or window frame, then add a little clearance so it fits without forcing. The header spans the top of the opening and transfers the load to the jack studs. For small sheds, a doubled 2×6 or 2×8 usually works fine as a header. Getting these openings square now saves serious frustration during installation.
Step 5: Assemble the Wall Frame on the Ground
Here’s where it starts looking like a real wall. Building on the ground is easier and safer than working upright. Set your top and bottom plates parallel, spaced apart by the length of your studs. Then drop each stud into place at its marked spot.
Drive two nails or screws through the plate into the end of each stud. Work your way down the wall, keeping each stud snug against its marks. Check that the frame stays square by measuring both diagonals. When those diagonal measurements match, your wall is perfectly square and ready for the next phase.
Step 6: Add Wall Sheathing
Wall sheathing gives your shed its rigidity and a surface for siding. While the wall is still flat on the ground, lay your OSB or plywood panels over the frame. Align the bottom edge with the bottom of the wall and make sure the panel edges land on stud centers.
Nail the sheathing every 6 inches along the edges and every 12 inches in the middle of each panel. This locks the frame into a solid, stiff unit. A bit of construction adhesive between the studs and sheathing adds extra strength and reduces squeaks. Attaching sheathing now, while everything lies flat, is far easier than doing it after the wall stands up.
Step 7: Raise the Wall Into Position
Now for the satisfying part. With a helper or two, lift the wall until it stands upright on the foundation. Walls get heavy fast, especially with sheathing attached, so don’t try this solo if you can avoid it. Slide the bottom plate so it lines up with the edge of your shed floor.
Once it’s standing, tack it in place with a few temporary braces. These angled boards hold the wall steady while you check for plumb. Use your level on the studs to confirm the wall stands perfectly vertical. Adjust as needed before you fasten anything permanently.
Step 8: Secure and Connect the Walls
With your first wall braced and plumb, anchor the bottom plate to the foundation. Use anchor bolts, concrete screws, or nails depending on your base. Then raise your remaining walls one by one, repeating the same process for each.
As you bring walls together at the corners, nail them to each other through the end studs. This ties the whole structure into one strong box. Add a second top plate that overlaps the corners, which locks everything even tighter. Knowing how to build shed walls that connect solidly at the corners is what turns four separate frames into a sturdy building.
Step 9: Final Checks and Adjustments
Before you celebrate, walk around the whole structure. Check every wall for plumb one more time, since raising and connecting can shift things slightly. Confirm the tops of the walls are level with each other, because your roof depends on it.
Look over your fasteners and add any you missed. Give each corner a gentle push to feel for movement. If anything wiggles, add more nails or bracing until it feels rock solid. This final inspection ensures your shed stands strong for years and gives you real peace of mind.
Tips for Best Results
Once you’ve framed a wall or two, these insider tricks make the whole job smoother and cleaner.
- Crown your studs the same way. Every board has a slight bow, called the crown. Sight down each stud and install them all with the crown facing up or the same direction. This keeps your walls flat instead of wavy.
- Build on the flattest surface you can find. Your finished floor or a level driveway works great. A flat base means a square wall, and a square wall makes everything else fall into place.
- Pre-drill near board ends when using screws. Lumber loves to split at the tips. A quick pilot hole prevents cracks and keeps your framing looking professional.
- Snap chalk lines for your plate positions. Marking where each wall sits on the floor before you raise anything makes alignment fast and foolproof. It’s a two-minute step that saves ten.
- Keep a scrap of 16-inch lumber handy. Use it as a spacer block to check stud spacing without measuring every time. Little shortcuts like this add up over a long build.
Frequently Asked Questions
What Is the Best Stud Spacing for Shed Walls?
Most shed walls use studs spaced 16 inches on center, which offers a great balance of strength and material use. For lighter storage sheds, some builders stretch to 24 inches on center to save on lumber. If your shed will hold heavy loads or face strong winds, stick with 16 inches. When in doubt, tighter spacing gives you more strength and peace of mind.
How Tall Should I Make My Shed Walls?
Eight-foot walls are the most common choice because standard lumber and sheathing come in 8-foot lengths. This means less cutting and less waste for you. If you want extra headroom or plan to add shelving up high, you can go taller. Just remember that taller walls need extra bracing and may affect your local permit requirements.
Can I Build Shed Walls by Myself?
You can frame the walls solo, but raising them alone is tricky and risky. The framing steps, like cutting plates and nailing studs, are easy to handle on your own. The heavy lifting comes when you stand a finished wall up, especially with sheathing attached. Grab a friend or two for that part, or use wall jacks to lift safely.
Do I Need to Sheath Shed Walls Before Raising Them?
Adding sheathing before you raise the wall is much easier because you work flat on the ground. It also squares and stiffens the frame, making the wall easier to handle in one piece. The tradeoff is extra weight, so you’ll definitely want helpers for the lift. If your walls are large, you can sheath them after raising instead.
What Kind of Wood Should I Use for the Bottom Plate?
Always use pressure-treated lumber for the bottom plate. This board sits closest to the ground and foundation, where moisture collects. Regular untreated lumber would rot over time and weaken your whole shed. Pressure-treated wood resists moisture, insects, and decay, keeping your walls solid for the long haul.
How Do I Keep My Walls Square During Assembly?
The easiest way is the diagonal measurement trick. After nailing your frame together, measure from one corner to the opposite corner, then measure the other diagonal. When both measurements match, your wall is perfectly square. Adjust the frame by gently pushing a corner until the numbers line up before you add sheathing.
Conclusion
Framing a shed doesn’t have to feel intimidating. Once you understand the basics, learning how to build shed walls becomes a fun weekend project you’ll be proud of. Just remember to plan carefully, keep your walls square, and lean on a helper for the heavy lifting.
If you haven’t gathered your gear yet, check out our recommended products above to get set up right. With the correct tools and a little patience, your new shed is closer than you think. Ready for more? Explore our other DIY guides on the site and keep building your skills.
