
You sit down to touch up your gel manicure, and within minutes the file catches, the surface goes cloudy, and one nail feels thinner than the rest. Frustrating, right? That messy result usually comes down to technique, not talent. Learning how to use a nail drill fixes that fast, giving you smooth removals and salon-clean edges at home.
In this guide, you’ll discover what a nail drill actually does, the supplies to gather first, and a clear step-by-step walkthrough. You’ll also pick up insider tips that protect your natural nails and answers to the questions beginners ask most. Whether you’re doing your own nails or a friend’s, this walkthrough keeps things safe and simple. Let’s turn those shaky first tries into confident, clean results.
What Is a Nail Drill?
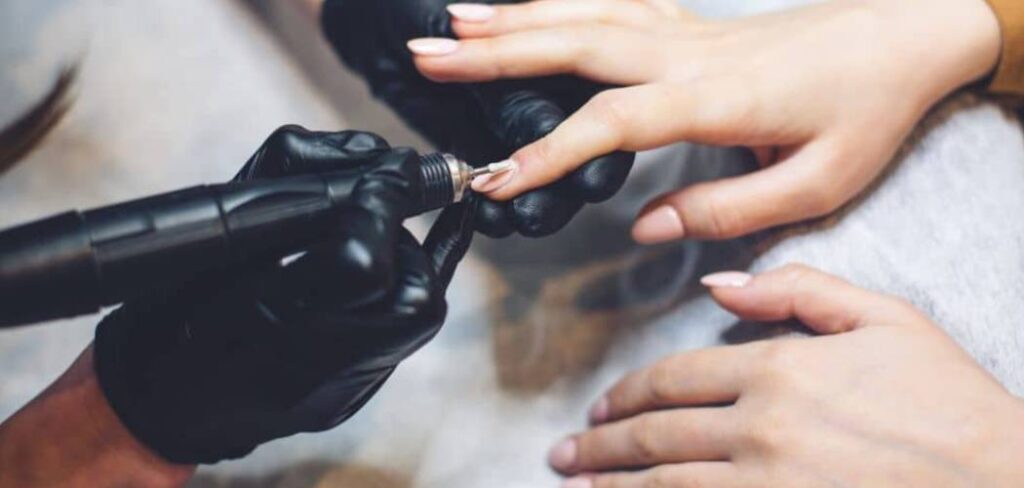
A nail drill, sometimes called an e-file, is a rotary tool that spins small interchangeable bits to shape, smooth, and remove product from nails. Nail techs use it to file down gel, acrylic, and dip powder far faster than a hand file. It handles cuticle work, surface prep, and shine buffing too. Think of it as a precise, gentle power tool made specifically for nails.
What You’ll Need
Gather everything before you start so you’re not scrambling mid-session. A tidy setup makes the whole process smoother.
- A nail drill (corded or rechargeable) with a foot pedal or hand control
- A set of drill bits (carbide, ceramic, sanding bands, and a buffer)
- Sanding band mandrel for swapping disposable bands
- A dust brush or small vacuum for clearing debris
- A dust mask to keep filings out of your lungs
- Cuticle oil for aftercare
- Hand sanitizer and bit cleaner for hygiene
- A soft towel or nail mat for your workspace
- Good lighting so you can see every angle
- Optional: a fan or dust collector for a cleaner setup
Keep your bits organized in a labeled case. Carbide bits work well for acrylic, while ceramic runs cooler for longer sessions. A fresh sanding band always beats a worn, clogged one.
Step-by-Step Guide on How to Use a Nail Drill
Follow these steps in order, and you’ll build confidence quickly. Go slow the first few times, since control matters more than speed.
Step 1: Get Familiar With Your Machine
Before touching a nail, explore your device. Turn it on at the lowest speed and watch how the bit spins. Notice the forward and reverse switch, which controls the direction of rotation. Righties usually work in reverse on the left side of the nail and forward on the right.
Test the speed dial and get a feel for the RPM range. Most beginner work happens between 5,000 and 10,000 RPM. Rushing to high speeds early causes heat and mistakes. Spend a few minutes just holding it like a pencil.
Step 2: Choose the Right Drill Bit
Your bit choice shapes the whole session. Use a carbide bit to remove acrylic and hard product quickly. Pick a ceramic bit when you want less heat during long removals. Sanding bands are great for smoothing edges and cleaning under the nail.
Match the bit to the task instead of forcing one to do everything. A fine-grit bit refines, while a coarse-grit bit removes bulk. Check that the bit sits fully in the chuck before you lock it. A loose bit wobbles and can slip.
Step 3: Prep and Sanitize Everything
Clean hands and clean tools keep infections away. Wash your hands, then sanitize them along with your client’s if you’re doing someone else’s nails. Wipe each bit with a bit cleaner or disinfectant before use. Hygiene is a non-negotiable part of learning how to use a nail drill safely.
Set up your workspace with good lighting and a soft mat. Keep your dust brush within reach. A clean, organized station helps you focus on technique. It also makes cleanup at the end far quicker.
Step 4: Set Your Speed Low to Start
Speed control protects both nails and nerves. Begin at a low RPM, around 5,000, until your hand feels steady. Lower speeds give you more control and reduce the risk of digging in. You can always increase speed as your confidence grows.
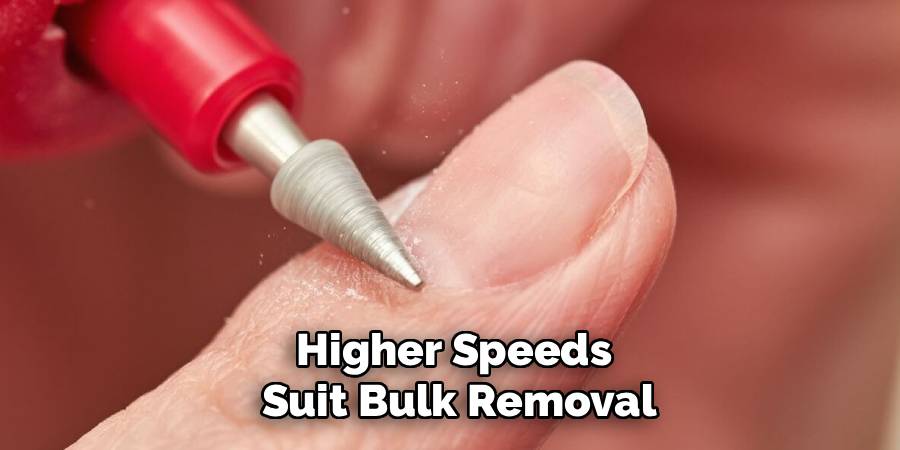
Higher speeds suit bulk removal, but they generate heat fast. If your client feels warmth, ease off immediately. Beginners often crank the speed too high and cause damage. Slow and steady wins every time here.
Step 5: Hold the Drill Like a Pencil
Grip matters more than you’d think. Hold the handpiece like a pen, resting it lightly between your fingers. Brace your working hand against the client’s finger for stability. This steadies your movements and prevents accidental slips.
Keep the bit nearly flat against the nail, not pointing straight down. A steep angle digs into the surface and thins the nail. Let the bit glide across the surface in smooth passes. Light contact always beats heavy pressure.
Step 6: Remove Product With Gentle Passes
Now to the actual filing. Move the bit across the product in slow, even strokes, working from one side to the other. Never park the bit in one spot, since that builds heat and can burn the client. Keep it moving constantly, like painting with light brushstrokes.
Let the drill do the work instead of pressing hard. Remove product in thin layers rather than gouging deep. Stop often to brush away dust and check your progress. If you feel the bit grab, lift off and reposition.
Step 7: Work the Cuticle Area Carefully
The cuticle zone needs a delicate touch. Switch to a smaller, fine bit for this precise work. Gently clean the area where product meets skin, using the tip at a low angle. Avoid pressing into the soft tissue around the nail.
This step lifts trapped debris and creates a clean base for new product. Go slowly, since the skin here is sensitive. A steady hand prevents nicks and irritation. When in doubt, ease back and take another pass.
Step 8: Smooth and Refine the Surface
Once the bulk is gone, refine everything. Swap to a fine sanding band or buffer bit to smooth the surface. Run it lightly over any ridges or uneven spots. This creates the flat, even canvas your next product needs.
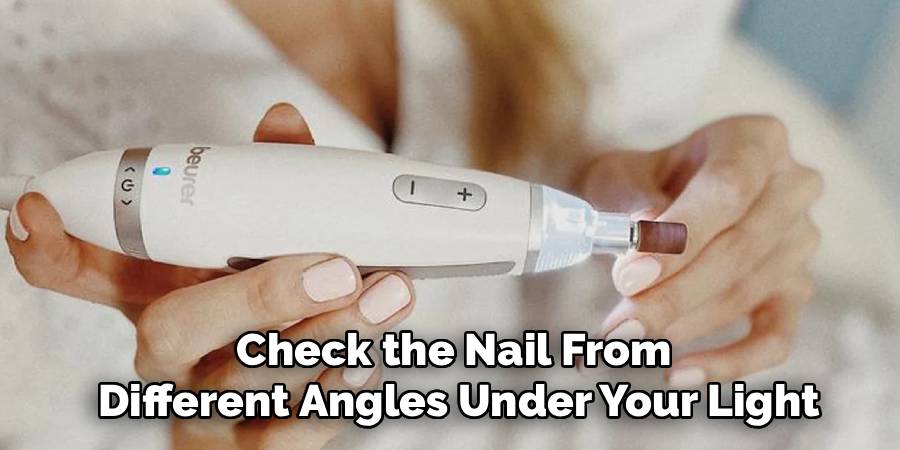
Check the nail from different angles under your light. Look for shine spots, which show leftover product, and remove them gently. A smooth surface helps polish and gel adhere better. Patience here gives you a flawless finish.
Step 9: Clean Up and Apply Aftercare
Finish strong with proper cleanup. Brush away all dust, then wipe the nail with a lint-free pad. Apply cuticle oil to rehydrate the skin and nail plate. This soothing step keeps nails healthy after filing.
Remove your bits and disinfect them for next time. Wipe down the handpiece and store everything in its case. Charge the battery or coil the cord neatly. Good habits keep your tool running well for years.
Tips for Best Results
Ready to go beyond the basics? These pointers separate confident users from nervous beginners.
- Never file in one spot. Constant movement prevents heat buildup, which is the top cause of burns and nail damage. Keep the bit gliding at all times, even during detailed work.
- Test bit direction on scrap first. If you’re new to forward and reverse, practice on a fake nail tip. This builds muscle memory before you touch real nails and saves you from awkward angles.
- Replace sanding bands often. A worn band feels smooth but works poorly, tempting you to press harder. Swapping to a fresh one keeps your pressure light and your results clean.
- Watch for a heat spike. If your client winces or you feel warmth, lift off instantly. Lower the speed and let the nail cool before continuing.
- Keep your bits clean between clients. Disinfecting after every use protects everyone and extends bit life. Clogged bits also run hotter and cut less efficiently.
Frequently Asked Questions
Is It Safe to Use a Nail Drill at Home?
Yes, a nail drill is safe at home when you start slow and use the right bits. Keep the speed low, hold the bit at a shallow angle, and always keep it moving. Most damage comes from high speed, heavy pressure, or resting the bit in one spot. With practice and patience, you’ll get salon-quality results safely.
Can I Use a Nail Drill on Natural Nails?
You can, but tread lightly. Use a fine buffer or ceramic bit, and only lightly refine the surface rather than filing deep. Natural nails are thin, so aggressive drilling can weaken them quickly. Stick to gentle passes and finish with cuticle oil to keep them healthy.
What Speed Should I Set My Nail Drill To?
Beginners should start around 5,000 RPM for control. Bulk product removal can go up to 10,000 or higher once you’re comfortable. Cuticle work and natural nail buffing call for lower speeds. Let your comfort level guide you, and increase speed only as your hand steadies.
Why Does My Nail Drill Get Hot?
Heat usually builds when you hold the bit in one place or press too hard. Keep the bit moving in smooth strokes and use a light touch. A clogged or worn bit also runs hotter, so swap it out. If warmth appears, lift off and let the nail cool.
Which Drill Bits Should Beginners Start With?
Start with a fine carbide bit, a ceramic bit, and a few sanding bands. Carbide handles product removal, ceramic runs cooler, and sanding bands smooth edges. A buffer bit adds a clean finish at the end. This small kit covers most everyday tasks while you build skill.
Conclusion
You now have a clear roadmap for confident, clean results at home. The key takeaway is simple: start slow, keep the bit moving, use a light touch, and finish with nourishing cuticle oil. Once you understand how to use a nail drill, those messy touch-ups become smooth, satisfying sessions.
If you haven’t found the right one yet, check out our recommended picks above to match a drill to your needs. Now grab your kit and put these steps into practice. When you’re ready for more, explore our other tool guides for your next project.
