
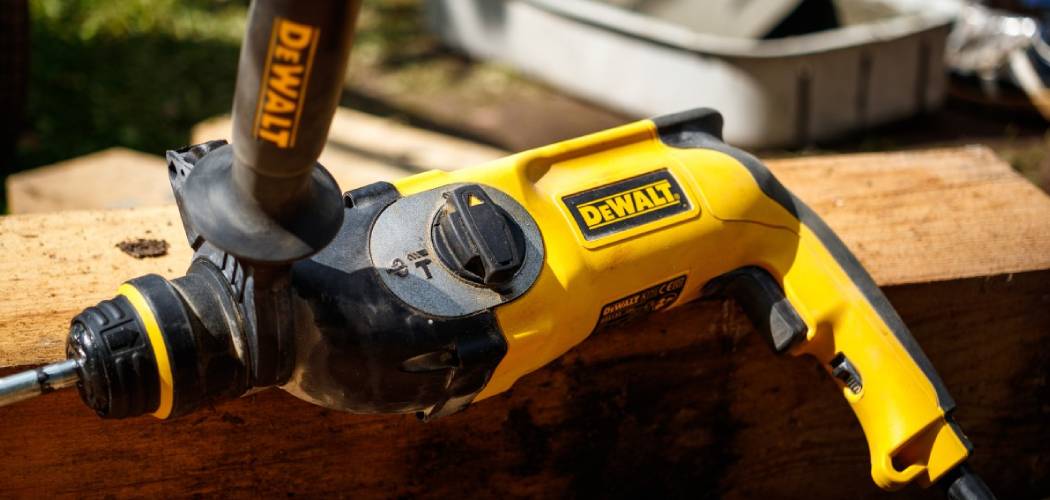
You’ve got a picture frame in one hand, a wall anchor in the other, and a fresh drill still in its box. The instructions might as well be written in code. That moment stops a lot of first-time DIYers cold. Learning how to use a drill clears up the confusion fast, turning a scary power tool into your most useful helper around the house.
In this guide, you’ll learn what to gather before you begin, how to load a bit, and the exact steps for drilling clean, safe holes. You’ll also pick up expert tips and answers to the questions beginners ask most. Whether you’re hanging shelves or building a bookcase, these steps keep things simple. Let’s get you drilling with confidence.
What You’ll Need
Grab everything before you start so you’re not hunting for parts mid-project. A little prep saves you a lot of frustration.
- A power drill (corded or cordless) with a charged battery or nearby outlet
- A set of drill bits (twist bits for wood and metal, masonry bits for brick or concrete)
- Screwdriver bits if you plan to drive screws
- A tape measure and pencil for marking
- A level to keep things straight
- Safety glasses to protect your eyes
- Wall anchors and screws for your specific surface
- A stud finder if you’re drilling into drywall
- A small clamp to hold loose material steady
- A vacuum or brush for cleanup
Keep your bits organized in a labeled case so sizes stay easy to find. Match the bit type to your surface, since a wood bit won’t survive brick. Fully charge your battery the night before a big job.
Step-by-Step Guide on How to Use a Drill
Follow these steps in order, and you’ll build skill quickly. Take your time on the first few holes, since control beats speed every time.
Step 1: Get to Know Your Drill
Before touching a wall, explore your tool. Find the trigger, the direction switch, and the speed or torque settings. The direction switch controls whether the drill spins forward to drive screws or reverse to remove them. Squeeze the trigger lightly and watch how the chuck spins.
Most drills have a numbered collar that sets torque, which controls how much force the drill applies. Lower numbers work for delicate tasks, higher numbers for tough ones. Spend a minute holding it like you would a cordless screwdriver. Getting comfortable now prevents fumbling later.
Step 2: Choose and Insert the Right Bit
Your bit choice shapes the whole job. Use a twist bit for wood and metal, and a masonry bit for brick or concrete. Match the bit size to your screw or anchor, since a hole that’s too wide won’t grip. Pick a screwdriver bit if you’re driving screws instead of drilling.
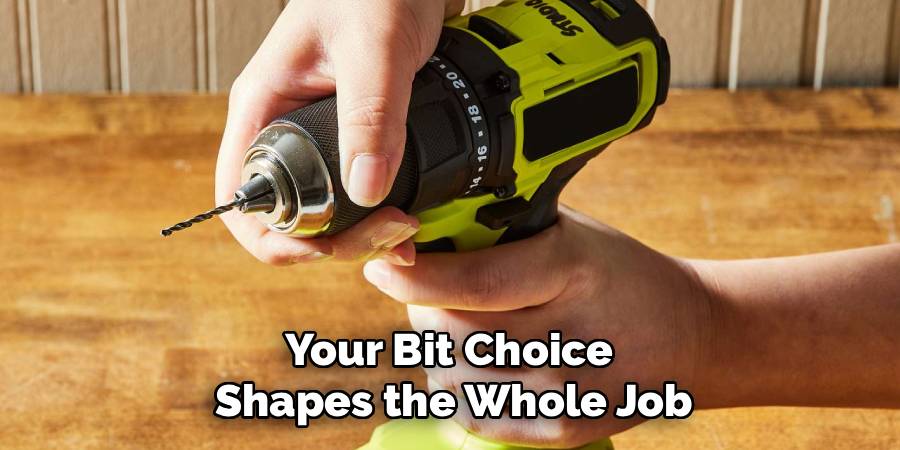
To insert a bit, open the chuck by twisting it counterclockwise. Slide the bit in, center it, then twist clockwise until it’s snug. Give it a gentle tug to confirm it’s locked. A loose bit wobbles and can slip out mid-spin.
Step 3: Mark Your Spot Clearly
Accuracy starts with a good mark. Measure twice with your tape measure, then mark the drilling point with a pencil. Use a level to keep shelves or frames straight, since even a small tilt shows once things are hung. For heavy items, use a stud finder to locate solid wood behind the drywall.
A clear mark keeps your bit from wandering when it first touches the surface. Some people press a small dent into wood with a nail to guide the bit. This tiny step saves you from crooked, off-center holes. Rushing here is the top cause of do-overs.
Step 4: Set Your Speed and Torque
Matching settings to the task protects both your material and your bit. Use a low speed for hard surfaces like metal and masonry, and a higher speed for wood. Set the torque collar low when driving screws so you don’t strip them or split the wood. Bump it up only if the screw stalls before it’s seated.
Beginners often crank everything to maximum and lose control fast. Start gentle and increase only as needed. Knowing how to use a drill well often comes down to reading the material and adjusting. Slow, steady pressure wins.
Step 5: Position and Steady the Drill
Grip matters more than muscle here. Hold the drill firmly with one hand on the handle, and brace your other hand near the top for support. Line the bit up so it points straight into the surface at a 90-degree angle. A tilted drill creates a slanted hole that won’t hold well.
Keep your body balanced and your wrist steady. If you’re drilling into small or loose material, clamp it down first. This frees both hands and keeps the piece from spinning. A stable stance gives you cleaner, safer results.
Step 6: Start Drilling With Light Pressure
Now for the fun part. Squeeze the trigger slowly to start the bit spinning, then apply gentle, even pressure. Let the drill do the work instead of forcing it, since pushing too hard can snap the bit or overheat it. Keep the drill straight as it bites into the surface.
For deep holes, pull the bit out every few seconds to clear away debris. This keeps the bit cool and the hole clean. If the bit stalls, ease off and check your speed setting. Steady, patient pressure beats brute force every time.
Step 7: Back the Bit Out Cleanly
Finishing the hole matters as much as starting it. Once you reach the depth you need, keep the drill running as you pull the bit straight out. Reversing the direction switch can help free a stuck bit gently. Never yank it out sideways, since that can widen or crack the hole.
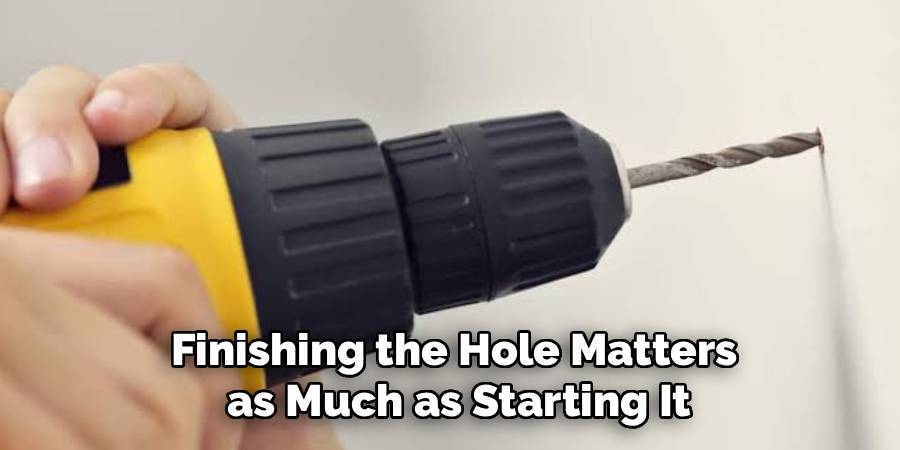
Wrap a piece of tape around the bit to mark your target depth. When the tape reaches the surface, you know to stop. This trick keeps every hole consistent, which is handy for shelves. Clean holes make anchors and screws sit flush.
Step 8: Insert Anchors and Drive Screws
With the hole ready, finish the job. Tap a wall anchor into the hole if you’re mounting into drywall, since anchors grip where studs don’t. Swap your drill bit for a screwdriver bit that matches your screw head. Set the torque low and drive the screw slowly into place.
Stop when the screw sits snug but not buried, so you don’t strip the surface. If the screw spins without tightening, your anchor may be too loose. Test the mount with a light tug before hanging anything heavy. A firm hold means you did it right.
Step 9: Clean Up and Store Your Tool
Finish strong with a tidy wrap-up. Vacuum or brush away any dust and debris from your workspace. Remove the bit, wipe it down, and return it to its case. A clean bit lasts longer and cuts better next time.
Charge your battery or coil the cord neatly for storage. Keep your drill in a dry spot away from moisture. Good habits like these keep your tool running smoothly for years. Future you will appreciate the effort.
Tips for Best Results
Ready to go beyond the basics? These pointers separate confident users from nervous beginners.
- Use painter’s tape over your mark. Sticking a small piece of tape on the surface before drilling stops the bit from slipping and reduces chipping. It works wonders on tile, glossy wood, and painted walls.
- Match your bit to the anchor, not the screw. Anchors set the real hole size, so check the packaging for the recommended bit. This one habit prevents loose, wobbly mounts.
- Let the bit cool on tough jobs. When drilling metal or masonry, pause every few seconds and pull out to clear debris. Heat dulls bits fast, and a short break keeps them sharp.
- Keep a firm grip for kickback. If the bit binds, the drill can twist in your hand suddenly. Bracing your second hand near the top keeps you in control.
- Test your settings on scrap first. Before drilling your real project, try your speed and torque on a spare piece. This quick check saves your good material from mistakes.
Frequently Asked Questions
Is It Safe to Use a Drill at Home?
Yes, a drill is safe at home when you follow basic precautions. Always wear safety glasses, keep both hands steady, and unplug or remove the battery when changing bits. Most accidents come from loose material, wrong settings, or rushing. Take your time and the tool stays friendly.
What’s the Difference Between Speed and Torque?
Speed controls how fast the bit spins, while torque controls how much twisting force the drill applies. Use high speed for drilling wood and low speed for metal or masonry. Set torque low for driving screws so you don’t strip them. Matching both to your task gives you clean, controlled results.
Can I Use One Drill Bit for Everything?
Not really, since different surfaces need different bits. Twist bits handle wood and metal, while masonry bits are built for brick and concrete. Using the wrong bit dulls it fast and gives you a messy hole. A small starter set covers most household jobs and lasts a long time.
Why Does My Drill Bit Keep Slipping?
Slipping usually happens when the bit isn’t tightened fully in the chuck or the surface is too slick. Twist the chuck firmly until the bit sits snug, then give it a tug to check. On glossy surfaces, a piece of painter’s tape gives the bit something to grip. A pilot dent also helps it stay put.
How Do I Know Which Wall Anchor to Use?
Your anchor depends on the surface and the weight you’re hanging. Plastic anchors work for light items in drywall, while heavier loads need toggle or metal anchors. Always drill into a stud when you can, since wood holds screws best. Check the anchor packaging for weight limits before you commit.
Conclusion
You now have a clear path from nervous first-timer to confident DIYer. The key takeaway is simple: match your bit and settings to the job, mark carefully, and let the tool do the work with light, steady pressure. Once you understand how to use a drill, those daunting home projects become quick, satisfying wins.
If you haven’t picked one up yet, check out our recommended picks above to find the right fit for your needs. Now grab your drill and put these steps to work. When you’re ready for more, explore our other tool guides for your next project.
