

That hairline crack running across your living room wall? It’s been bugging you for weeks. Or maybe there’s peeling paint on the trim, or a dent in the drywall that catches your eye every time you walk past. Good news: a putty knife is the simple tool that solves all of these headaches. It’s cheap, easy to handle, and it works wonders for wall repair and surface prep.

In this guide, you’ll learn how to use putty knife like a pro. We’ll cover the supplies you need, walk through each step, and share insider tips that make your finish look smooth and clean. Whether you’re patching a hole or spreading filler for the first time, you’ll feel confident by the end. No fancy skills required. Let’s get that wall looking flawless.
What You’ll Need
Before you dig in, gather your supplies. Having everything within reach keeps the job smooth and stress-free.
- Putty knife (a flexible blade for spreading, a stiff blade for scraping)
- Spackling or drywall compound for filling holes and cracks
- Sandpaper (medium and fine grit)
- A clean bucket of water and a rag
- Painter’s tape to protect edges
- A drop cloth to catch drips and debris
- Primer and paint (if you plan to finish the surface)
- Optional: a second, wider scraper tool for big patches
Most of these cost just a few dollars. Pick a blade size that fits your project. Small blades handle tight spots, while wider ones cover large areas fast.
Step-by-Step Guide on How to Use Putty Knife
Take these steps in order. Slow, steady work beats rushing every time.
Step 1: Choose the Right Blade for the Job
Not all blades are the same. A flexible blade bends easily and works great for spreading filler into cracks. A stiff blade holds its shape, making it perfect for scraping off old paint or caulk. Match the width to your task too. Use a narrow blade for small dents and a wide one for smoothing large patches. Picking the wrong blade is the most common beginner mistake, so take a moment to choose wisely.
Step 2: Prep and Protect Your Work Area
A little prep saves a big mess later. Lay down a drop cloth to catch falling debris and drips. Tape off any trim, outlets, or edges you want to keep clean. Clear the surface of dust, loose paint, and grease with a damp rag. A clean surface helps the filler stick better and dry evenly. Skip this surface prep, and your patch may crack or peel down the road.
Step 3: Scrape Away Loose Material
Start by removing anything that’s flaking or crumbling. Hold your scraping blade at a low angle to the wall. Push firmly but gently to lift old paint, bits of drywall, or dried caulk. Don’t dig the corner of the blade into the surface, or you’ll gouge it. For caulk removal along a seam, drag the edge in one smooth line. This clears the way for a clean, solid repair.
Step 4: Load the Blade With Filler
Scoop a small amount of spackling or drywall compound onto your blade. Less is more here. A thin layer spreads easier and dries faster than a thick glob. Hold the blade at about a 45-degree angle to the wall. Press the filler into the crack or hole, working it in from different directions. This packs the compound tight and removes air pockets that cause bubbles later.
Step 5: Spread Filler Smoothly
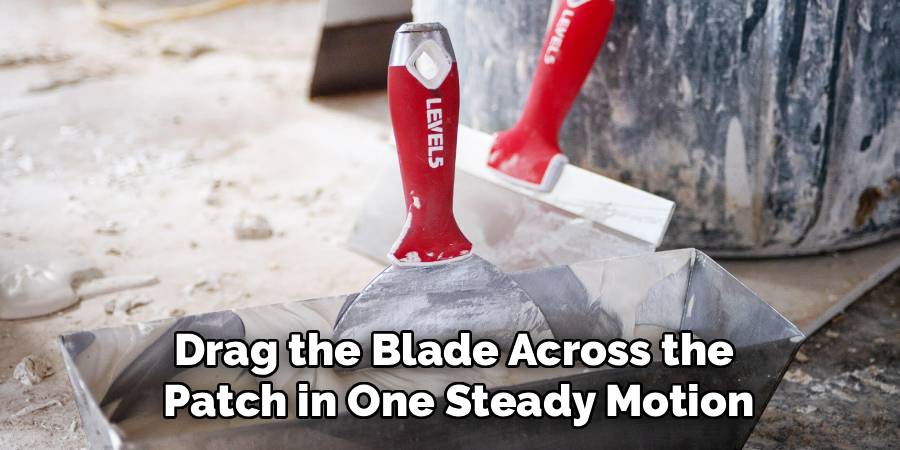
Now comes the satisfying part. Drag the blade across the patch in one steady motion. Keep light, even pressure so the filler fills the gap without lifting out. For spreading filler over a larger area, overlap your strokes slightly. Wipe excess compound off the blade between passes to avoid streaks. Aim to leave the surface as flat and smooth as you can, since less buildup means less sanding.
Step 6: Let It Dry Completely
Patience pays off at this stage. Give the compound the full drying time listed on the package. Rushing to sand or paint over damp filler leads to cracks and a rough finish. Thicker patches may need a second coat once the first dries. Most spackling turns from pink to white when ready, so watch for that color change. Warm, dry air speeds things along nicely.
Step 7: Sand the Surface Flat
Once dry, smooth things out with sandpaper. Start with medium grit to knock down high spots. Then switch to fine grit for a polished, even finish. Sand in gentle circles and check your progress by running a hand over the surface. It should feel level with the surrounding wall. Wipe away the dust with a dry cloth before you move on to priming or painting.
Step 8: Clean Your Tool Right Away
Don’t let compound dry on your blade. Wash it with warm water and a rag as soon as you finish. Dried filler hardens fast and can pit or dull the metal. For a stiff blade used on paint or caulk, scrape off residue before rinsing. Dry the blade fully to stop rust from forming. A clean, well-kept tool lasts for years and performs better on every project.
Tips for Best Results
These extra pointers go beyond the basics. They’ll help you get a smoother, cleaner finish every time.
- Keep two blades handy. Use a flexible one for spreading and a stiff one for scraping. Switching between them saves time and gives you better control on mixed jobs.
- Feather your edges. When spreading filler, thin out the edges of each patch. This blends the repair into the wall so it disappears under paint, with no visible bump.
- Wet the blade slightly. A lightly dampened blade glides more smoothly over spackling. It helps you achieve that glass-smooth finish without dragging or leaving lines.
- Sand between coats. For deep holes, a quick light sanding between layers helps each coat bond tighter. The result is a stronger, flatter wall repair.
- Store it flat and dry. Hang your tool or lay it flat after cleaning. A bent or rusty scraping blade never spreads evenly, so proper storage protects your investment.
Frequently Asked Questions
What Is the Difference Between a Flexible and Stiff Blade?
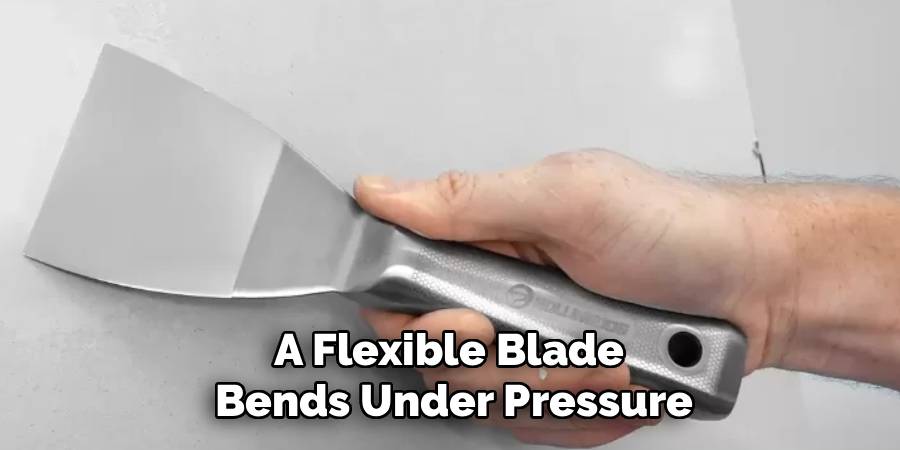
A flexible blade bends under pressure, which makes it ideal for spreading filler and smoothing patches. A stiff blade stays rigid, so it excels at scraping off old paint, caulk, or stubborn debris. Most DIYers keep both on hand for different tasks. If you can only buy one to start, a medium-flex blade offers a solid balance for general wall repair.
Can I Use a Putty Knife to Remove Old Caulk?
Yes, and it works surprisingly well. Use a stiff blade and hold it at a low angle to the caulk line. Slide the edge along the seam to lift the old bead in one clean strip. Take your time near tile or trim so you don’t scratch the surface. For hardened caulk, soften it first with a caulk remover to make the job easier.
How Do I Get a Smooth Finish Without Sanding Forever?
The secret is applying thin, even coats of drywall compound. The less buildup you leave, the less you’ll need to sand later. Keep your blade at a consistent angle and use long, steady strokes. Feathering the edges as you spread also cuts down on sanding time. Do this well, and a quick pass with fine grit is all you’ll need.
Is It Safe to Use a Metal Blade on Drywall?
It’s safe as long as you use a gentle touch. Hold the blade at a low angle and avoid digging the corners into the paper surface. Too much pressure can tear or gouge the drywall, creating more work. For delicate spots, a plastic scraper tool offers a softer option. Practice light, controlled strokes and you’ll protect the wall every time.
How Do I Keep My Tool From Rusting?
Rust comes from moisture left on the metal. Always wash off filler right after use, then dry the blade completely with a rag. Store it in a dry spot, ideally hung up or laid flat. A light coat of machine oil adds extra protection for long-term storage. These simple habits keep the edge clean and ready for your next project.
Conclusion
Fixing that crack or patching that dent doesn’t have to feel intimidating. With a putty knife and a little patience, you can spread filler, smooth surfaces, and tackle wall repair like a seasoned pro. Just remember the essentials: pick the right blade, prep your surface, and apply thin, even coats. Your walls will look flawless in no time.
If you haven’t picked one up yet, check out our recommended products above to find the right blade for your project. Ready for your next fix? Explore our other DIY and home repair guides on the site for more handy tips.
