
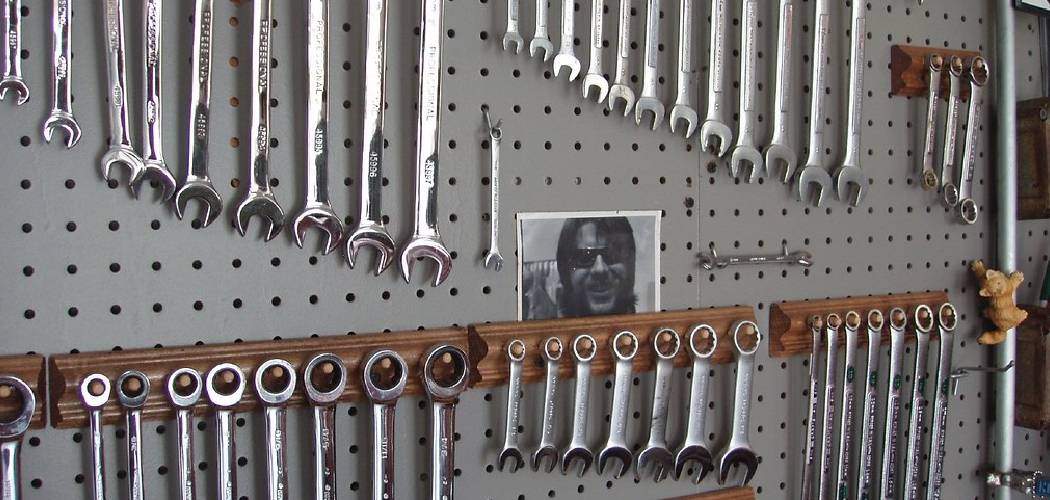
You reach into your toolbox for a wrench, and there it is: crusted with old grease, spotted with rust, and grippy in all the wrong ways. Maybe it slipped out of your hand last time because your palm couldn’t get a solid hold. A dirty wrench isn’t just ugly. It works worse, wears faster, and can even ruin the bolts you’re trying to turn.
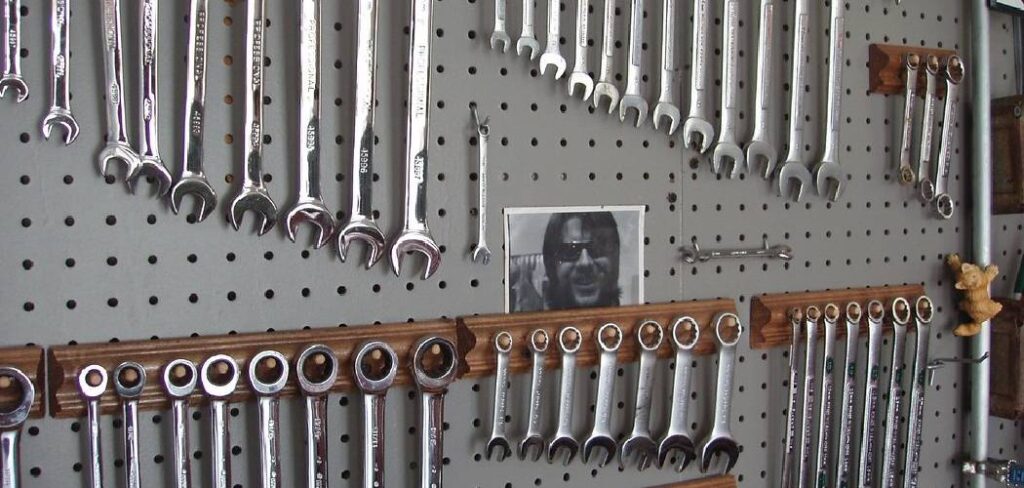
Knowing how to clean wrench tools properly keeps them smooth, safe, and ready for years of use. In this guide, you’ll learn exactly what supplies to grab, how to strip away grease and rust step by step, and a few insider tricks that pros swear by. Whether you own a single adjustable wrench or a full socket wrench set, this walkthrough has you covered. Let’s get those tools looking sharp again.
What You’ll Need
Before you start scrubbing, gather your supplies. Having everything laid out makes the whole job faster and less messy.
- A container or bucket large enough for your wrenches
- Warm water and a squirt of dish soap
- White vinegar (great for rust removal)
- Baking soda for stubborn buildup
- A stiff-bristle brush or old toothbrush
- Fine steel wool or a wire brush
- A degreaser or all-purpose metal cleaner
- Clean shop rags or microfiber cloths
- Nitrile or rubber gloves
- Fine-grit sandpaper (around 400 grit) for tough rust spots
- A light machine oil or WD-40 for protection
- Paper towels for drying
Keep a small dish nearby for tiny parts, especially if you’re cleaning an adjustable wrench with a moving jaw. A well-ventilated space helps too, since some cleaners have strong fumes.
Step-by-Step Guide on How to Clean a Wrench
Follow these steps in order, and you’ll get spotless, smooth-turning tools without much fuss. Take your time with each stage, since rushing usually leaves grime behind.
Step 1: Inspect and Sort Your Wrenches
Start by taking a good look at each tool. Some may just need a quick wipe, while others hide layers of caked-on grease. Separate the lightly dirty ones from the heavily rusted or greasy pieces. This helps you match the right cleaning method to each wrench.
Check for cracks, worn teeth, or a loose adjustable jaw while you’re at it. Cleaning is a great time to catch damage before it causes a slip. Set aside anything that looks unsafe to use. A quick sort now saves you time later.
Step 2: Wipe Off Loose Dirt and Grease
Grab a dry rag and wipe down each wrench to remove surface dust and loose grime. This first pass keeps your cleaning solution from turning into muddy sludge right away. For sticky spots, press the rag firmly and rub in small circles. You’ll be surprised how much comes off before any liquid touches the metal.
Pay attention to the grooves and the handle area, where grease loves to hide. If a socket wrench has a ratcheting head, wipe around the moving parts gently. Don’t force anything just yet. This step is all about clearing the easy stuff first.
Step 3: Soak in Warm Soapy Water
Fill your bucket with warm water and add a good squirt of dish soap. Drop in your wrenches and let them soak for 15 to 20 minutes. The warm water loosens grease, while the soap breaks down oily films. This soak does a lot of the hard work for you.
For extra greasy tools, add a splash of degreaser to the mix. Avoid using boiling water, since extreme heat can affect certain finishes. Swirl the tools around once or twice during the soak. When time’s up, you’ll notice the grime lifting away with less effort.
Step 4: Scrub Away Stubborn Grime
Pull a wrench out of the water and go to work with your stiff-bristle brush. Scrub along the length of the handle, then focus on the jaws and any textured grip areas. An old toothbrush works wonders for tight spots and threaded sections. Keep dipping the tool back in the water to rinse as you scrub.
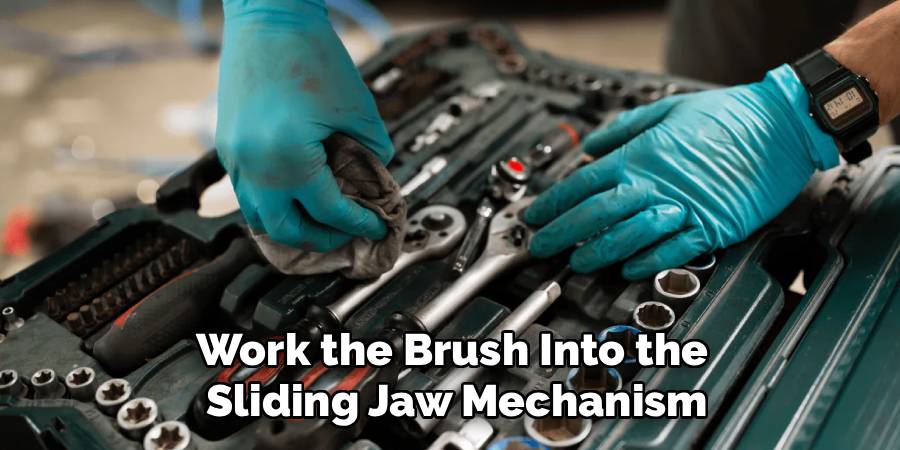
For an adjustable wrench, work the brush into the sliding jaw mechanism. Grease tends to collect there and gum up the movement. Don’t press so hard that you scratch the finish. Steady, patient scrubbing beats aggressive force every time.
Step 5: Tackle Rust With Vinegar
Rust is the enemy of any good tool, but vinegar handles it well. Submerge rusty wrenches in a container of white vinegar and let them sit for one to three hours. The acid slowly dissolves the rust without harming the underlying metal. For light surface rust, even 30 minutes can make a big difference.
Check on the tools every so often to see how the rust removal is going. Once the rust softens, scrub it off with steel wool or a wire brush. Avoid leaving tools in vinegar overnight, since long exposure can etch the surface. Rinse well when you’re done.
Step 6: Use a Baking Soda Paste for Extra Cleaning Power
For lingering stains or oxidation, mix baking soda with a little water to form a thick paste. Spread it over the trouble spots and let it sit for about 10 minutes. The mild abrasive action lifts grime that soap alone can’t reach. It also helps neutralize any leftover vinegar from the previous step.
Scrub the paste in with your brush, then rinse it off completely. This combo works especially well on chrome-plated wrenches that have lost their shine. Baking soda is gentle enough that it won’t scratch most finishes. Think of it as a natural polish for tired metal.
Step 7: Rinse and Dry Thoroughly
This step matters more than people think. Rinse each wrench under clean, warm water to wash away soap, vinegar, and baking soda residue. Any leftover moisture is an open invitation for new rust to form. So dry every tool completely with a clean rag or paper towel.
Get into the crevices and around moving parts, since water hides in those spots. For a socket wrench with a ratchet, work the cloth into the head and cycle the mechanism to shake out drops. You can even set the tools in the sun for a few minutes to finish drying. Never store a damp wrench.
Step 8: Sand Down Heavy Rust Spots
If some rust survived the vinegar soak, break out the fine-grit sandpaper. Gently sand the affected area in one direction until the rough patches smooth out. Follow up with fine steel wool to blend the surface. Take it slow, because you want to remove rust, not gouge the metal.
Wipe away the metal dust with a clean cloth when you finish. This step is only for serious rust removal, so skip it on tools that came clean earlier. A light touch preserves the tool’s finish. Patience here gives you a smoother, better-looking result.
Step 9: Protect With Oil
A clean wrench needs protection to stay that way. Apply a thin layer of light machine oil or a quick spray of WD-40 to each tool. Wipe off the excess so the handles don’t feel slippery. This oil coating seals out moisture and keeps rust from creeping back.
Work a little oil into the moving joint of an adjustable wrench so it slides smoothly. For ratcheting tools, a drop inside the head keeps the gears clicking cleanly. This small step is the secret to long-lasting tool maintenance. Do it every time, and your wrenches will thank you.
Step 10: Store Your Wrenches Properly
Where you keep your tools matters just as much as how you clean them. Store your wrenches in a dry spot, away from humidity and temperature swings. A foam tool organizer, pegboard, or lined drawer keeps them from banging together and chipping. Damp garages and basements invite rust, so add a moisture absorber if needed.
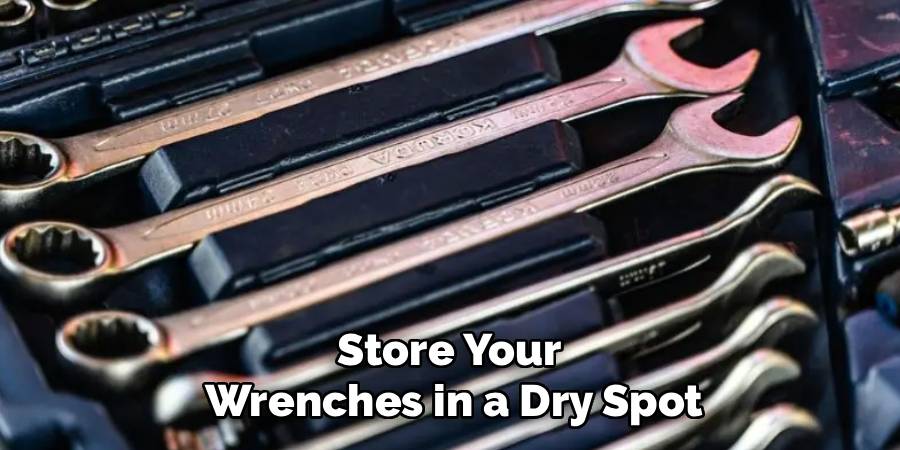
Keep sets together so you’re not hunting for the right size later. Hanging tools on a rack lets air circulate around them. Good storage protects all the work you just put in. Clean, organized tools also make your next project far more enjoyable.
Tips for Best Results
Ready to go beyond the basics? These insider tips help you get truly professional results.
- Match the cleaner to the finish. Chrome-plated wrenches love a gentle metal cleaner, while raw steel tools handle stronger degreasers just fine. Test any harsh product on a small hidden spot first. This avoids dulling a shiny finish by accident.
- Use an ultrasonic cleaner for detailed tools. If you clean tools often, a small ultrasonic cleaner blasts grime out of tight crevices. It’s perfect for a socket wrench with fine ratchet gears. Just add water and a splash of cleaning solution, and let the machine do the work.
- Clean tools right after messy jobs. Wiping down a wrench while the grease is fresh takes seconds. Once grime hardens and oxidizes, it fights back much harder. A quick habit now saves a deep-clean session later.
- Keep a rust eraser handy. These rubber blocks packed with fine abrasive remove light surface rust with a few quick swipes. They’re great for touch-ups between full cleanings. Toss one in your toolbox for spot treatment.
- Don’t soak tools with wooden or padded handles. Long soaks can warp wood or peel grips. Wipe those sections by hand instead. Save the soaking for all-metal tools only.
Frequently Asked Questions
Can I Use Vinegar to Remove Rust From a Wrench?
Yes, white vinegar is one of the best budget-friendly options for rust removal. Soak the rusty wrench for one to three hours, then scrub the loosened rust away with steel wool. Rinse and dry the tool completely afterward so no acid or moisture lingers. Avoid leaving tools in vinegar overnight, since long exposure can etch the metal.
How Often Should I Clean My Wrenches?
Wipe your wrenches down after every dirty or greasy job to keep buildup from hardening. A deeper cleaning every few months works well for tools you use regularly. If you notice rust spots or sticky movement, clean them sooner. Consistent tool maintenance is far easier than fixing years of neglect.
Is It Safe to Clean an Adjustable Wrench With Water?
Water is fine for an all-metal adjustable wrench, as long as you dry it thoroughly right after. Moisture trapped in the sliding jaw is the main thing to watch for. Work a cloth into the mechanism, then add a drop of oil so it moves smoothly. Never store the tool while it’s still damp.
What’s the Best Way to Clean Grease Off a Socket Wrench?
Start with a warm, soapy soak to loosen the grease, then scrub with a stiff brush. For the ratcheting head, use a degreaser and an old toothbrush to reach the tight gears. Rinse, dry fully, and add a small drop of oil inside the head. This keeps the mechanism clicking cleanly and turning freely.
Will Cleaning Damage the Finish on My Wrench?
Not if you match your method to the tool. Gentle cleaners and soft brushes protect chrome and plated finishes, while sandpaper is best saved for raw steel with heavy rust. Always test a strong product on a hidden area first. Finishing with a light oil coat helps preserve the surface long term.
Can I Prevent Rust From Coming Back?
Absolutely, and it’s simpler than you’d think. Dry your tools completely, apply a thin oil coating, and store them in a dry, low-humidity spot. A moisture absorber in your toolbox adds extra protection. These small habits keep rust away far longer than any single cleaning session.
Conclusion
Cleaning your tools doesn’t have to be a chore, and now you’ve got a clear plan to follow. With a soak, a good scrub, some rust removal, and a protective oil coat, you can bring any tired tool back to life. The key takeaway is simple: clean regularly and dry thoroughly, and rust won’t stand a chance.
If you’re missing any supplies, check out our recommended picks above to stock your cleaning kit. Now grab that grimy tool and give it some love. When you’re done, explore our other tool care guides for your next project.
