
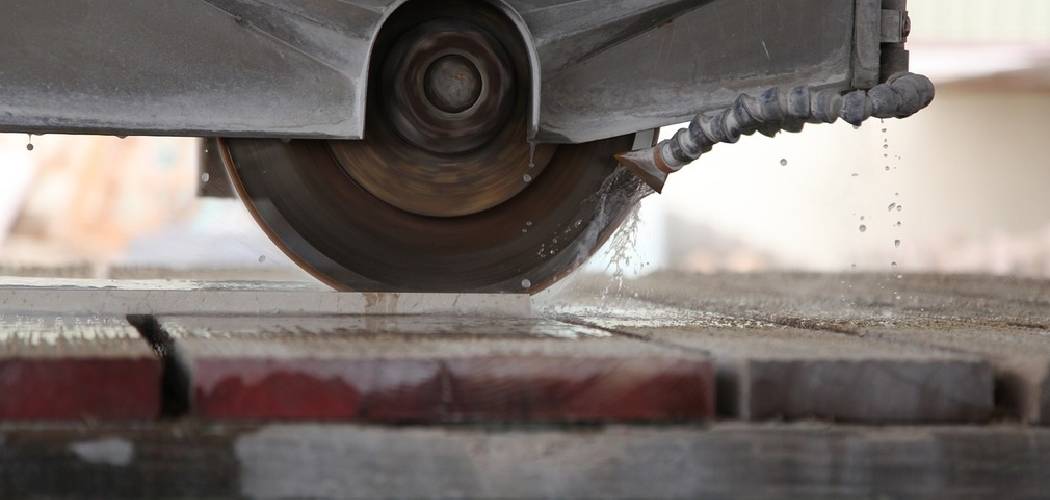
You’ve got a stack of beautiful tiles ready for your bathroom floor, but there’s a problem. A few of them need to be cut down to fit around the toilet base and along the edges. Snapping them by hand feels risky, and one wrong move could crack the whole piece. That’s where learning how to use a tile saw changes everything.
A tile saw gives you clean, precise cuts without the guesswork. In this guide, you’ll learn what gear you need, how to set up your saw, and the exact steps for cutting ceramic and porcelain tiles like a pro. We’ll also cover safety tips and a few insider tricks. By the end, you’ll feel confident tackling that tiling project head-on.
What You’ll Need
Before you fire up the saw, gather your supplies. Having everything within reach saves time and keeps your work smooth.
- A wet tile saw (with a diamond blade already installed)
- Ceramic tiles or porcelain tiles for your project
- Safety goggles and a dust mask
- Work gloves
- A pencil or grease marker
- A measuring tape or ruler
- A carpenter’s square for straight lines
- Clean water for the water tray
- A shop towel or rag
- Painter’s tape (optional, for delicate tiles)
Keep a bucket nearby for scraps and leftover water. A stable table or workbench helps too. Once your station is set, you’re ready to roll.
Step-by-Step Guide on How to Use a Tile Saw
Now for the fun part. Follow these steps in order, and you’ll get crisp, professional cuts every time. Take your time with the setup, since that’s where most beginners rush.
Step 1: Set Up Your Work Area
Pick a spot with good lighting and plenty of room to move. A wet saw sprays water, so an outdoor area or a garage floor works best. Lay down a tarp or cardboard if you want to keep things tidy. Make sure your table is level and steady, because wobble leads to sloppy cuts.
Keep an outlet close by, but never let your cord sit in a puddle. Position the saw so the water splashes away from you, not toward your face. A clean, organized space makes the whole job less stressful.
Step 2: Fill the Water Tray
The water tray is what makes a wet saw so useful. Water cools the diamond blade and stops the tile from cracking or chipping. It also keeps dust down, which protects your lungs. Fill the tray until the water level reaches the line marked on your saw, usually just below the blade.
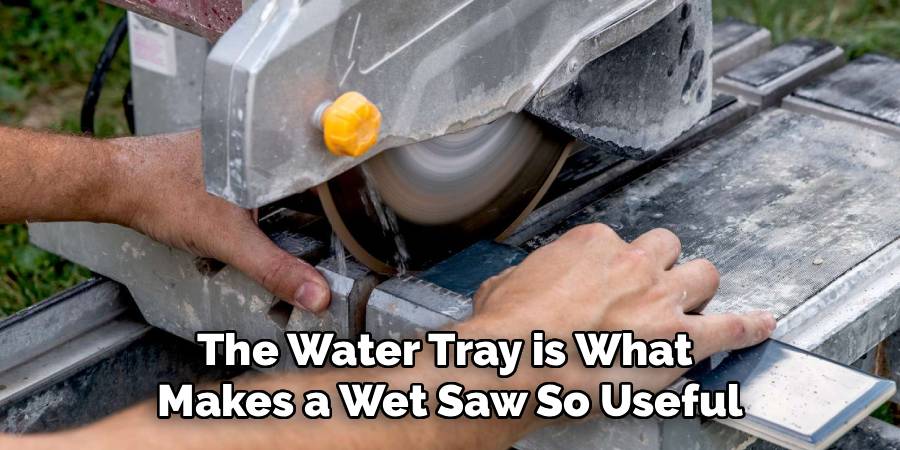
Check the water often during longer jobs. If it runs low or gets too muddy, stop and refill it. Dry cutting will dull your blade fast and ruin your tiles. Fresh water equals cleaner, cooler cuts.
Step 3: Put On Your Safety Gear
Never skip this step, even for a quick cut. Slip on your safety goggles first, since tiny shards can fly up without warning. Add a dust mask to avoid breathing in fine particles, especially with porcelain tiles. Work gloves give you a better grip and protect your fingers.
Tie back long hair and skip loose sleeves that could catch. Keep your feet dry to avoid slipping near water. It only takes a second to gear up, and it keeps small jobs from turning into painful mistakes.
Step 4: Measure and Mark Your Tile
Accurate marks are the secret to clean tile cutting. Measure the space where the tile needs to fit, then transfer that measurement onto the tile. Use a pencil or grease marker so the line shows up clearly, even when wet. A carpenter’s square helps you draw straight, true lines.
Double-check your numbers before you cut. The old saying “measure twice, cut once” exists for a reason. For tricky spots around corners or pipes, mark small notches to guide you. A clear line means you won’t second-guess yourself mid-cut.
Step 5: Position the Tile on the Sliding Tray
Place your tile flat on the sliding tray or against the fence. Line up your marked line with the blade, but keep the tile a hair away from the teeth. Most tile saws have an adjustable fence that keeps your cut straight. Set it to your measurement for repeat cuts of the same size.
Hold the tile firmly with both hands, keeping your fingers well clear of the blade path. Never force the tile against the blade. A steady, relaxed grip gives you the most control. Take a breath and get comfortable before you start.
Step 6: Turn On the Saw and Make the Cut
Switch on the saw and let the blade reach full speed before touching the tile. You’ll see water start to flow across the blade, which is exactly what you want. Slowly push the tile into the diamond blade using gentle, even pressure. Let the blade do the work rather than shoving the tile through.
Keep your movement smooth and steady, without stopping halfway. Rushing causes chips, while going too slow can overheat things. If you feel resistance, ease off and check your water level. A calm, consistent pace gives you the cleanest edge.
Step 7: Finish the Cut and Turn Off the Saw
As you near the end of the cut, slow down slightly to prevent the corner from snapping. Push the tile all the way past the blade so the piece separates cleanly. Once both halves are through, turn off the saw and wait for the blade to stop spinning. Never reach toward a moving blade for any reason.
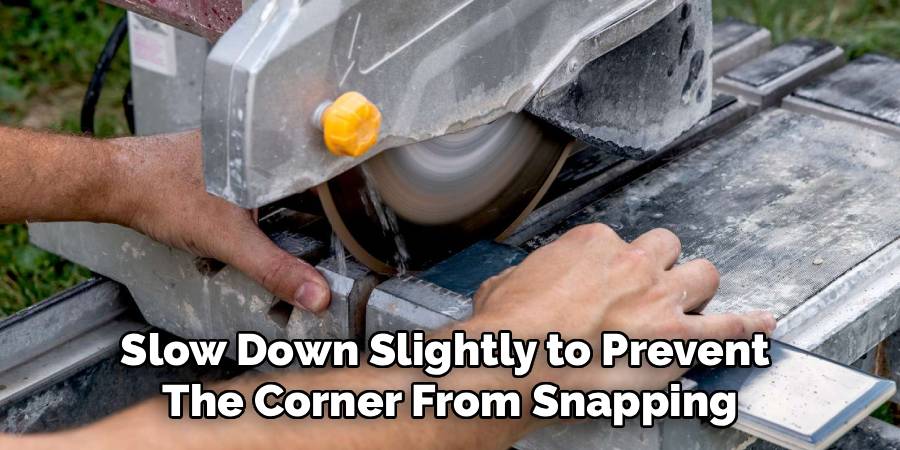
Set the cut pieces aside on your towel. Wipe off the extra water so you can inspect the edge. If the cut looks rough, a quick pass over the edge can smooth it out. Clean cuts here mean tighter grout lines later.
Step 8: Clean Up and Store Your Saw
Once you finish cutting, unplug the saw before touching anything. Drain the dirty water from the tray and rinse out any tile sludge. Wipe down the blade and table so grit doesn’t build up over time. Dry everything before you store it to prevent rust.
Store your saw in a dry, covered spot away from moisture. Coil the cord loosely instead of yanking it tight. Good cleanup habits keep your saw running well for years. It also makes your next project start faster.
Tips for Best Results
Ready to level up? These insider tips go beyond the basics and help you get truly professional results.
- Score glossy tiles with painter’s tape. Stick a strip along your cut line on shiny ceramic tiles. The tape reduces chipping on the glazed surface and keeps your pencil line visible. Peel it off once the cut is done.
- Cut slightly outside your line. Aim to leave your pencil mark just visible after the cut. This gives you a tiny buffer to sand or file the edge to a perfect fit. It’s easier to remove a little than to redo a whole tile.
- Keep a spare diamond blade on hand. Blades wear down, and a dull one causes chipping and slow cuts. Swapping in a fresh blade instantly improves your results. For porcelain tiles, use a blade rated specifically for hard, dense material.
- Make relief cuts for L-shapes. When you need to cut a notch, make several small straight cuts into the waste area first. Then snap out the pieces and clean up the edge. This prevents cracking the whole tile.
- Practice on scrap first. Run a test cut on a spare tile before your final piece. It helps you dial in your speed and pressure. A few seconds of practice saves you from wasting good material.
FAQ Section
Can I Cut Porcelain Tiles With a Regular Tile Saw?
Yes, you can cut porcelain tiles with most wet tile saws. Porcelain is denser than ceramic, so it needs a sharp diamond blade to cut cleanly. Go slower than you would with softer tiles and keep the water flowing. A quality blade rated for porcelain makes the whole job smoother.
Is It Safe to Use a Tile Saw Indoors?
You can use a tile saw indoors, but plan for the mess. A wet saw sprays water and fine slurry that can stain floors and walls. Lay down a tarp, keep the area ventilated, and mop up spills right away to avoid slips. Many people prefer a garage or outdoor spot for easier cleanup.
How Do I Stop My Tiles From Chipping?
Chipping usually comes from a dull blade, too much speed, or a dry cut. Keep your water tray full so the diamond blade stays cool and clean. Feed the tile slowly and let the blade do the cutting. Adding painter’s tape along the cut line also protects glossy surfaces from chipping.
Do I Really Need a Wet Saw, or Can I Use a Manual Cutter?
For straight cuts on standard tiles, a manual snap cutter can work fine. But a wet saw handles thick, hard, or oddly shaped cuts far better. It gives you cleaner edges, smoother curves, and less breakage. If you’re tiling a whole room, the wet saw saves time and frustration.
How Often Should I Change the Water in the Tray?
Change the water whenever it gets thick and muddy with tile dust. For small jobs, one fill might last the whole time. On bigger projects, refill it every 15 to 20 cuts or so. Clean water keeps your cuts sharp and protects the blade from wearing out too fast.
What Safety Gear Is Essential When Using a Tile Saw?
At a minimum, wear safety goggles to shield your eyes from flying shards. A dust mask protects your lungs from fine particles, and gloves improve your grip. Keep your hands clear of the blade and never wear loose clothing near it. Staying dry underfoot also helps you avoid slips.
Conclusion
Learning how to use a tile saw opens up a whole new world of DIY projects. With the right setup, a sharp diamond blade, and a steady hand, you can make clean cuts on ceramic tiles and porcelain tiles alike. Remember to fill the water tray, wear your safety goggles, and let the blade do the work.
If you haven’t picked up a saw yet, check out our recommended picks above to find one that fits your needs. Now grab your gear and get cutting. When you’re ready for more, explore our other tool guides for your next home project.
