
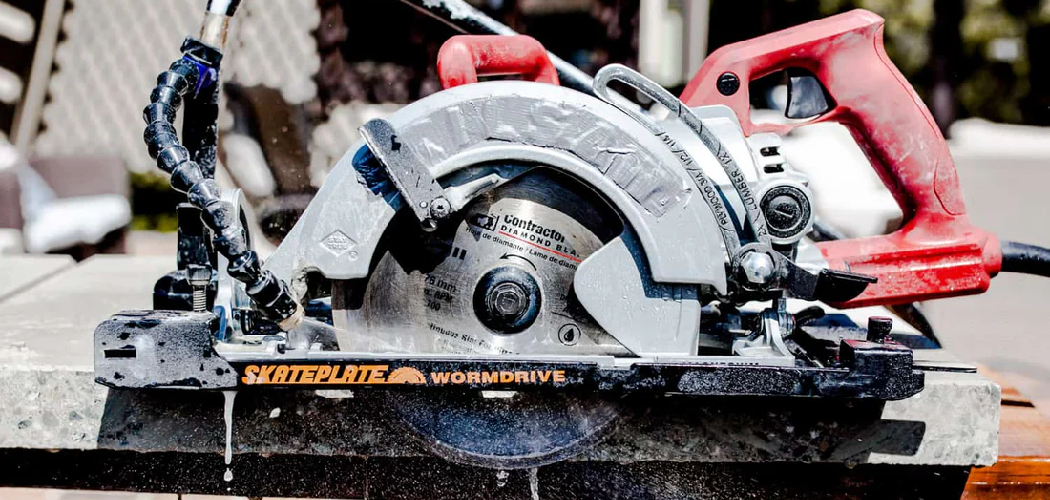
Your saw used to slice through oak like butter. Now it burns the wood, leaves rough edges, and sounds like it’s straining just to get through a simple cut. Before you blame a dull blade or a tired motor, check the teeth.
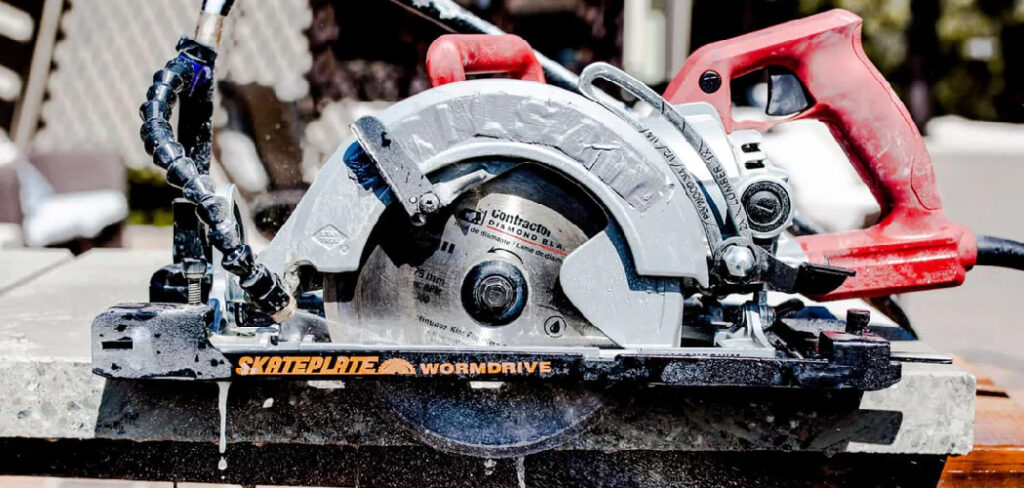
That dark, sticky gunk you see is pitch and resin buildup, and it’s the sneaky culprit behind poor saw performance. Learning how to clean table saw blade gunk is one of the easiest ways to bring back smooth, clean cuts.
In this guide, you’ll learn exactly what supplies you need, a simple step-by-step process, and a few pro tricks that make blade maintenance quick and painless. We’ll cover safe removal, the right cleaners, and how to protect your blade from rust. Let’s get that blade cutting like new again.
What You’ll Need
Round up these supplies before you start. Everything here is affordable and easy to find at your local hardware store.
- A dedicated blade cleaner (or Simple Green as a budget option)
- A shallow plastic tray or old baking pan for soaking
- A soft-bristle brush
- An old toothbrush for tight spots
- A plastic scraper or putty knife
- Safety gloves
- Safety glasses
- Clean rags or paper towels
- Warm water for rinsing
- A can of dry lubricant or light machine oil
- A wrench that fits your arbor nut (usually included with your saw)
Lay it all out on a flat, well-lit workbench. A little prep keeps the whole job flowing smoothly.
10 Step-by-Step Guide on How to Clean Table Saw Blade
Step 1: Unplug and Prioritize Safety
Before you touch anything, pull the plug from the wall. A table saw blade is razor sharp, and an accidental start can cause serious injury. Never trust the power switch alone, since a bumped button can spin that blade in an instant. Slip on your safety gloves to protect your hands from the teeth.
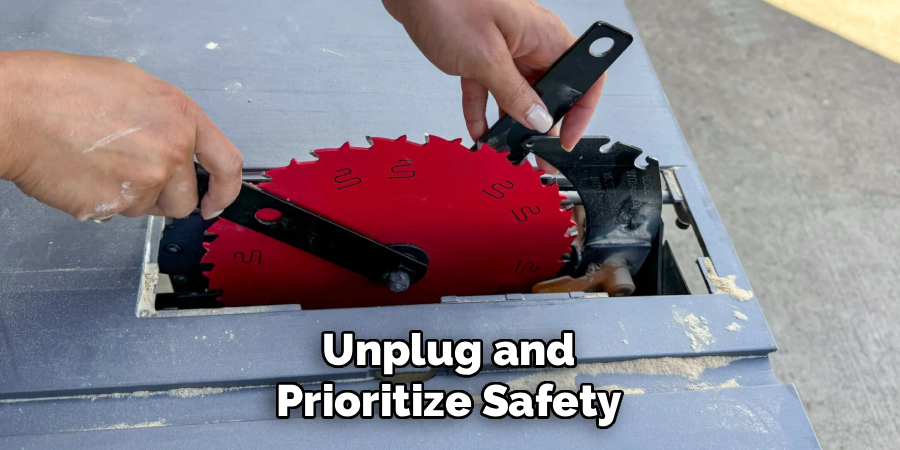
Put on your safety glasses too, especially before scrubbing later on. Cleaner and debris love to flick up when you least expect it. Take this step seriously every single time, no shortcuts.
Step 2: Remove the Blade
Raise the blade to its highest position so you have room to work. Use the arbor wrench to loosen the nut that holds the blade in place. Most saws require you to turn the nut toward the blade’s cutting direction, so check your manual if you’re unsure. Hold the blade steady with a piece of scrap wood against the teeth to stop it from spinning.
Once the nut is off, lift the blade straight up and out. Set it flat on your workbench for a good inspection. Handle it by the center hole to keep your fingers clear of the teeth.
Step 3: Apply the Cleaner and Let It Soak
Lay the blade flat in your shallow tray and spray or pour your cleaner over it. Make sure the solution covers the teeth and the buildup between them. A dedicated blade cleaner or Simple Green both work great, but avoid harsh oven cleaners. Products with lye can corrode the brazing that holds carbide tips in place.
Let the blade soak for five to ten minutes so the cleaner can dissolve the pitch and resin. Don’t rush this part, since a good soak means far less scrubbing later. Flip the blade halfway through to hit both sides evenly.
Step 4: Scrub the Teeth and Carbide Tips
Grab your soft-bristle brush and gently scrub each tooth in a circular motion. The loosened pitch buildup should lift away with little effort now. For stubborn spots wedged between the teeth, switch to your old toothbrush. Take your time around the carbide tips, since these are the sharpest and most valuable part of your blade.
Avoid metal brushes or wire wheels, which can scratch the finish and dull the edges. Let the cleaner do the heavy lifting instead of brute force. If gunk still clings on, give it another quick soak and try again.
Step 5: Tackle Stubborn Buildup With a Scraper
Some hardened resin just won’t budge with a brush alone. This is where your plastic scraper or putty knife earns its keep. Gently work the edge under the buildup and lift it away from the blade body. Always use plastic rather than metal, because a metal blade can nick the steel and ruin the finish.
Work carefully around the teeth so you never catch a sharp edge. Keep your fingers behind the scraper, not in front of it. A steady, patient hand beats aggressive scraping every time.
Step 6: Rinse and Dry Thoroughly
Once the blade looks clean, rinse it under warm water to wash off any cleaner residue. Leftover cleaner can leave a film that attracts more gunk down the road. Turn the blade over and rinse both sides completely. Then dry it right away with a clean rag or paper towel.
Moisture is the enemy here, since even a little water invites rust. Pay close attention to the center hole and the gaps between teeth, where water likes to hide. A fully dry blade is your best defense for rust prevention.
Step 7: Inspect for Damage
With a clean, dry blade in hand, give it a careful once-over. Look for cracked or missing carbide tips, bent teeth, or dark burn marks that scrubbing didn’t remove. Check the blade body for warping by laying it flat and looking for any wobble. A damaged carbide-tipped blade can be dangerous and won’t cut cleanly no matter how clean it is.
If you spot chipped teeth or cracks, retire that blade and replace it. For dull-but-intact blades, consider a professional sharpening. Catching problems now saves you from a nasty surprise mid-cut.
Step 8: Apply a Light Lubricant
A thin protective coat keeps your freshly cleaned blade in top shape. Spray on a dry lubricant or wipe a little light machine oil across both sides. This creates a barrier that fights moisture and slows down future pitch buildup. It also helps the blade glide through wood with less friction.
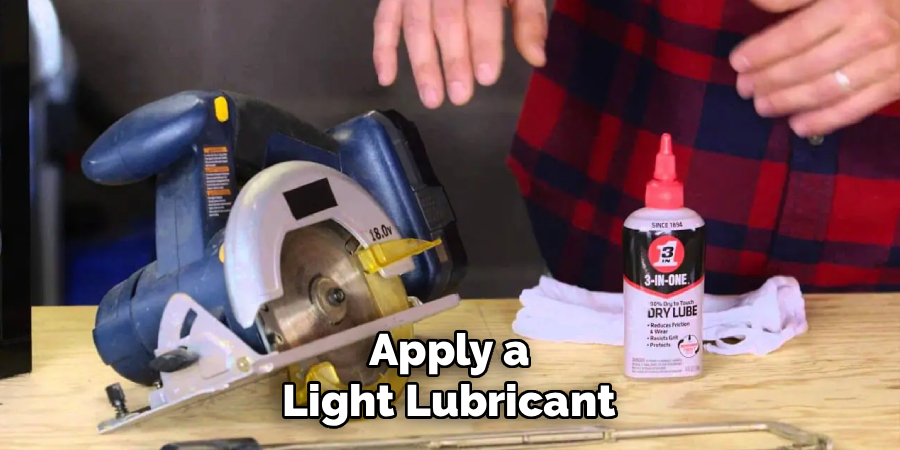
Use just a light film and buff off any excess with a rag. Too much oil can attract sawdust and gum things up. This small step goes a long way toward easy blade maintenance.
Step 9: Reinstall the Blade
Now put everything back together. Slide the blade onto the arbor, making sure the teeth point in the correct direction. On a table saw, the teeth at the front should point down and toward you. Hand-tighten the arbor nut first, then snug it up with your wrench.
Don’t overtighten, since the spinning action naturally keeps the nut secure during use. Give the blade a gentle spin by hand to confirm it turns freely with no wobble. Double-check that everything sits flush before you close up the saw.
Step 10: Test Your Saw
Plug the saw back in and stand clear of the blade path. Turn it on and listen for a smooth, even hum with no rattling or vibration. Then feed a scrap piece of wood through for a test cut. You should notice a cleaner edge, less burning, and smoother saw performance right away.
If anything sounds off, unplug and recheck your installation. A properly cleaned and mounted blade makes woodworking feel effortless again. Enjoy those crisp, clean cuts.
Tips for Best Results
These extra habits take your blade care from good to great.
- Clean before the buildup gets bad. Don’t wait until your cuts start burning. A quick wipe-down every few projects prevents pitch and resin from hardening into a stubborn crust. Regular light cleaning beats one big scrubbing session every time.
- Try a coffee filter for stubborn residue. After soaking, a coffee filter or fine cloth wraps around the teeth nicely and lifts fine gunk without scratching. It reaches into tight grooves where a brush can slip. This little trick works wonders on gummy carbide tips.
- Soak in a resealable container to save cleaner. Instead of spraying, pour your cleaner into a container just big enough for the blade. You’ll use far less solution, and you can reuse it for your next blade or router bit.
- Label your blades by task. Keep separate blades for ripping, crosscutting, and fine finish work. Rotating them evens out wear and means each blade stays sharper longer between cleanings.
- Store blades hanging or in sleeves. Bare blades stacked in a drawer chip their teeth against each other. Hang them on pegs or slide them into cardboard sleeves to protect the carbide-tipped edges.
Frequently Asked Questions
What Is the Best Cleaner to Use on a Table Saw Blade?
A dedicated blade cleaner is your safest bet, since it’s formulated to dissolve pitch and resin without harming the carbide tips. Simple Green is a popular, budget-friendly alternative that works well for most buildup. Avoid oven cleaners or anything with lye, because they can weaken the brazing on carbide-tipped blades. Whatever you choose, always rinse and dry the blade completely afterward.
How Often Should I Clean My Table Saw Blade?
It depends on how much you cut and what materials you use. As a rule, clean the blade whenever you notice burning, rough edges, or extra strain during cuts. For frequent woodworking, a light cleaning every few projects keeps buildup from hardening. Sappy woods like pine gum up blades faster, so those may need more attention.
Can I Clean the Blade Without Removing It From the Saw?
You can do a light surface cleaning in place, but it’s not ideal. Removing the blade lets you reach both sides, soak it properly, and inspect for damage you’d otherwise miss. Cleaning in place also risks getting cleaner into the saw’s internal parts. For a thorough job and better saw performance, take the blade out.
Is It Safe to Use Water on a Carbide-Tipped Blade?
Yes, water is fine for rinsing as long as you dry the blade right away. The real danger is leaving moisture behind, which quickly leads to rust on the steel body. Dry every surface, including the gaps between teeth and the center hole. Finishing with a light lubricant adds extra rust prevention.
Why Does My Blade Keep Burning the Wood After Cleaning?
If burning continues after a good cleaning, the blade may be dull and need sharpening. Check the carbide tips for chips or worn edges under good light. Feed rate and alignment also matter, so make sure you’re pushing wood at a steady pace and your fence is square. A misaligned fence causes friction that no cleaning can fix.
Conclusion
A little care makes a huge difference in how your saw cuts. Now that you know how to clean table saw blade buildup, you can restore smooth, clean cuts in under an hour. Just remember the key steps: unplug for safety, soak away the pitch and resin, scrub gently, dry fully, and add a protective coat for rust prevention. If you haven’t stocked up on a quality blade cleaner or storage sleeves yet, check out our recommended picks above. Browse our other DIY maintenance guides to keep every tool in your shop running like new.
