
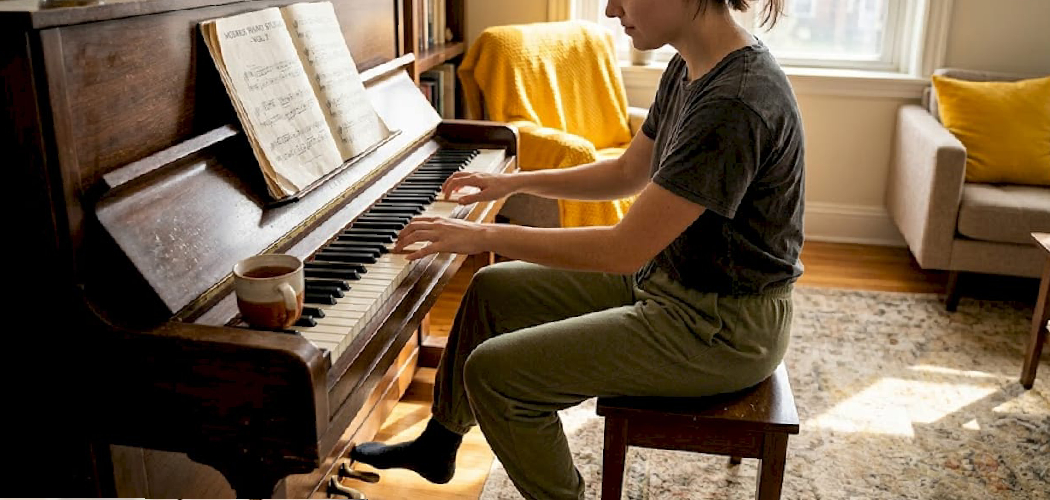
You’ve been practicing a beautiful piece for weeks. Your fingers finally land the right notes, but something still sounds flat and choppy compared to the recordings you love. Chances are, the missing ingredient sits right under your feet. Learning to use piano pedals properly transforms a stiff performance into something smooth, rich, and expressive. These little foot levers control how notes ring out, blend together, and fade away.
In this guide, you’ll discover what each pedal does, how to use piano pedals, and the common mistakes that trip up beginners. We’ll walk through a clear, step-by-step process together. By the end, you’ll feel confident adding depth and emotion to everything you play. Let’s get your feet working as skillfully as your hands.
What You’ll Need
Getting started doesn’t require much. You probably already have most of this on hand:
- An acoustic or digital piano – with at least one working foot pedal
- A proper piano bench or adjustable stool – so you sit at the correct height
- Comfortable, thin-soled shoes – or bare feet for better sensitivity
- A simple piece of sheet music – something you already know well
- A metronome or metronome app – to keep your timing honest
- A mirror or phone camera – handy for checking your foot posture
- Patience and a quiet space – so you can hear every note ring and fade
Once you’ve gathered these, you’re ready to sit down and start building real technique.
9 Step-by-Step Guide on How to Use Piano Pedals
Take your time with each step. Pedaling is a skill you feel more than think, so go slowly and listen closely as you practice.
Step 1: Get to Know the Three Pedals
Before you press anything, look down and identify what you’re working with. Most pianos have three foot levers, each with its own job. The one on the right is the sustain pedal, also called the damper pedal, and you’ll use it most. The middle one is the sostenuto pedal, and the left is the soft pedal.
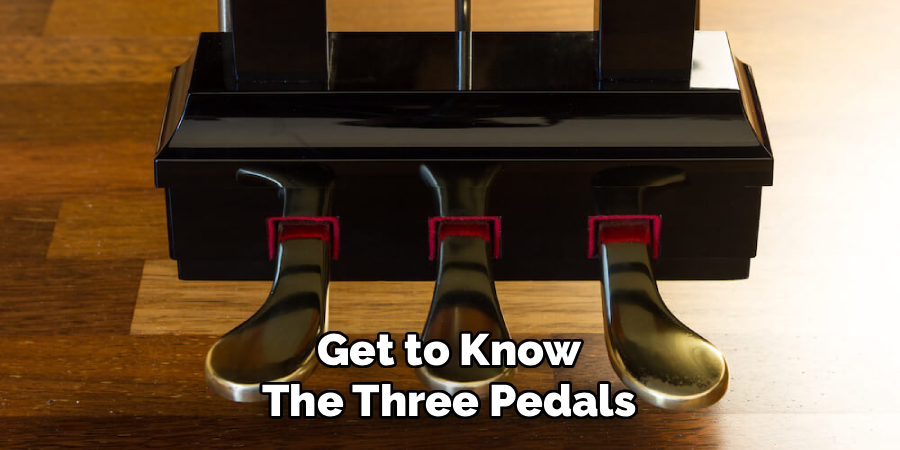
Digital piano owners might only have one or two pedals, and that’s fine. The right pedal matters most for now. Knowing which is which saves you from confusion later. Spend a minute pressing each one and hearing how the sound changes.
Step 2: Sit at the Right Height and Distance
Good pedaling starts with good posture. Sit so your feet rest flat on the floor with your heels planted and your toes near the pedals. If your bench is too far back, your legs will strain and your control will suffer. Adjust until reaching the pedals feels natural and relaxed.
Keep your heel on the floor as an anchor whenever possible. This gives you leverage and lets you feel exactly how far you’re pressing. Slouching or perching on the edge of the bench throws off your balance. A stable seat makes smooth foot movement much easier.
Step 3: Master the Sustain Pedal First
The sustain pedal is your gateway skill, so start here. When you press it, dampers lift off the strings, letting notes ring out even after you release the keys. This creates resonance and a connected, singing quality. Press it down with the ball of your right foot while keeping your heel grounded.
Try holding a single note, then pressing the pedal and lifting your finger. Notice how the sound continues. Release the pedal and hear it stop. This simple exercise teaches you the cause and effect before you add music.
Step 4: Practice Legato Pedaling for Smooth Transitions
Here’s the technique that makes everything sound polished. Legato pedaling, sometimes called syncopated pedaling, keeps notes connected without blurring them together. The trick is timing: you lift the pedal exactly as you play the next chord, then press it back down right after. This clears the old sound and catches the new one cleanly.
Think of it as “play, then pedal,” not the other way around. Beginners often press the pedal too early and smear the notes into mush. Practice slowly with two chords, focusing on the split-second lift. Once this clicks, your playing will sound far more professional.
Step 5: Explore the Soft Pedal for Color
The left pedal, known as the soft pedal or una corda, changes the tone rather than the length of notes. On a grand piano, it shifts the whole action so the hammers strike fewer strings. The result is a softer, more muted, and slightly darker sound. It’s perfect for quiet, tender passages.
Press it fully and hold a gentle melody to hear the difference. Use it when the music calls for intimacy or a hushed mood. Don’t rely on it just to play quietly, though. Real dynamic control comes from your fingers first, with the pedal adding extra color.
Step 6: Understand the Sostenuto Pedal
The middle pedal often confuses newcomers, so let’s clear it up. The sostenuto pedal sustains only the notes you’re already holding when you press it. Any notes you play afterward stay normal and unaffected. This lets you hold a bass note or chord while your hands move freely above it.
You won’t need this one often as a beginner, and many digital pianos skip it entirely. Still, it’s worth knowing for advanced classical piano pieces. Try holding a low note, pressing the middle pedal, then playing a melody on top. That sustained bass underneath is the sostenuto at work.
Step 7: Control Your Pedaling Depth
Pedaling isn’t just on or off. Skilled players use partial presses to control how much sound carries. This is called half-pedaling, and it takes a sensitive foot. Pressing halfway lets some dampers touch the strings, trimming excess resonance while keeping warmth.
Experiment by pressing the sustain pedal only a quarter or half of the way. Listen to how the sound clears up compared to a full press. Thin-soled shoes or bare feet help you feel these subtle differences. Mastering pedaling depth separates good players from great ones, so keep practicing this control.
Step 8: Add the Pedal to a Real Piece
Now bring it all together with music you know. Pick a simple, familiar piece and play it first with no pedal at all. Then add the sustain pedal using the legato technique from Step 4. Go slowly and change the pedal with each new harmony.
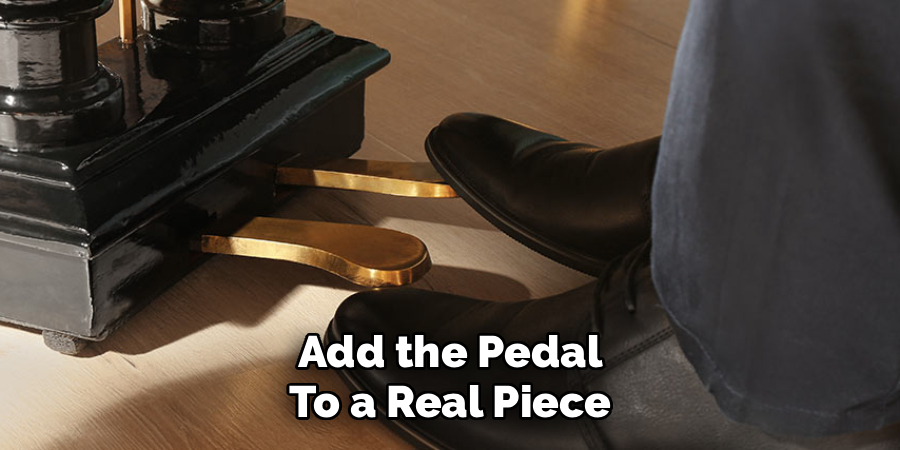
If the sound gets muddy, you’re holding the pedal too long through chord changes. Lift more often and listen carefully. Your ears are the best judge here, better than any written pedal marking. Record yourself and play it back to catch spots that blur together.
Step 9: Train Your Ears and Adjust
Pedaling is ultimately about listening, not mechanical rules. As you play, keep asking whether the sound is clear or cloudy. Different rooms, pianos, and pieces all need slightly different pedaling. What works on a quiet digital piano might sound washed out on a resonant acoustic.
Stay flexible and adjust in the moment. A common mistake is pedaling on autopilot without hearing the result. Train yourself to react to what you actually hear. Over time, your foot will start responding to your ears automatically.
Tips for Best Results
Want to go beyond the basics? These insider pointers will sharpen your pedaling faster:
- Lift with your ears, not a schedule. The moment the sound turns muddy is your cue to clear the pedal. Trust your hearing over any fixed counting pattern, since every room and instrument resonates differently.
- Keep your heel planted. Anchoring your heel gives you finer control and prevents that clumsy “stomping” sound. It also lets you feel exactly how deep you’re pressing, which is essential for half-pedaling.
- Silence the thump. Press and release the pedal smoothly, not with a slam. A noisy pedal action distracts from your music, especially in quiet passages. Gentle foot movement keeps everything clean.
- Practice pedaling without playing. Spend a few minutes just working your foot up and down in rhythm. This builds muscle memory so your feet don’t fight your hands once you combine them.
- Match the pedal to the style. Romantic and classical piano pieces often call for lush sustain, while crisp baroque music needs very little. Adjust your approach to fit the era and mood of what you’re playing.
Frequently Asked Questions
What Do the Three Piano Pedals Actually Do?
The right pedal, or sustain pedal, lets notes ring out after you release the keys for a connected, resonant sound. The left soft pedal makes the tone quieter and darker for gentle passages. The middle sostenuto pedal holds only the notes you were already pressing when you engaged it. Most beginners focus almost entirely on the sustain pedal at first.
How Do I Stop My Pedaling From Sounding Muddy?
Muddiness happens when you hold the pedal through too many chord changes, blending clashing notes together. The fix is legato pedaling: lift the pedal exactly as you play a new chord, then press it back down. Change the pedal with every shift in harmony. Let your ears guide you, and clear the sound the instant it gets cloudy.
Do I Need to Use the Pedal All the Time?
Not at all, and overusing it is a common beginner habit. Many passages sound cleaner and more articulate with no pedal whatsoever. Use it to connect notes, add resonance, and enrich sustained harmonies, but let go when the music needs crisp separation. Learning when not to pedal is just as valuable as knowing when to press.
Can I Learn Proper Foot Pedal Technique on a Digital Piano?
Absolutely. A quality foot pedal on a digital piano responds much like an acoustic one, so your technique transfers well. If your keyboard only came with a simple on-off pedal, consider upgrading to a continuous one that supports half-pedaling. The core skills, timing, and listening habits stay exactly the same across both instruments.
Is It Better to Wear Shoes or Play Barefoot?
This comes down to personal comfort and control. Thin-soled shoes or bare feet give you the best sensitivity for subtle pedaling depth and half-pedal moves. Thick or bulky soles dull your feel for the pedal and make fine control harder. Try both and stick with whatever lets you feel the pedal’s movement most clearly.
How Long Does It Take to Get Good at Pedaling?
Basic sustain pedaling can feel natural within a few weeks of regular practice. Smooth legato pedaling and sensitive half-pedaling take longer, often several months of focused listening. The key is slow, deliberate practice rather than rushing. Since it’s an ear-driven skill, your control keeps improving for as long as you keep playing.
Conclusion
Using piano pedals well comes down to a simple loop: play, lift, listen, and adjust. Start with the sustain pedal, master that legato lift, and let your ears tell you when the sound is clear. Add the soft and sostenuto pedals as your confidence grows. With steady practice, your feet will soon move as instinctively as your hands.
If you’re ready to upgrade your setup, check out our recommended pedals and accessories above. And when you want to keep growing, explore our other playing guides and technique tutorials on the site. Happy practicing!
