
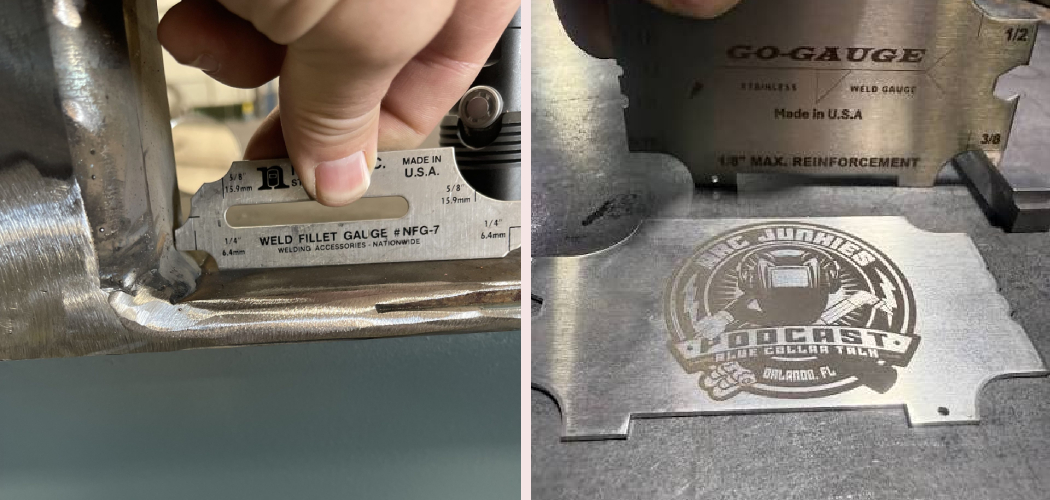
You’ve just laid down what looks like a clean corner joint. It looks solid, sure, but “looks solid” doesn’t cut it when a structure has to hold real weight. The blueprint calls for a specific weld size, and eyeballing it simply won’t pass inspection. This is where a fillet weld gauge steps in and saves the day. It’s a small, affordable tool that tells you exactly how big your weld actually is.
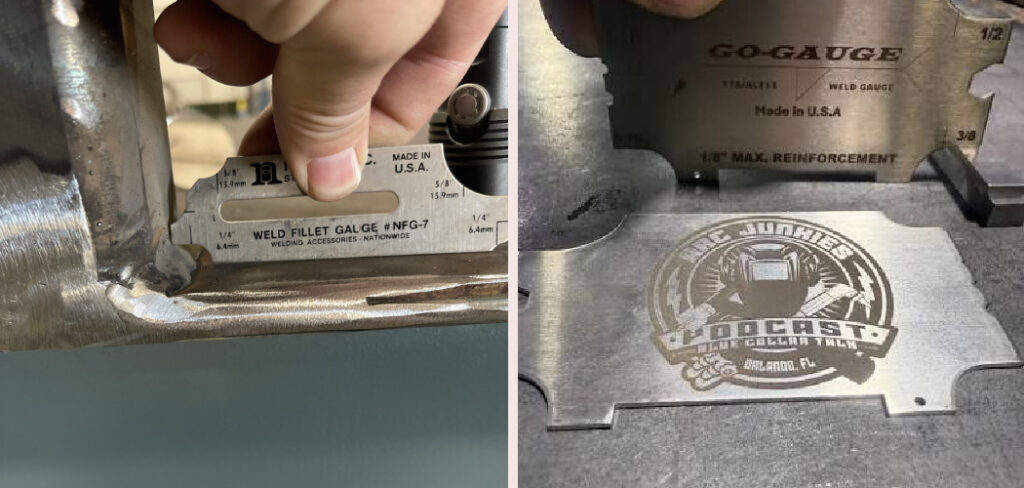
In this guide, you’ll learn what this handy tool does, what you need before you start, and how to use a fillet weld gauge step by step. We’ll cover proper technique, common mistakes, and expert tips. By the end, you’ll measure with confidence every time.
What Is a Fillet Weld Gauge?
A fillet weld gauge is a precision inspection tool used to measure the size of fillet welds, the triangular welds found at the joint between two surfaces. Most gauges come as a set of thin metal blades or a single slotted plate, each marked with a specific weld leg size. Welders and inspectors use them to confirm a weld meets the dimensions listed on engineering drawings. In short, it removes the guesswork from quality control.
What You’ll Need
Before you start measuring, gather a few basics. Nothing here is expensive or hard to find.
- A fillet weld gauge set (blade-style or single multi-gauge type)
- A clean, cooled weld to inspect
- A wire brush to remove slag and spatter
- Safety glasses and gloves
- Good lighting or a work lamp
- The welding blueprint or spec sheet with required sizes
- A rag to wipe away oil or dust
That’s the whole kit. Once you have these ready, you’re set to check any fillet weld accurately.
Step-by-Step Guide on How to Use a Fillet Weld Gauge
Follow these steps in order. Each one builds on the last, so by the end you’ll have a reliable measurement you can trust.
Step 1: Clean the Weld Surface First
Never measure a dirty weld. Slag, spatter, and rust throw off your reading and give you a false size. Grab your wire brush and scrub the weld and the surrounding metal until it’s clean. Wipe away any oil or dust with a rag.
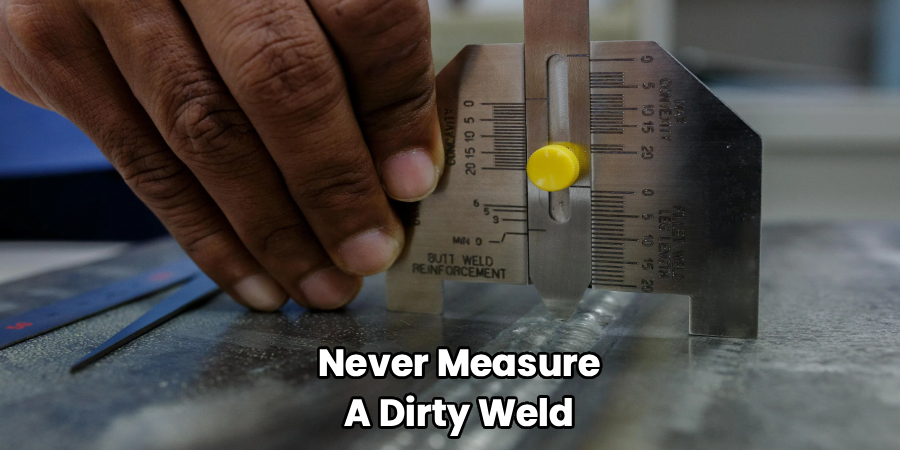
A clean surface lets the gauge sit flush against the metal. Even a small chunk of spatter can lift the tool and add a millimeter or two to your result. Take an extra thirty seconds here. It pays off with an accurate measurement.
Step 2: Check the Blueprint for Required Size
Before you touch the weld, know what size you’re looking for. The engineering drawing lists the required weld leg size, usually in millimeters or fractions of an inch. Note whether the spec calls for a specific leg length or throat measurement. These two numbers are different, and mixing them up causes headaches.
Write the target number down or keep the spec sheet handy. This way you’re comparing your weld against a real standard, not a guess. Knowing your target keeps the whole inspection focused. It also speeds things up.
Step 3: Identify the Weld Type
Look closely at the weld profile before choosing a blade. Fillet welds come in three basic shapes: flat, convex, and concave. A convex weld bulges outward, a concave weld curves inward, and a flat weld sits level. Each shape affects which part of the gauge you use.
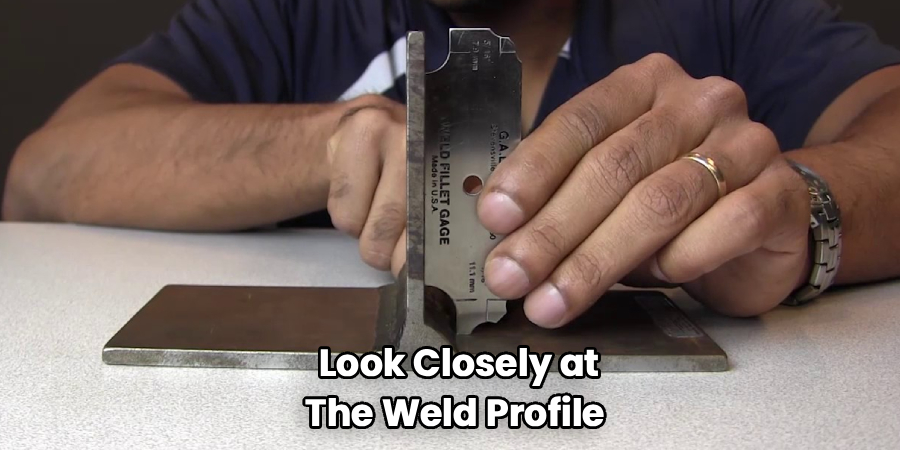
Most gauge sets have separate blades for convex and concave welds. Picking the right one matters because the tool is designed to nest against that exact curve. Match the blade to the shape you see. Getting this right the first time saves you from re-checking later.
Step 4: Select the Correct Gauge Blade
Pull out the blade that matches your target size and weld shape. Blade-style sets are marked clearly, so find the number closest to your blueprint spec. If you’re using a single multi-gauge plate, locate the slot or step marked with that size. Start with the size the drawing calls for.
Don’t just grab any blade and hope. Using the wrong one gives you a reading that means nothing. Double-check the stamped number before you place it. A quick glance now prevents a wasted measurement.
Step 5: Position the Gauge Against the Joint
Hold the blade firmly against the two joined surfaces. One edge should rest flat on the vertical plate, and the other on the horizontal base. The curved or angled part of the gauge should point toward the weld itself. Press it in snugly so it sits square against both members.
Keep your hand steady and your eyes level with the joint. Tilting the gauge even slightly skews your reading. Good lighting helps you see exactly how the tool meets the metal. Take your time lining it up.
Step 6: Read Where the Gauge Meets the Weld
Now look at the contact point between the blade and the weld face. If the gauge touches the weld cleanly along its measuring edge, your weld matches that size. If there’s a visible gap, the weld is smaller than the blade’s rating. If the weld pushes the gauge away from the plates, it’s larger.
This is the heart of the whole process. A perfect match means the weld meets spec. Try the next size up or down to pin the reading down exactly. Trust what you see, not what you hoped for.
Step 7: Measure Both the Leg and the Throat
A complete welding inspection checks more than one dimension. Measure the weld leg size first, the distance along each joined surface. Then check the throat measurement, the shortest distance from the joint root to the weld face. Many gauges handle both with different edges or slots.
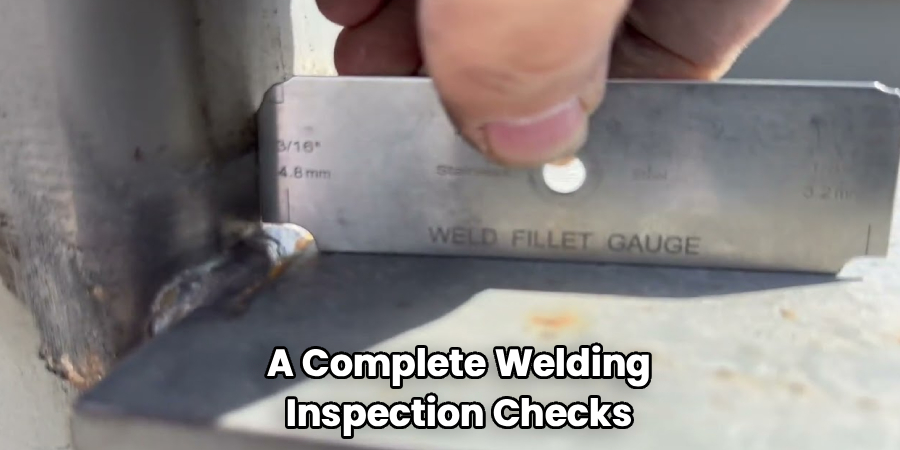
Undersized throats are a common failure point, so don’t skip this. A weld can have the right leg length but still be too thin through the middle. Checking both gives you the full picture of weld strength. This is where careful inspection really matters.
Step 8: Inspect Along the Entire Weld Length
One measurement at one spot isn’t enough. Welds vary along their length, especially with manual welding. Slide your gauge along the joint and check several points, from start to finish. Pay extra attention to the beginning and end, where size often drops off.
If any section falls below the required size, flag it. A weld is only as strong as its weakest section. Consistent checks catch problems a single reading would miss. This habit separates careful welders from sloppy ones.
Step 9: Record and Clean Up
Write down your findings for each section you checked. Note the size, the weld profile, and any spots that failed. This record helps you or an inspector track quality and fix issues fast. Good documentation is part of professional work.
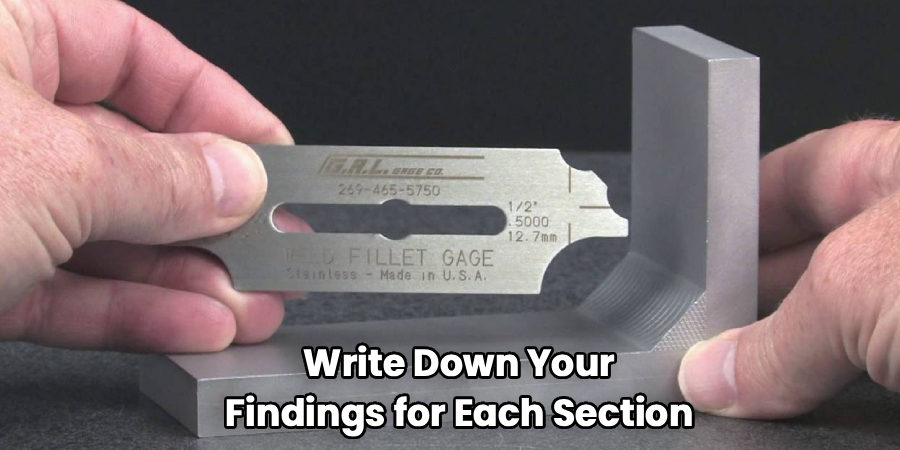
When you’re done, wipe the gauge clean and store it flat so the blades stay true. A bent blade gives false readings for every job after. Keep it dry to avoid rust. Treated well, a quality gauge lasts for years.
Tips for Best Results
Once you’ve got the basics down, these habits will sharpen your accuracy even further.
- Check your gauge against a known standard now and then. Blades can wear or bend over time. A quick comparison with a new gauge or a calibrated block confirms your tool still reads true.
- Measure welds after they’ve fully cooled. Hot metal can shift slightly as it contracts. Waiting a few minutes gives you a stable, honest reading and keeps your hands safe.
- Keep separate blades for convex and concave welds clearly organized. Fumbling for the right one slows you down and invites mistakes. A tidy set means faster, more confident checks.
- Watch for undercut and overlap while you measure. These defects hide near the weld toes and weaken the joint even when the size looks right. A good inspection catches shape problems, not just dimensions.
- Learn to read the light gap. The tiny sliver of light between the gauge and the weld tells you a lot. With practice, you’ll spot an undersized weld before you even confirm the number.
Frequently Asked Questions About Fillet Weld Gauges
What Is the Difference Between Leg Size and Throat Size?
The leg size is the length of each side of the weld along the two joined surfaces. The throat is the shortest distance from the root of the joint to the outer face of the weld. Both matter because the throat carries much of the weld’s real strength. A gauge lets you measure each one separately for a complete check.
Can I Use One Gauge for Both Convex and Concave Welds?
Yes, most gauge sets include separate blades or edges designed for each shape. A convex weld bulges outward while a concave weld curves inward, so they need different contact profiles. Using the correct edge gives you an accurate reading every time. Just make sure you match the tool to the weld profile before measuring.
How Do I Know if My Weld Passed Inspection?
Compare your measured size against the number listed on the blueprint or spec sheet. If the weld meets or slightly exceeds the required leg and throat dimensions along its full length, it passes. Watch for undersized spots, undercut, or overlap that could fail the joint. When in doubt, check the governing welding code for exact tolerances.
Are Fillet Weld Gauges Accurate Enough for Professional Work?
Absolutely, they’re a standard tool in professional welding inspection. Quality gauges are precision-machined to tight tolerances, so they give reliable readings when used correctly. Their accuracy depends on clean welds, proper positioning, and blades that aren’t bent or worn. Handled with care, they meet the demands of certified inspection work.
Why Does My Weld Look Right but Fail the Gauge?
A weld can look good to the eye yet still fall short on size or throat depth. Excess convexity, hidden undercut, or a thin throat often fool a quick glance. The gauge reveals these issues by measuring the actual geometry. That’s exactly why you measure instead of trusting appearances.
Wrapping Up
Checking your welds doesn’t have to be complicated. Clean the joint, know your target size, pick the right blade, and read where the gauge meets the metal. Measure both the leg and throat, then work along the full length so no weak spot slips by. With a little practice, using a fillet weld gauge becomes second nature.
If you haven’t picked one up yet, check out our recommended picks above to find a reliable set. When you’re ready to sharpen your skills, browse our other welding guides for more hands-on tips.
