
You’re a mile into a beautiful trail when your knees start complaining on a steep descent. Your ankles feel wobbly, and that heavy pack keeps throwing off your balance. This is exactly where trekking sticks come to the rescue. These simple poles take pressure off your joints, steady your footing, and help you cover more ground with less fatigue.
In this guide, you’ll learn how to use trekking sticks, adjust them for different terrain, and use proper pole technique the way seasoned hikers do. We’ll walk through what you need, a clear step-by-step process, and expert tips that make a real difference. By the end, you’ll move confidently across flat trails, rocky climbs, and tricky downhill stretches. Let’s get you hiking smarter, not harder.
What You’ll Need
Grab these items before you head out. A little prep keeps your first outing smooth and comfortable.
- A pair of hiking poles (telescoping or foldable, depending on your storage needs)
- Rubber tip protectors for pavement or hard-packed trails
- Carbide or steel tips for loose dirt, mud, and snow
- Adjustable wrist straps (usually built into the poles)
- Comfortable hiking shoes or boots with good grip
- A backpack to carry water and gear
- Optional snow baskets or mud baskets for soft terrain
- A tape measure to find your ideal pole length
Step-by-Step Guide on How to Use Trekking Sticks
Step 1: Set the Correct Pole Height
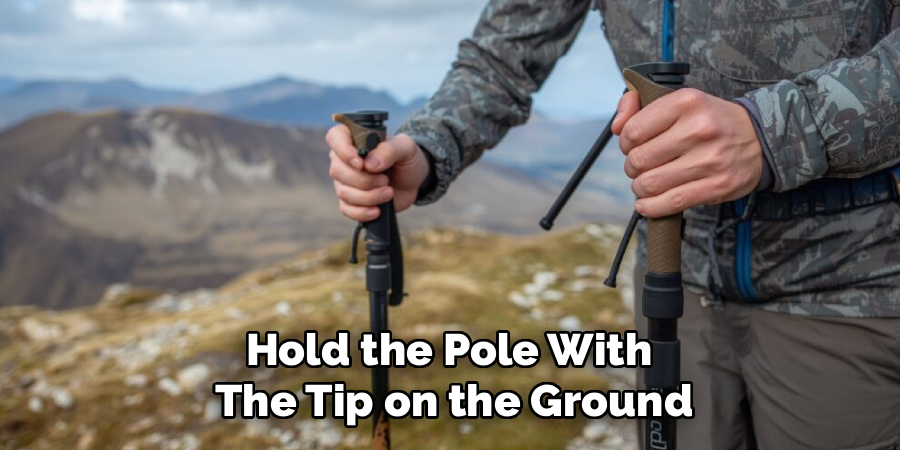
Getting the height right is the foundation of comfortable trail walking. Stand up straight and hold a pole with the tip touching the ground near your foot. Your elbow should bend at roughly a 90-degree angle. If your forearm points up or down sharply, adjust the length until it sits level. Most telescoping poles have clear measurement marks, so lock both poles to the same number for balance.
Step 2: Lock the Poles Securely
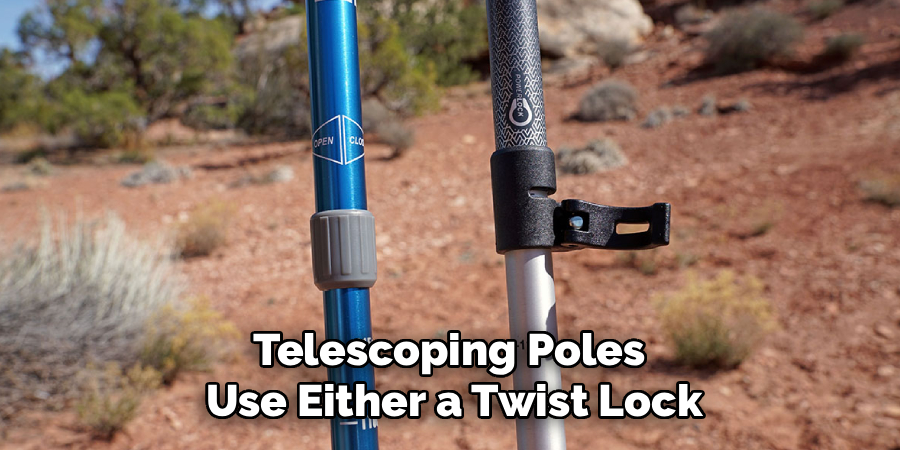
Telescoping poles use either a twist lock or a lever (flip) lock to hold their length. Twist locks tighten when you rotate the sections, while lever locks snap shut with a quick flip. Test each lock by pressing the pole firmly into the ground before you start. A loose lock can collapse mid-step and throw off your balance. If a section slips, tighten the mechanism or check for worn parts before hitting the trail.
Step 3: Put on the Wrist Straps Correctly
Wrist straps do more than dangle from the handle. Slide your hand up through the bottom of the strap loop, then bring it down over the grip. This lets the strap support your wrist and take weight off your fingers. You shouldn’t grip the handle tightly at all. Instead, let the strap carry the load while your hand rests lightly, which prevents cramps and blisters on longer hikes.
Step 4: Find Your Natural Walking Rhythm
On flat ground, move your poles in sync with your opposite foot. When your left foot steps forward, your right pole plants, and vice versa. This mirrors your natural arm swing, so it feels smooth once you get going. Keep your movements relaxed rather than forced. Within a few minutes, the rhythm becomes second nature and you’ll stop thinking about it entirely.
Step 5: Adjust Your Poles for Uphill Hiking
Climbing calls for shorter poles. Before a steep ascent, shorten each pole by about 5 to 10 centimeters. This keeps your arms in a comfortable position and lets you push off the ground for extra power. Plant the poles just ahead of you and drive down as you step up. Shorter poles during uphill hiking save your legs and give your upper body a helpful workout too.
Step 6: Lengthen Them for Downhill Balance
Going down is where trekking sticks really shine. Lengthen your poles by 5 to 10 centimeters so they reach the lower ground comfortably. Plant them slightly ahead of your body and let them absorb the shock before your feet land. This takes a huge load off your knees and improves downhill balance on loose or steep sections. Move deliberately and keep your weight centered rather than leaning too far forward.
Step 7: Handle Tricky Terrain and Obstacles
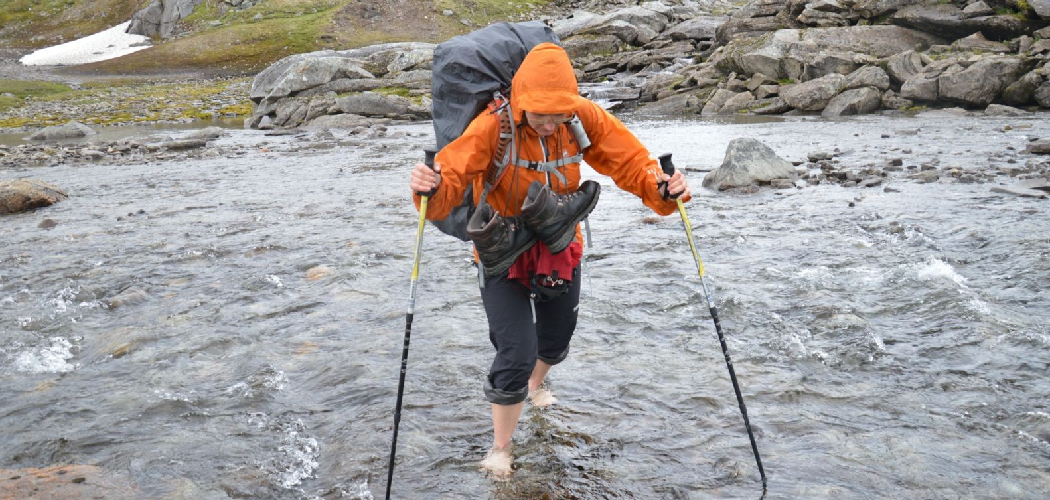
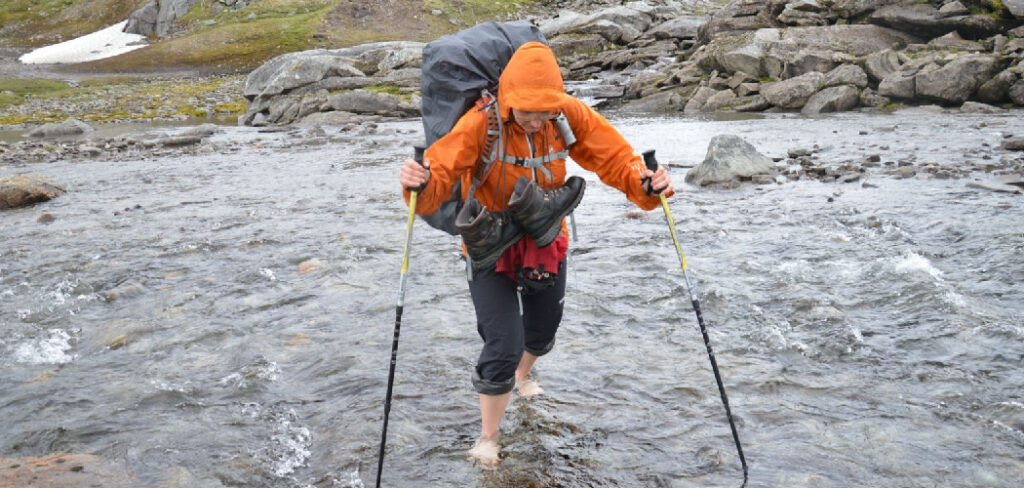
Trails throw all kinds of surprises at you, from stream crossings to rocky steps. Use your poles to test unstable ground before committing your full weight. When crossing water, plant both poles firmly for a stable base. For side slopes, shorten the uphill pole and lengthen the downhill one to stay level. These small adjustments give you a rock-solid platform and keep you upright when the path gets rough.
Step 8: Store and Carry Them When Not in Use
Sometimes you’ll want your hands free for scrambling or photos. Collapse telescoping poles down to their shortest length and clip them to your backpack. Foldable poles break down even smaller and tuck away in a side pocket. Never leave loose poles swinging from your wrists on technical terrain, as they can snag on rocks or brush. Stow them properly so they’re ready the moment you need them again.
Tips for Best Results
- Match your tips to the terrain. Rubber tips grip pavement and protect trails, while exposed carbide tips bite into ice, mud, and loose rock. Swapping them takes seconds and dramatically improves your traction.
- Keep your poles slightly bent at the wrist. A relaxed, natural angle prevents strain and lets the straps do the heavy lifting. Death-gripping the handles is the fastest way to tire out your hands.
- Practice in your yard first. Before a big hike, walk around your neighborhood to dial in the rhythm. Muscle memory builds fast, and you’ll feel far more confident on real trails.
- Clean and dry your poles after wet hikes. Grit inside telescoping poles causes locks to slip and sections to seize. A quick wipe-down and full extension to air-dry keeps them working like new for years.
- Adjust on the fly. Don’t set your length once and forget it. The best hikers tweak their trekking poles constantly as the trail rises, falls, and twists beneath their feet.
Frequently Asked Questions
Do Trekking Sticks Really Make a Difference?
Absolutely, and most hikers notice the benefit right away. Studies show poles reduce the load on your knees and legs, especially during long descents. They also improve stability on uneven ground and help you keep a steady pace. Once you’ve hiked with a good pair, going back to bare hands feels surprisingly wobbly.
How Do I Choose the Right Length for My Poles?
The 90-degree elbow rule is your best starting point. Hold the pole with the tip on the ground and check that your forearm sits level. Adjustable telescoping poles let you fine-tune for climbs and descents, which is why they’re so popular. If you buy fixed-length poles, measure carefully before you commit to a size.
Should I Use One Pole or Two?
Two poles almost always beat one for balance and joint relief. A pair spreads the effort evenly across both sides of your body and gives you a stable four-point stance. A single pole can work for casual walks or if you’re carrying something in one hand. For serious trail walking, though, most hikers reach for the full set.
Can I Use Hiking Poles on Any Type of Trail?
Yes, and they adapt well to nearly every surface with the right tips and baskets. Rubber tips suit paved paths, while metal tips handle dirt, rock, and ice. Add snow or mud baskets to stop the poles sinking into soft ground. Just adjust your length and technique to match whatever the trail hands you.
Is It Hard to Learn Proper Pole Technique?
Not at all, and most people pick it up within the first mile. The trickiest part is syncing your poles with your opposite foot, but that rhythm clicks quickly. Focus on relaxed hands, correct strap placement, and adjusting length for slopes. After a short practice session, good pole technique becomes completely automatic.
Conclusion
Learning to use trekking sticks comes down to a few simple habits: set the right height, wear your straps correctly, and adjust your length for every climb and descent. With a bit of practice, you’ll protect your knees, boost your balance, and enjoy longer, more comfortable hikes.
If you haven’t picked up a pair yet, check out our recommended picks above to find the right fit for your adventures. Ready to explore more? Browse our other DIY and outdoor gear guides for practical tips you can put to use on your very next trip.
