
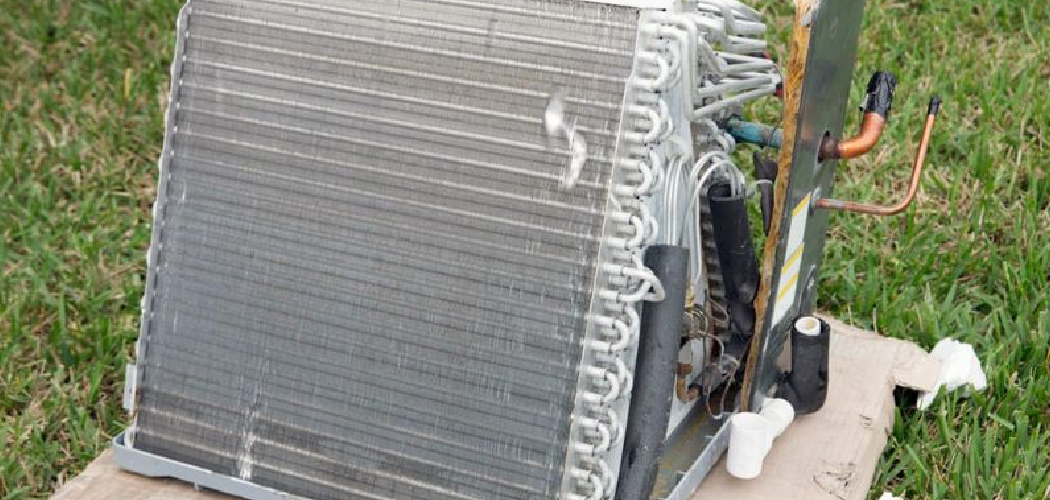
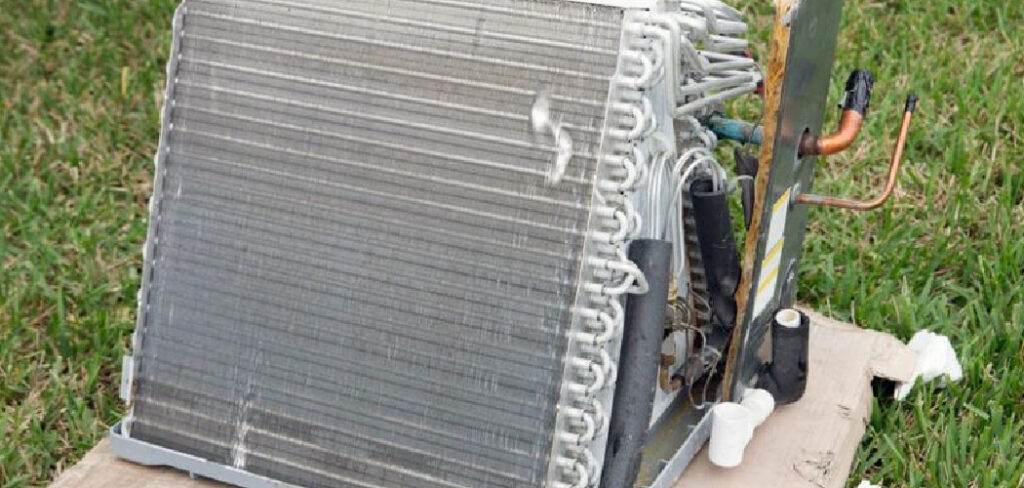
Your window air conditioner used to blast icy air across the whole room. Now it wheezes out lukewarm air, runs constantly, and barely takes the edge off a hot afternoon. Before you shop for a replacement, take a closer look at the coils tucked inside. That gray fuzz coating them is dust buildup, and it’s quietly choking your unit’s performance. Knowing how to clean window unit coils is one of the simplest ways to bring back cold, powerful air flow.
In this guide, you’ll learn exactly which supplies to grab, a clear step-by-step process, and a few pro tricks that make the job faster. We’ll cover the evaporator coils, the condenser coils, safe cleaning methods, and how to prevent mold from creeping back. Let’s get your AC blowing cold again.
What You’ll Need
Gather these supplies before you start. Most of them cost very little and live right in your garage or under the sink.
- A no-rinse coil cleaner (foaming AC coil cleaner works best)
- A soft-bristle brush or a paint brush
- A fin comb (or a butter knife in a pinch)
- A spray bottle filled with warm water
- Mild dish soap
- A vacuum with a brush attachment
- Clean microfiber cloths or rags
- A screwdriver (Phillips and flat-head)
- A bucket or shallow tray
- Safety gloves
- Safety glasses
- A can of compressed air (optional, but handy)
Lay everything out on a flat surface near an electrical outlet. A little prep keeps the whole job smooth and stress-free.
Step-by-Step Guide on How to Clean Window Unit Coils
Step 1: Unplug the Unit for Safety
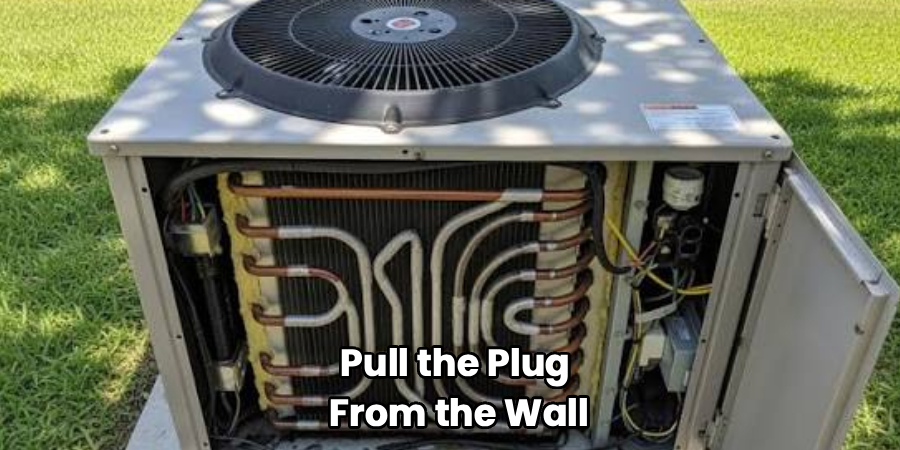
Pull the plug from the wall before you touch anything. You’ll be spraying liquids near electrical parts, so this step is non-negotiable. Never trust the power button alone, since a bumped switch could send current where water goes. Give the unit a minute to fully power down.
Slip on your safety gloves and glasses now. The metal fins are surprisingly sharp, and cleaner can splash back at you. Treat every cleaning session like the electricity is still live, just to build a safe habit.
Step 2: Remove the Unit and Open the Case
If your AC is still mounted in the window, carefully lift it out and set it on a sturdy surface. Grab a helper for this part, since these units are heavier than they look. Once it’s on your workbench, use your screwdriver to remove the outer case or front grille. Keep the screws in a small cup so none go missing.
We’ll cover the evaporator coils, the condenser coils, safe cleaning methods, and how to prevent mold from creeping back
Set the housing aside where it won’t get stepped on. You should now see the front evaporator coils and, toward the back, the condenser coils. Snap a quick photo before you dig in so reassembly is easy later.
Step 3: Vacuum the Loose Dust and Debris
Start with the dry stuff before any liquid touches the coils. Attach the brush head to your vacuum and gently run it across both coil sets. This lifts away loose dust buildup, pet hair, and cobwebs without pushing gunk deeper into the fins. Work slowly and let the suction do the heavy lifting.
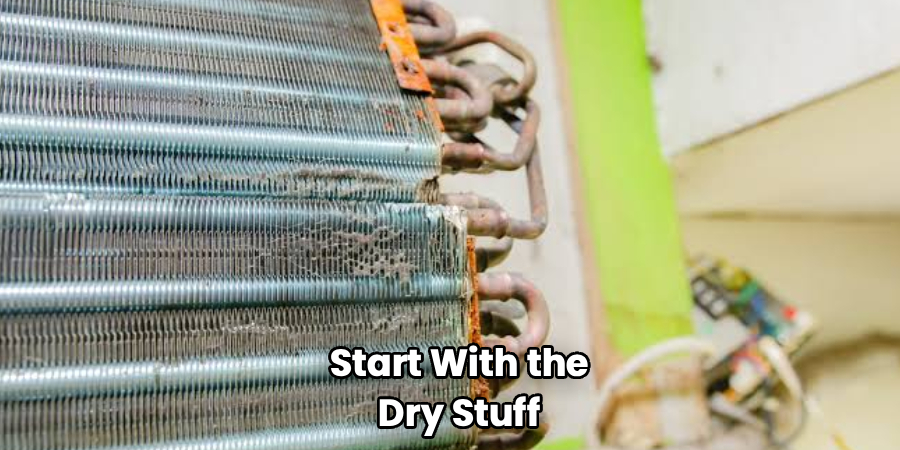
Avoid pressing hard, since the aluminum fins bend with almost no pressure. If you spot stubborn debris packed between fins, a can of compressed air blows it free nicely. Clearing the loose layer first means your coil cleaner can reach the sticky grime underneath.
Step 4: Straighten Any Bent Fins
Take a close look at the thin metal fins lining each coil. Bent or crushed fins block air flow and drag down your cooling efficiency. Slide your fin comb into the rows and gently pull it straight to realign them. Match the comb’s teeth to the fin spacing so you don’t cause more damage.
You’ll learn what tools to grab, how to safely remove and clean the carburetor, and how to spot trouble before it leaves you stranded. works for small sections. Go slow and use a light touch here. Straight fins let air move freely, which is half the battle in keeping your AC maintenance on point.
Step 5: Apply the Coil Cleaner
Now for the satisfying part. Shake your foaming coil cleaner and spray an even coat across the evaporator coils and condenser coils. The foam clings to the fins and dissolves grease, grime, and mold as it works. Cover the surface fully, but don’t drown it, since a thin, even layer does the job.
Let it sit for the time listed on the can, usually five to ten minutes. You’ll often see it bubble and turn brown as it breaks down the buildup. Never use bleach or harsh household cleaners, which can corrode the delicate aluminum.
Step 6: Rinse and Wipe the Coils
If you used a no-rinse cleaner, most of the grime lifts away on its own. For extra buildup, lightly mist the coils with your spray bottle of warm water. Keep water away from the fan motor, control panel, and any wiring. Wipe the accessible surfaces gently with a microfiber cloth to catch loosened dirt.
Never blast the coils with a garden hose indoors, since flooding the electrical parts invites disaster. A controlled mist paired with a soft cloth cleans just as well. Take your time and let the fins fully clear before moving on.
Step 7: Clean the Drain Pan and Filter
While the case is open, hit the other parts that trap grime. Pull out the air filter and wash it in warm, soapy water, then let it air dry completely. Wipe down the drain pan below the evaporator coils, where standing water breeds mold and funky smells. A mix of dish soap and warm water clears it right up.
Check the drain channel for clogs that could cause leaks. A cotton swab or pipe cleaner clears small blockages fast. A clean filter and pan keep your fresh coils cleaner for much longer.
Step 8: Let Everything Dry Completely
Patience pays off before you power anything on. Set the unit in a well-ventilated spot and let the coils, filter, and drain pan dry fully. Turning it on while wet risks electrical shorts and traps moisture that feeds mold. Depending on airflow, give it a solid one to two hours.
Run your hand near the fins to confirm there’s no lingering dampness. A fan pointed at the unit speeds things along nicely. Rushing this step undoes all your hard work, so resist the urge to reassemble early.
Step 9: Reassemble and Reinstall
Once everything is bone dry, slide the outer case back on and drive in the screws you tucked away. Use that photo from earlier if you’re unsure where a part goes. Return the clean, dry filter to its slot before closing up. Then carefully lift the unit back into the window and secure it snugly.
Double-check that it sits level so the drain works properly. Make sure any side panels or weather seals are back in place. A tight fit keeps hot air out and cold air where you want it.
Step 10: Plug In and Test the Airflow
Plug the unit back in and switch it to the coldest setting. Listen for a smooth, steady hum with no odd rattles. Within a few minutes, you should feel noticeably stronger, colder air flow across the room. That’s your reward for restoring the cooling efficiency.
Hold your hand near the vents to compare it to before. If the air feels weak, unplug and recheck that the fins aren’t clogged and the filter sits correctly. Enjoy that crisp, cold air you just brought back to life.
Tips for Best Results
These extra habits take your coil care from good to great.
- Clean before peak season hits. Give your unit a full cleaning each spring before the first heat wave. Coils caked with a winter’s worth of dust buildup make your AC work twice as hard from day one.
- Prevent mold with a quick wipe-down. After heavy use, wipe the drain pan and fins with a diluted vinegar solution. This discourages mold and keeps musty smells from drifting into your room.
- Vacuum the filter monthly. A quick pass with the vacuum between deep cleans keeps grime off the evaporator coils. A clean filter protects the coils and stretches the time between full sessions.
- Keep the outdoor side clear. If your unit sticks out a window, trim back leaves and clear debris near the condenser coils. Blocked airflow outside strains the whole system.
- Store it clean over winter. Before packing the unit away, clean it and cover it. You’ll start next summer with fresh coils and zero surprise buildup.
Frequently Asked Questions
What Is the Best Cleaner to Use on Window Unit Coils?
A foaming AC coil cleaner is your safest and most effective choice. It’s designed to dissolve dust, grease, and mold without harming the delicate aluminum fins. For light jobs, a mix of warm water and mild dish soap works fine too. Steer clear of bleach or abrasive cleaners, since they can corrode the coils and shorten your unit’s life.
How Often Should I Clean My Window AC Coils?
For most homes, a thorough cleaning once a year keeps things running well. If you run the unit daily during summer or have pets, clean it every few months instead. Vacuum the filter monthly to slow down dust buildup between deep cleans. Homes near dusty roads or heavy pollen may need extra attention.
Can I Clean the Coils Without Removing the Unit From the Window?
You can do a light surface cleaning in place, but a full job works far better with the unit out. Removing it lets you reach both the evaporator coils and condenser coils and clean the drain pan properly. Cleaning in place also risks water dripping into your wall or floor. For real cooling efficiency gains, take the unit out.
Is It Safe to Use Water on the Coils?
Yes, as long as you keep water away from the fan motor, wiring, and control panel. A light mist from a spray bottle rinses the fins without soaking the electrical parts. Never use a pressurized hose indoors, since flooding invites shorts and rust. Always let everything dry completely before you plug the unit back in.
Why Is My AC Still Weak After Cleaning the Coils?
If airflow stays weak, check for bent fins blocking the path and straighten them with a fin comb. A clogged filter or a low refrigerant charge can also cause poor performance. Make sure the drain isn’t backed up and the unit sits level in the window. If cold air still won’t come, the compressor may need a pro’s eyes.
Conclusion
A little care makes a huge difference in how well your AC cools. Now that you know how to clean window unit coils, you can restore strong, cold air flow in an afternoon. Just remember the key steps: unplug for safety, vacuum the dust buildup, apply coil cleaner, dry everything fully, and reinstall with care. If you haven’t grabbed a quality coil cleaner or fin comb yet, check out our recommended picks above. Browse our other DIY maintenance guides to keep every appliance in your home running like new.
