
You reach into the junk drawer for your favorite scissors, and there they are — blades speckled with orange rust and stubbornly stiff at the pivot. Maybe they got left in a damp bathroom, or maybe they just sat unused for a season. Either way, they feel gross to hold and barely cut a straight line. The good news? You don’t need to toss them. Learning how to clean rusty scissors takes about twenty minutes and a few things you already own.
In this guide, you’ll learn which supplies to grab, a clear step-by-step process, and a handful of pro tricks to keep rust from coming back. We’ll cover vinegar soaks, gentle scrubbing, sharpening, and lubricating the joint. Let’s bring those blades back to life.
What You’ll Need
Gather these supplies before you start. Most already live in your kitchen or garage, so this won’t cost you much.
- White vinegar (or lemon juice)
- Baking soda
- A small bowl or shallow dish
- An old toothbrush or scrub brush
- Fine steel wool (grade 0000) or fine sandpaper
- Dish soap
- Warm water
- Clean microfiber cloths or rags
- WD-40 or a light machine oil
- A screwdriver (if the pivot screw comes apart)
- Safety gloves
- A sharpening stone or honing rod (optional)
Lay everything out on a flat surface with a towel underneath. A little prep keeps the whole job clean and quick.
Step-by-Step Guide on How to Clean Rusty Scissors
Step 1: Set Up a Safe Work Area
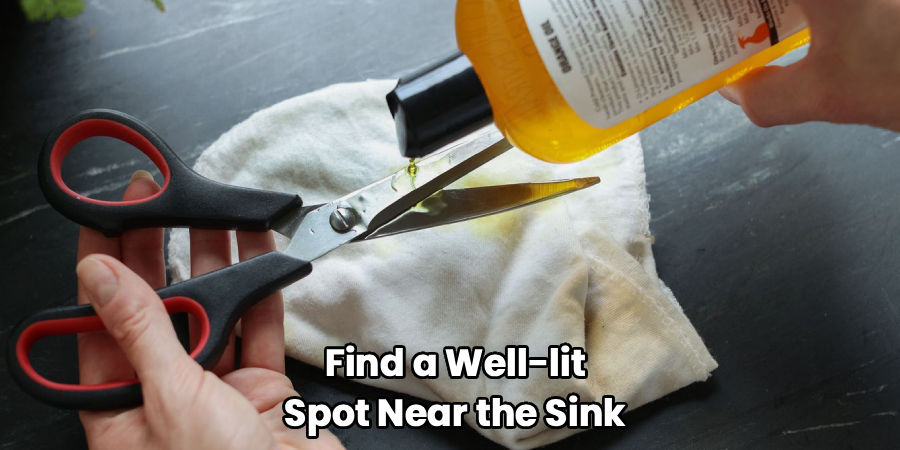
Find a well-lit spot near the sink with plenty of elbow room. Spread an old towel or newspaper down to catch drips and rust flakes. Slip on your safety gloves, since vinegar and steel wool can irritate your skin over time. Keep the blades pointed away from you while you work.
Have all your supplies within arm’s reach so you’re not hunting mid-task. Rusty scissors are still sharp, so handle them with care even when they feel stiff. Separating the blades makes rust removal way easier and lets you reach every hidden spot. A tidy setup makes the whole process safer and far less messy.
Step 2: Take the Scissors Apart If You Can
Look at the pivot point where the two blades meet. Many scissors have a small screw there that lets you separate the halves. If yours does, grab a screwdriver and gently loosen it. Separating the blades makes rust removal way easier and lets you reach every hidden spot.
Keep the screw and any washer in a small cup so nothing rolls away. If your scissors are riveted together and won’t come apart, no worries — you can still clean them fully assembled. Snap a quick photo before you take them apart, so reassembly is a breeze.
Step 3: Soak the Blades in Vinegar
Pour white vinegar into your bowl, enough to cover the rusty parts of the blades. Vinegar is a mild acid that loosens blade corrosion without harsh chemicals. Submerge the metal scissors and let them sit for thirty minutes to an hour. For heavy rust, you can leave them soaking a bit longer.
Lemon juice works in a pinch if you’re out of vinegar. Avoid soaking any plastic or rubber handles, since they don’t need the treatment. Set a timer so you don’t forget them — long soaks are fine, but there’s no reason to leave them overnight.
Step 4: Scrub Away the Loosened Rust
Pull the blades out and grab your old toothbrush. Dip it in the vinegar and scrub along the metal, following the direction of the blade. You’ll watch the orange rust lift away with surprisingly little effort. For stubborn patches, sprinkle a little baking soda on the surface to boost the scrubbing power.
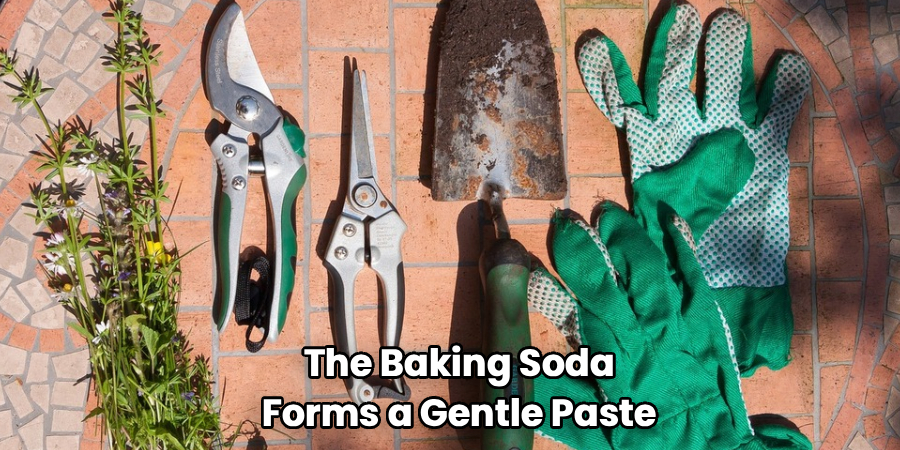
The baking soda forms a gentle paste that tackles the tough spots. Work in small sections and rinse to check your progress. Don’t press too hard near the cutting edge, since you want to preserve its sharpness. Take your time and let the vinegar do most of the work.
Step 5: Tackle Tough Spots with Steel Wool
If some rust still clings on, reach for fine steel wool. Grade 0000 is the finest, so it clears corrosion without scratching the metal. Rub gently along the blade in long, even strokes rather than tight circles. Fine sandpaper works too, but keep it around 400 grit or higher.
Go slow and check often, since you don’t want to gouge the surface. Focus on the flat parts of the blade and steer clear of the sharpened edge. This step handles the deep, pitted rust that scrubbing alone can’t budge. Wipe away the debris as you go to see what’s left.
Step 6: Wash and Dry Thoroughly
Once the rust is gone, wash the blades in warm, soapy water. A drop of dish soap clears away vinegar residue, baking soda, and any leftover grit. Rinse well under running water so nothing lingers on the metal. This step matters more than it seems.
Now dry the scissors completely with a clean microfiber cloth. Any trapped moisture invites rust right back, undoing your hard work. Get into the pivot area and along the edges, where water loves to hide. Let them air out for a few minutes to be sure they’re bone dry.
Step 7: Sharpen the Blades If Needed
Rust often leaves the cutting edge dull, so a quick sharpening restores that clean snip. If you have a sharpening stone, run each blade across it at a shallow angle, moving from the pivot to the tip. A honing rod or even a ceramic mug’s unglazed bottom works for light touch-ups. Five or six passes per blade is usually plenty.
Test the sharpness on a scrap of paper as you go. If the scissors glide through cleanly, you’re done. Don’t overdo it, since aggressive sharpening wears the blade down fast. A gentle touch here goes a long way.
Step 8: Lubricate the Pivot and Reassemble
Add a drop of WD-40 or light machine oil to the pivot point. Lubricating the joint stops squeaking and keeps the blades gliding smoothly. If you took the scissors apart, reassemble them now and tighten the screw until they open and close with just a little resistance. Too tight and they’ll drag; too loose and they’ll wobble.
Wipe off any excess oil with a rag so it doesn’t transfer to whatever you cut. Open and close the scissors a few times to spread the lubricant evenly. This final touch makes them feel brand new in your hand.
Step 9: Test and Store Them Properly
Give your refreshed scissors a real test run on paper, fabric, or whatever you usually cut. They should slice cleanly with no catching or grinding. If the cut still feels rough, recheck the sharpness and the pivot tension. A little fine-tuning now saves frustration later.
Store them in a dry spot, ideally a drawer away from moisture and humidity. Avoid tossing them into a damp bathroom or a steamy kitchen cabinet. Proper storage is the simplest way to keep rust from creeping back. Now you’ve got scissors that cut like the day you bought them.
Tips for Best Results
These extra habits take your results from good to great.
- Wipe blades dry after every use. Moisture is rust’s best friend, especially if you cut damp materials or store scissors in a humid room. A quick wipe with a dry cloth after each use keeps corrosion from ever starting.
- Add a light oil coating for storage. A thin film of machine oil on the blades acts like armor against rust. Just wipe it on before you tuck them away for the season, then buff off the excess before you cut.
- Skip the dishwasher entirely. The heat, harsh detergent, and lingering moisture accelerate blade corrosion and dull the edge. Hand-washing and drying takes seconds and protects your scissors far better.
- Use a rust eraser for quick touch-ups. These handy rubber blocks buff away light surface rust in seconds, no soaking required. Keep one in your toolbox for spot cleaning between deeper sessions.
- Match your grit to the damage. Light rust needs only a toothbrush and vinegar, while deep pitting calls for fine steel wool. Starting too aggressive can scratch a blade that just needed a gentle scrub.
Frequently Asked Questions
What Is the Best Home Remedy for Rusty Scissors?
A vinegar soak is the most reliable home remedy, since the mild acid loosens rust without damaging the metal. For extra scrubbing power, make a paste with baking soda and water and work it into the tough spots. Lemon juice mixed with a little salt also does the trick. These pantry staples handle most rust without any special products.
Can I Use WD-40 to Remove Rust From Scissors?
Yes, WD-40 works well for light rust and doubles as a lubricant for the pivot. Spray a little on the blades, let it sit for a few minutes, then wipe the rust away with a rag. For heavier corrosion, pair it with fine steel wool for a gentle scrub. Always wash the blades with soap afterward if you’ll use them on food or fabric.
Will Vinegar Damage My Scissor Blades?
Vinegar is safe for short soaks and won’t harm quality steel scissors. Just don’t leave them submerged for days, since prolonged exposure to any acid can slowly etch the metal. Thirty minutes to an hour is plenty for most rust. Always rinse and dry the blades completely afterward to stop new rust from forming.
How Do I Keep My Scissors From Rusting Again?
The key is keeping moisture away from the metal. Dry your scissors after every use, especially if you cut wet materials, and store them somewhere dry. A thin coat of machine oil adds an extra layer of protection during long storage. Steer clear of humid spots like bathrooms and steamy kitchen cabinets.
Is It Worth Cleaning Old Scissors or Should I Replace Them?
If the blades are solid steel and only surface rust is the problem, cleaning them is absolutely worth it. Quality scissors can last decades with a little care, so restoring them saves money and waste. Replace them only if the metal is deeply pitted, cracked, or the blades no longer align. Most of the time, a good clean and sharpen brings them right back.
Conclusion
Bringing rusty scissors back to life is easier than you’d think, and it feels great to rescue a tool you already love. Now that you know how to clean rusty scissors, you can restore a clean, smooth cut in under half an hour. Just remember the essentials: soak in vinegar, scrub away the rust, dry thoroughly, then sharpen and oil the pivot. If you haven’t grabbed a rust eraser or a good sharpening stone yet, check out our recommended picks above. Browse our other DIY maintenance guides to keep every tool in your home in top shape.
