
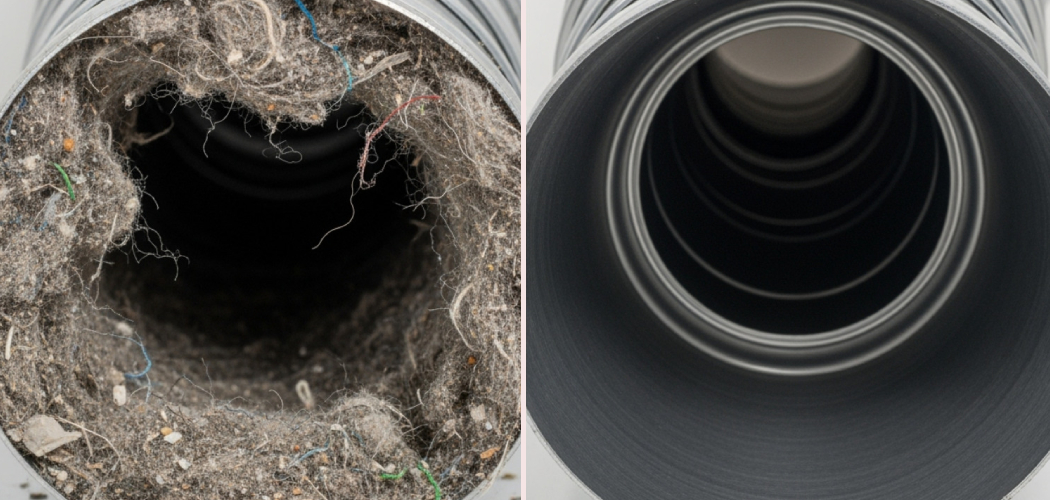
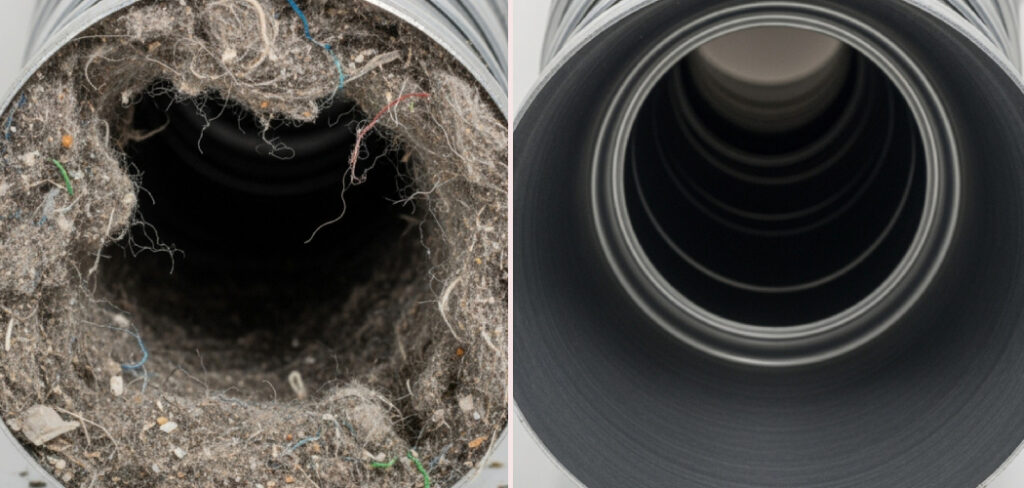
Your dryer takes twice as long to dry a load as it used to. Your clothes come out warm and damp. And the little laundry room feels hotter than a sauna. Sound familiar? That’s usually a sign of lint buildup clogging your dryer duct. The good news? Learning how to clean a dryer vent with a leaf blower is one of the easiest weekend fixes around.
In this guide, you’ll learn exactly which tools to grab, the step-by-step process to clear that exhaust vent, and a few insider tips the pros use. You’ll also get answers to the questions people ask most. By the end, you’ll have better airflow, safer laundry days, and a dryer that works like new.
What You’ll Need
Before you start, gather your supplies. Having everything ready makes the job faster and a lot less frustrating.
- A leaf blower (electric or gas-powered both work fine)
- A screwdriver or nut driver to loosen vent clamps
- A vent brush kit with flexible rods for stubborn clogs
- A vacuum with a hose attachment
- A flashlight to inspect the duct
- Duct tape or foil tape for resealing connections
- Work gloves to protect your hands
- A dust mask since lint gets airborne
- A helper (optional, but handy for two-end jobs)
Most of these you probably already own. If your leaf blower has a narrow nozzle attachment, keep it close. That focused stream of air does the heavy lifting.
Step-by-Step Guide to Cleaning Your Dryer Vent
Step 1: Unplug and Pull the Dryer Away From the Wall
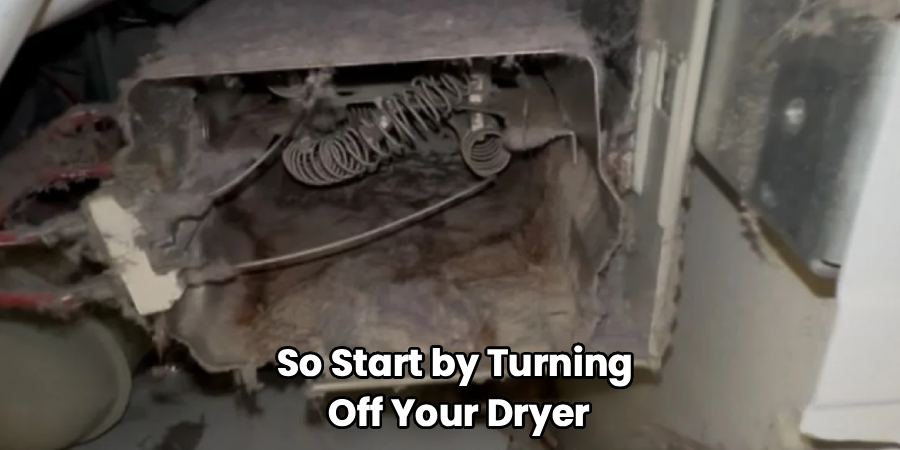
Safety comes first, so start by turning off your dryer. If you have a gas dryer, shut off the gas valve too. Then unplug the unit from the wall outlet. Carefully slide the dryer forward so you can reach the vent connection behind it. Give yourself enough room to move around comfortably. A little planning here saves you from awkward angles later.
Step 2: Disconnect the Dryer Duct
Find the flexible or rigid duct that connects the back of your dryer to the wall. Use your screwdriver or nut driver to loosen the clamp holding it in place. Gently pull the dryer duct free from both the dryer and the wall port. Learning how to clean a dryer vent with a leaf blower is one of the easiest weekend fixes around. You’ll probably see a layer of lint right away, and that’s normal. Set the duct aside so you can clean it separately. Take a quick photo first if you’re worried about reconnecting it correctly.
Step 3: Inspect for Lint Buildup
Grab your flashlight and peek inside the duct and the wall opening. Look for thick clumps of lint, debris, or even signs of nesting critters. This inspection tells you how bad the clog really is. Heavy lint buildup near the opening usually means more is packed deeper inside. Pay attention to any damp or matted lint, since that points to poor airflow. Knowing what you’re dealing with helps you plan your approach.
Step 4: Vacuum the Loose Lint First
Before you bring out the blower, use your vacuum to suck up the easy stuff. Run the hose attachment into both ends of the exhaust vent as far as it reaches. This clears the loose surface lint so the blower can push through more effectively. Vacuuming first also cuts down on the mess that flies out later. Take your time and get every clump you can reach. Think of this as prepping the runway.
Step 5: Head Outside to the Exhaust Vent
Now walk outside and locate where your dryer vent exits the house. It’s usually a small hood or flap on an exterior wall. Open the flap and clear away any lint, leaves, or nests blocking the opening. This is where clogs love to hide, since it’s the farthest point from the dryer. A clogged exit is a common fire hazard, so give it a good look. Clean the hood cover well before moving on.
Step 6: Position and Fire Up the Leaf Blower
Here’s the fun part. This is the heart of how to clean a dryer vent with a leaf blower, so pay close attention. Head back inside and place the nozzle of your leaf blower against the wall opening where the duct connects. Seal the gap as tightly as you can with a rag or towel wrapped around the nozzle. Then turn on the blower and let that burst of air rush through the duct. The pressure pushes trapped lint straight out the exterior vent. Have your helper stand outside to confirm the lint is blasting free.
Step 7: Use a Vent Brush for Stubborn Clogs

Sometimes air alone won’t budge packed lint, especially in long ducts. That’s when your vent brush kit earns its keep. Attach the flexible rods and feed the brush into the duct, twisting as you push. The bristles scrub the walls and loosen anything the blower missed. Work slowly and don’t force it around tight bends. Once you’ve brushed it out, hit it with the leaf blower again for a final clean.
Step 8: Clean the Detached Duct Section
Don’t forget the flexible duct you removed back in Step 2. Take it outside and blow it out with the leaf blower or run the vent brush through it. Shake out any loose lint that collects at the ridges. If the duct is crushed, torn, or heavily damaged, replace it now. A fresh duct improves airflow and reduces the risk of future clogs. This small step makes a big difference in dryer performance.
Step 9: Reconnect Everything and Reseal
Reattach the duct to both the dryer and the wall port. Tighten the clamps snugly so no air leaks out. Wrap the connections with foil tape for a secure seal if needed. Slide the dryer back into place, but leave a little breathing room behind it. Plug the unit back in, and reopen the gas valve if you have one. Double-check that the outdoor flap opens and closes freely.
Step 10: Run a Test Cycle
Turn your dryer on for a short test cycle to confirm everything works. Head outside and feel for strong, steady air coming from the exhaust vent. Good airflow means you cleared the clog successfully. Listen for any odd rattling, which could signal a loose connection. If the air feels weak, recheck your duct for kinks or missed lint. When it passes, you’re officially done.
Tips for Best Results
- Do this once a year at minimum. If you dry laundry daily or have a large household, clean it every six months. Regular maintenance keeps lint buildup from ever becoming dangerous.
- Use a corded electric blower for indoor work. Gas blowers produce fumes, so if you’re pushing air from inside, stick with electric. Save the gas model for outdoor blasting only.
- Watch for short, straight duct runs. The shorter and straighter your dryer duct, the better it drains lint. If yours has too many bends, consider rerouting it for stronger airflow.
- Never skip the outdoor flap. A stuck or clogged flap traps moisture and lint right at the exit. Cleaning it fully is one of the simplest ways to prevent a fire hazard.
- Keep a mask on the whole time. Lint particles float everywhere once the blower kicks in. Protecting your lungs keeps the job comfortable from start to finish.
Frequently Asked Questions
Is It Safe to Use a Leaf Blower on a Dryer Vent?
Yes, it’s perfectly safe when you follow basic precautions. Always unplug the dryer, seal the nozzle tightly, and wear a mask to avoid breathing in lint. Just be sure to use an electric blower indoors so you don’t deal with exhaust fumes. Done right, this method clears clogs quickly without damaging your dryer duct.
How Often Should I Clean My Dryer Vent?
Most homes do well with a thorough cleaning once a year. If you run multiple loads daily or have pets, aim for every six months instead. Watch for warning signs like longer drying times or a hot laundry room. These clues tell you the exhaust vent needs attention sooner rather than later.
Can I Clean a Long Dryer Duct With Just a Leaf Blower?
A leaf blower handles most ducts well, but very long runs sometimes need extra help. For those, pair the blower with a vent brush kit to loosen stubborn lint first. The brush scrubs the walls, then the blower pushes everything out. Combining both tools gives you the cleanest results on tricky duct layouts.
What Are the Signs of a Clogged Dryer Vent?
The clearest sign is clothes that stay damp after a full cycle. You might also notice a burning smell, a hot dryer surface, or a humid laundry room. Weak airflow at the outdoor vent is another giveaway. Any of these point to lint buildup that needs clearing before it becomes a fire hazard.
Do I Really Need a Vent Brush if I Have a Leaf Blower?
Not always, but it’s a smart backup to keep on hand. Air pressure clears loose and moderate clogs on its own most of the time. For packed lint or duct bends, the vent brush loosens what air can’t reach. Together, the two tools cover just about every cleaning situation.
Conclusion
Clearing your dryer vent isn’t complicated once you know the steps. With a little time and the right tools, you’ll restore strong airflow, cut drying times, and reduce a real fire hazard in your home. Now that you understand how to clean a dryer vent with a leaf blower, you can tackle it confidently this weekend. If you haven’t picked up a solid blower or vent brush yet, check out our picks above. Ready for more easy home fixes? Explore our other DIY tool guides and keep your projects rolling.
