
You finish trimming your beard, and instead of a smooth glide, the trimmer tugs at every hair. It sputters, snags, and leaves patchy lines behind. Sound familiar? Nine times out of ten, the culprit is dirty blades clogged with tiny hairs, skin flakes, and old oil. Learning how to clean trimmer blades takes just a few minutes and instantly restores that fresh, salon-smooth cut you paid for.
In this guide, you’ll learn exactly which supplies to grab, a clear step-by-step process, and a few insider tricks to keep your blades sharp for years. We’ll cover brushing out debris, sanitizing, drying, and lubricating blades the right way. Whether you own a beard trimmer, hair clipper, or body groomer, these steps work across the board. Let’s bring your trimmer back to life.
What You’ll Need
Grab these supplies before you start. Most already sit in your bathroom cabinet or toolbox, so this won’t cost you a thing.
- A small cleaning brush (most trimmers include one)
- An old toothbrush for tight spots
- Clipper oil or trimmer-safe lubricating oil
- Isopropyl alcohol (70% or higher)
- A clean microfiber cloth or lint-free rag
- A small screwdriver (if your blades detach)
- Compressed air (optional but handy)
- A shallow dish or cup
- Cotton swabs
Lay everything out on a flat surface with a towel underneath. A little prep keeps hair off your counter and makes the whole job quick and tidy.
Step-by-Step Guide on How to Clean Trimmer Blades
Step 1: Power Off and Unplug the Trimmer
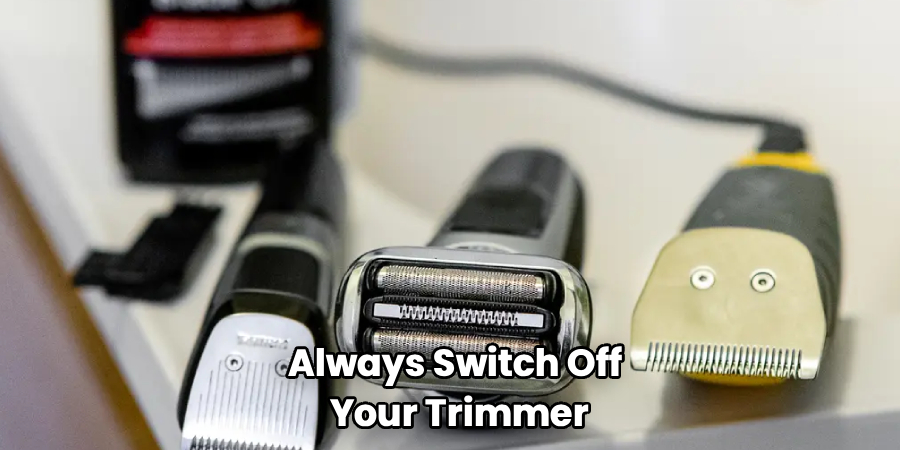
Safety comes first, so always switch off your trimmer before you touch the blades. If it’s a corded model, pull the plug from the wall. For rechargeable units, take it off the charging base and confirm it won’t accidentally turn on. Trimmer blades stay sharp even when the motor is off, and one wrong move can nick a finger.
This simple step protects both you and the device. A quick check now saves you from a painful slip later. Set the trimmer down on your towel with the blades facing up so you can see clearly.
Step 2: Remove the Blade Head
Most trimmers let you pop off the cutting head with a gentle push or a small screwdriver. Check your manual if you’re unsure how yours detaches, since designs vary between brands. Removing the head gives you full access to the hidden gunk packed underneath. That trapped debris is usually what kills your cutting performance.
Keep any tiny screws in your shallow dish so nothing rolls off the counter. If your blades don’t detach, no worries — you can still clean them attached, just with a bit more patience. Snap a quick photo before you remove anything, so reassembly is stress-free.
Step 3: Brush Out the Loose Hair and Debris
Grab the little brush that came with your trimmer, or use an old toothbrush. Sweep along the blades and into the grooves to knock out clumps of hair. Work in the same direction as the teeth so you don’t bend anything. You’ll be amazed at how much builds up in just a few uses.
For stubborn bits wedged deep inside, a short burst of compressed air clears them fast. Avoid tapping the blades hard against the sink, since that can dull or misalign them. Take your time here — good trimmer hygiene starts with a thorough brush-out.
Step 4: Sanitize the Blades with Alcohol
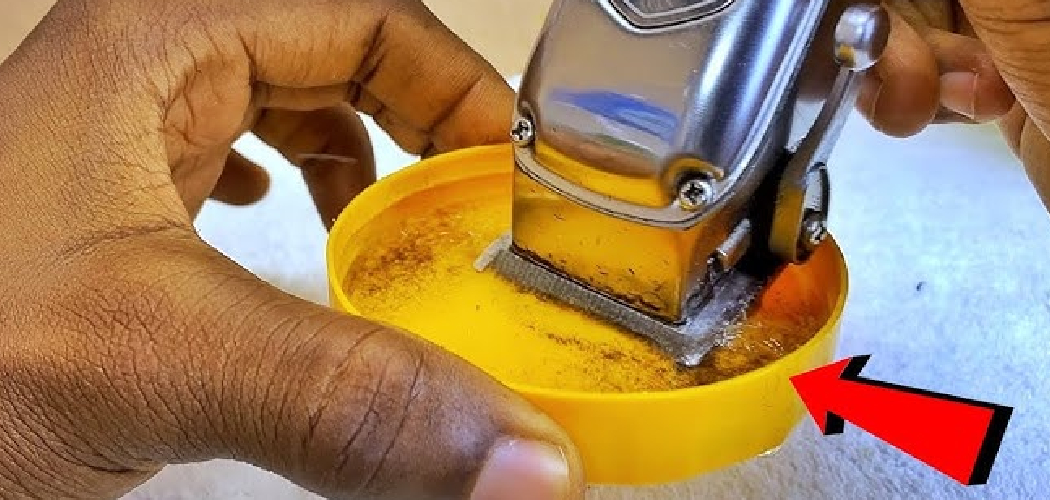
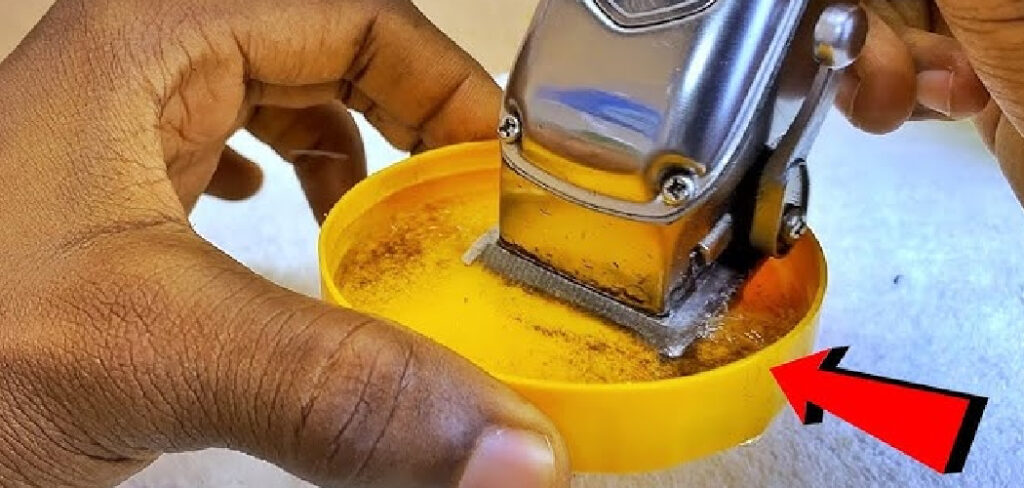
Pour a little isopropyl alcohol into your shallow dish. Dip the detached blade head in for a few seconds, or use a cotton swab to wipe alcohol across attached blades. A quick sanitizing dip keeps your trimmer clean, fresh, and safe against skin irritation. Alcohol dissolves grease, kills bacteria, and helps prevent blade corrosion over time. This step matters most if you share the trimmer or use it on skin.
Swish the blades gently to loosen any clinging residue. Don’t soak the motor body or any electrical parts, since liquid and electronics never mix well. A quick sanitizing dip keeps your trimmer clean, fresh, and safe against skin irritation.
Step 5: Scrub Away Stubborn Buildup
Some grime won’t budge with a simple brush. For those crusty spots of dried oil and skin flakes, use your toothbrush dipped in alcohol. Scrub gently along the teeth and in the corners where debris hides. Circular motions work well for loosening packed-in gunk without forcing the teeth apart.
Check your progress often and rinse the brush as needed. Be patient with older trimmers, since years of buildup can take a few passes to clear. Steer clear of harsh metal scrapers, which scratch the blade coating and speed up wear. Gentle, steady scrubbing does the trick.
Step 6: Rinse If Your Blades Are Washable
Many modern trimmers feature washable or “wet/dry” blades you can rinse under the tap. Check your manual first — running water through a non-waterproof unit can wreck the motor. If yours is washable, hold just the blade head under warm water and let it flush out the last bits of debris. Keep the base and battery well away from the stream.
Shake off the excess water when you’re done. Never dunk the whole trimmer unless the label clearly says it’s fully submersible. When in doubt, skip the rinse and stick with the alcohol wipe from the earlier steps.
Step 7: Dry Everything Completely
Moisture is the enemy of sharp blades, so drying is non-negotiable. Pat the blade head with a clean microfiber cloth to remove surface water. Then let the parts air-dry for ten to fifteen minutes on your towel. Trapped water leads to rust and blade corrosion, which ruins cutting performance fast.
Use a cotton swab to soak up water hiding between the teeth. If you’re in a hurry, a quick blast of compressed air speeds things up. Never reassemble or oil a wet trimmer, since that traps moisture inside. A little patience here protects your investment for the long haul.
Step 8: Apply Clipper Oil to the Blades
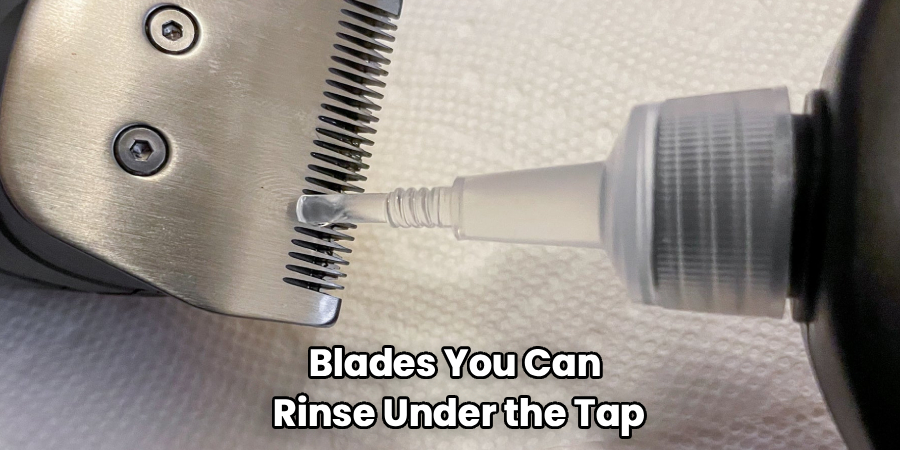
Lubricating blades is the secret to a smooth, quiet cut. Place one or two drops of clipper oil along the top and sides of the cutting teeth. Turn the trimmer on for a few seconds so the oil spreads evenly across the moving parts. This reduces friction, cuts down heat, and keeps everything gliding like new.
Wipe off any excess with your cloth so it doesn’t attract fresh debris. A little oil goes a long way, so resist the urge to drown the blades. Regular oiling is the heart of good hair clipper maintenance, and it dramatically extends blade life.
Step 9: Reassemble and Test the Trimmer
Snap the blade head back into place, and tighten any screws you removed earlier. That photo you took makes this step foolproof. Once everything clicks together, power it on and listen. A clean, well-oiled trimmer hums smoothly with no grinding or rattling.
Test it on a small section of hair to check the cut. If it glides cleanly with no tugging, you nailed it. Should it still feel rough, recheck the blade alignment and add another drop of oil. Store your trimmer in a dry spot, away from steamy showers, to keep it fresh until next time.
Tips for Best Results
These extra habits take your results from good to great.
- Brush after every single use. A ten-second sweep with the cleaning brush stops hair from packing down and hardening. This one habit prevents the vast majority of clogging and keeps cutting performance sharp between deep cleans.
- Oil more often than you think. Most people under-oil their blades. A quick drop before each session, or at least every few uses, slashes friction and heat. Well-lubricated blades cut cleaner and last far longer.
- Skip cooking oils and WD-40. Only use proper clipper oil on your blades. Kitchen oils turn sticky and gum up the works, while household sprays can damage the coating. Trimmer-specific oil is thin, clean, and designed for the job.
- Store it in a dry drawer, not the bathroom. Bathroom humidity is a fast track to blade corrosion. Keep your trimmer somewhere dry and it’ll stay rust-free for years.
- Replace blades when cleaning stops helping. If your blades still tug after a thorough clean and oil, they may be dull or worn. A fresh blade set is cheaper than a new trimmer and restores that factory-sharp cut.
Frequently Asked Questions
How Often Should I Clean My Trimmer Blades?
Brush out loose hair after every use to keep debris from building up. Do a deeper clean with alcohol and oil roughly once a week if you trim often, or every few sessions for lighter use. Regular upkeep prevents clogging and keeps the motor from straining. A few minutes of routine care beats a big scrub-down later.
Can I Use Water to Clean My Trimmer Blades?
Only if your trimmer is labeled washable or waterproof. Many modern models have wet/dry blades you can rinse under the tap, but soaking a non-waterproof unit can destroy the motor. Always check your manual first. If you’re unsure, stick with a cotton swab and isopropyl alcohol instead of water.
What Kind of Oil Should I Use on Trimmer Blades?
Use clipper oil or an oil made specifically for trimmers and hair clippers. It’s light, non-sticky, and designed to reduce friction without gumming up the teeth. Avoid cooking oils, olive oil, or WD-40, since these turn gummy and attract debris. A small bottle of proper clipper oil lasts a long time and protects your blades.
Why Do My Trimmer Blades Rust and How Do I Prevent It?
Rust, or blade corrosion, forms when moisture lingers on the metal. It usually happens when blades aren’t dried fully or the trimmer lives in a humid bathroom. To prevent it, always dry the blades completely after cleaning and store the trimmer somewhere dry. A light coat of clipper oil adds an extra layer of protection.
Is It Safe to Sanitize Trimmer Blades With Alcohol?
Yes, isopropyl alcohol is one of the best choices for sanitizing blades. It kills bacteria, dissolves grease, and evaporates quickly without leaving residue. Use 70% or higher, and apply it only to the blades, never the motor or battery. This keeps your trimmer hygienic and helps protect your skin from irritation.
My Trimmer Still Pulls Hair After Cleaning — What Now?
If tugging continues after a full clean and oil, check that the blades sit properly aligned. Misaligned teeth cause snagging and uneven cuts. Add another drop of oil and run the motor to spread it. If the problem sticks around, your blades are likely dull and worth replacing with a fresh set.
Conclusion
Keeping your trimmer in top shape is easier than you’d think, and it makes every cut smoother and more comfortable. Now that you know how to clean trimmer blades, you can banish the tugging and enjoy a fresh, clean glide in just a few minutes. Remember the essentials: brush out the hair, sanitize with alcohol, dry fully, then oil the blades. If you haven’t picked up a bottle of quality clipper oil or a replacement blade set yet, check out our recommended picks above. Browse our other grooming and tool maintenance guides to keep every device running like new.
