
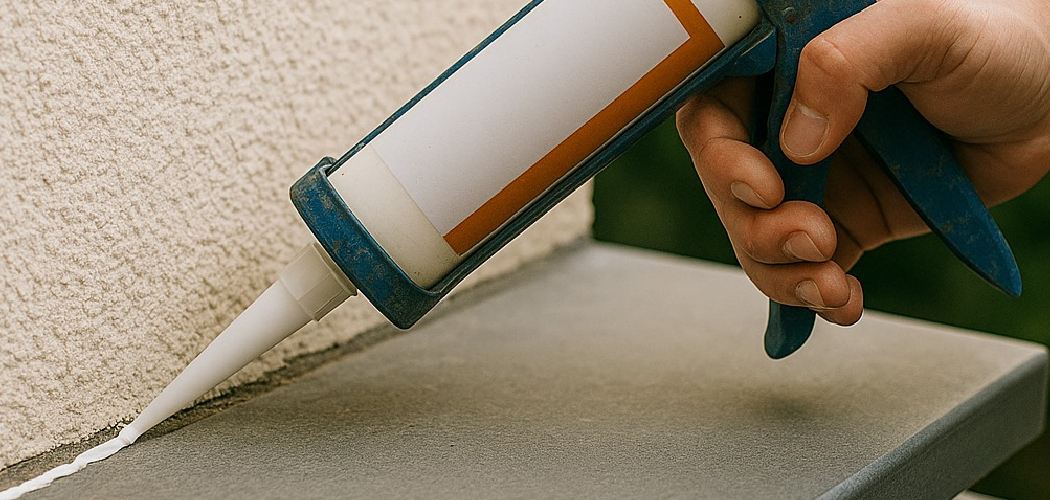
Water pooling around your bathtub. A drafty gap along a window frame. A kitchen sink that lets moisture seep behind the counter. Small gaps like these cause big headaches over time, but a tube of silicone caulk fixes them fast. Learning how to use silicone caulk is one of the most useful DIY skills you can pick up, and it takes far less practice than you’d expect.
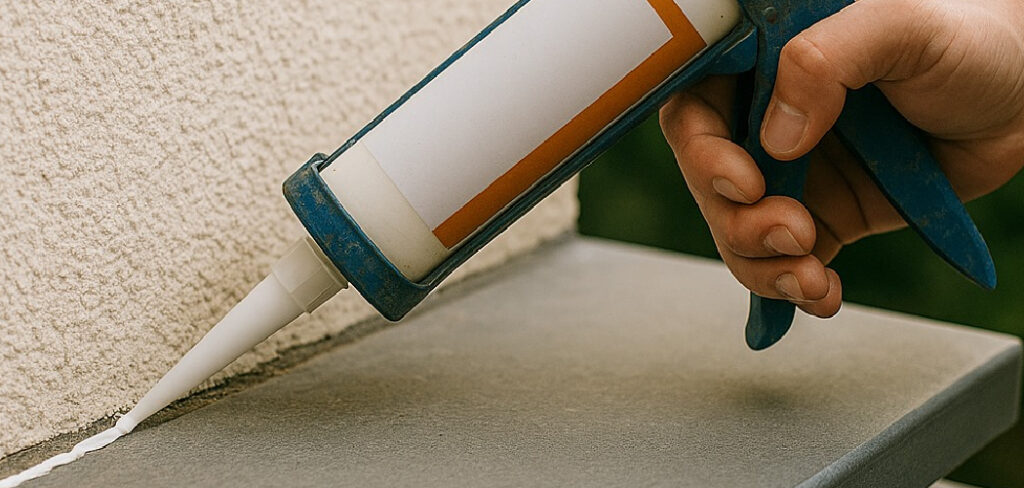
In this guide, you’ll learn what supplies to grab, how to load your caulking gun, and how to lay a clean, waterproof bead every time. We’ll walk through prep, application, smoothing, and curing so your seal lasts for years. By the end, you’ll tackle sealing jobs around the house with real confidence.
What You’ll Need
Before you squeeze a single drop, get your gear together. A few simple tools make the whole job smoother and cleaner. Here’s your checklist:
- A tube of silicone sealant — pick the right type for your project (kitchen, bath, or general)
- A caulking gun — a smooth-rod or dripless model works best
- A utility knife or scissors — to cut the tube nozzle
- Painter’s tape — for crisp, straight edges
- A caulk-smoothing tool or your finger — for shaping the bead
- Rubbing alcohol or a mild cleaner — to prep the surface
- A clean rag or paper towels — for wiping stray sealant
- Gloves — to keep your hands mess-free
- An old caulk remover tool — if you’re replacing an old seal
Take a moment to match your sealant to the job. Some formulas resist mold better, while others bond stronger to specific materials.
Step-by-Step Guide on How to Use Silicone Caulk
Ready to seal like a pro? Follow these steps in order. Prep work matters just as much as the application, so don’t skip ahead.
Step 1: Clean and Dry the Surface
A clean surface is the secret to strong adhesion. Any dust, grease, or old residue stops the sealant from gripping properly. Wipe the area down with rubbing alcohol or a mild cleaner, then let it dry completely.
If you’re working near a sink or tub, make sure no moisture lingers in the joint. Even a little dampness can weaken the bond and lead to peeling later. Give the spot a few minutes to air-dry before you move on. This one step prevents most failed seals.
Step 2: Remove Any Old Caulk
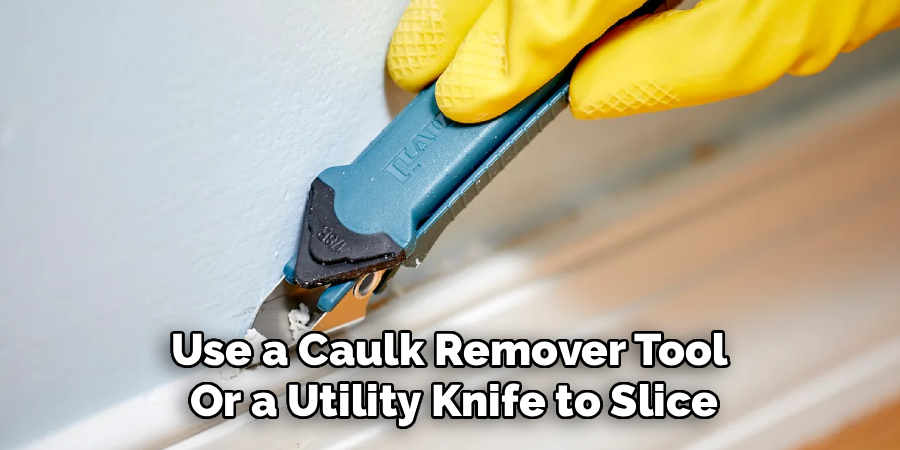
If you’re redoing an existing seal, the old material has to go first. Fresh sealant won’t stick well over cracked, moldy, or peeling caulk. Use a caulk remover tool or a utility knife to slice and pull the old bead away cleanly.
Work slowly so you don’t scratch the surrounding surface. Once the bulk is out, scrub the joint to remove any leftover bits and grime. A clean, bare joint gives your new seal the best chance to hold. Rushing this step is a common mistake that shortens the life of your work.
Step 3: Apply Painter’s Tape for Clean Lines
Want those crisp, professional edges? Painter’s tape is your best friend. Lay a strip along each side of the joint, leaving a small gap where the bead will sit. This creates a guide that keeps your line straight and tidy.
Press the tape down firmly so no sealant sneaks underneath. Taping takes a couple of extra minutes, but it saves you from messy cleanup and uneven edges. Beginners especially benefit from this trick. You’ll peel it away later to reveal a sharp, clean seal.
Step 4: Prepare the Tube and Caulking Gun
Now get your tube ready. Cut the nozzle tip at a 45-degree angle using a utility knife, and keep the opening small for tight joints. A smaller hole gives you more control over the bead size. Puncture the inner seal with the long wire on your gun or a nail.
Load the tube into your caulking gun and give the trigger a few gentle squeezes until the sealant reaches the tip. Test your flow on a scrap of cardboard first. This warm-up pass helps you gauge how much pressure you need. A steady hand starts with a properly loaded gun.
Step 5: Apply the Bead of Silicone Caulk
Time for the main event. Hold the gun at a 45-degree angle to the joint and squeeze the trigger with steady, even pressure. Move at a consistent speed as you lay one continuous bead along the gap. Don’t stop and start too often, or you’ll leave lumps and thin spots.
Match the bead size to the joint width so it fills the gap without overflowing. If you’re sealing a tub or window, aim for full coverage with no breaks. Keep your motion smooth and confident. A steady pull gives you a clean line that seals out water and drafts.
Step 6: Smooth the Bead
Smoothing shapes the seal and pushes it into the joint for a watertight finish. Wet your finger or a smoothing tool slightly, then run it along the bead in one smooth pass. This presses the sealant firmly against both surfaces and removes excess.
Wipe your finger on a rag between passes to avoid smearing. Don’t go over the same spot too many times, or you’ll drag the material out of the joint. One or two firm passes are plenty. This step turns a rough line into a polished, professional-looking seal.
Step 7: Remove the Tape Right Away
Timing matters here. Peel off the painter’s tape while the sealant is still wet, not after it starts to set. Pull each strip back at an angle and away from the fresh bead. This leaves behind a clean, sharp edge with no ragged lines.
If you wait too long, the tape can tear the surface of the seal as it dries. Work carefully so you don’t smudge your smooth finish. Removing tape at the right moment is what separates a tidy job from a messy one. Take your time and pull gently.
Step 8: Let It Cure Completely
Patience pays off during the curing stage. Most sealants feel dry to the touch within an hour, but full curing can take 24 hours or more. Check the tube’s label for exact times, since formulas vary. Keep water and heavy use away from the area until it’s fully set.
Rushing back into a freshly sealed shower can ruin all your hard work. Good airflow speeds up the process, so crack a window if you can. A fully cured seal is what gives you that durable, waterproof bond. Wait it out, and your work will last for years.
Tips for Best Results
Want to seal like a seasoned pro? These insider tips make a real difference.
- Warm the tube before you start. Sealant flows more smoothly at room temperature. If your tube feels cold, set it in warm water for a few minutes so the bead lays down evenly.
- Match the formula to the room. Bathrooms and kitchens need a mold-resistant, waterproof formula, while windows and trim do fine with a general-purpose type. Using the right product prevents peeling and discoloration down the road.
- Keep a rag and alcohol close. Wipe mistakes immediately before they set. A quick swipe saves you from scraping dried sealant off tile or glass later.
- Don’t over-apply. A thin, even bead beats a thick, sloppy one every time. Too much material squeezes out and looks messy no matter how well you smooth it.
- Store the leftover tube smart. Push a nail into the nozzle to seal it, or wrap the tip tightly with tape. This keeps the remaining product usable for your next project.
Frequently Asked Questions
How Long Does Silicone Caulk Take to Dry?
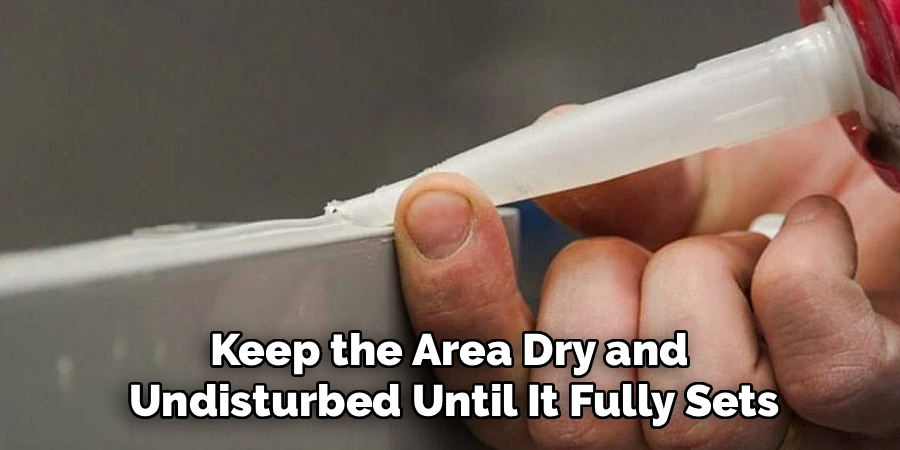
Most sealants feel dry to the touch within 30 to 60 minutes, but full curing takes about 24 hours. Thicker beads and humid conditions can slow the process down. Always check the label, since drying times vary by product and formula. Keep the area dry and undisturbed until it fully sets for the strongest bond.
Can I Paint Over a Silicone Sealant?
Pure silicone formulas resist paint, so most won’t hold a coat no matter how you prep them. If you need a paintable finish, look for a hybrid or acrylic-latex product instead. Check the label for the words “paintable” before you buy. When paint is your goal, choosing the right sealant from the start saves a lot of frustration.
What’s the Difference Between Caulk and Grout?
Grout is a hard, cement-based filler used between tiles, while sealant stays flexible and waterproof. You use grout for the wide joints across a tile surface and sealant for the corners and edges that move or meet different materials. Grout can crack where two surfaces shift, but a flexible seal handles that movement. Use each one where it belongs for the best results.
Is It Safe to Apply Silicone Caulk in a Bathroom?
Yes, and bathrooms are one of the most common places to use it. Just choose a mold-resistant, waterproof formula made for wet areas. Make sure the surface is clean and completely dry before you apply, and give the seal a full day to cure before running water. Good ventilation during application keeps fumes down and speeds up curing.
How Do I Get a Smooth Finish Every Time?
The secret is a steady hand and a light smoothing pass. Lay one continuous bead, then run a damp finger or tool along it in a single motion. Wipe away excess between passes and avoid going over the same spot repeatedly. Painter’s tape along both edges also helps you get that clean, professional line.
Why Is My Seal Peeling or Not Sticking?
Poor adhesion almost always traces back to a dirty or damp surface. Grease, dust, and moisture stop the sealant from bonding, so thorough cleaning is essential. Applying over old, failing caulk causes the same problem. Clean down to a bare, dry joint, and your new seal will grip firmly.
Conclusion
Sealing gaps around your home is easier than you might think. When you use silicone caulk the right way, the secret is all in the prep: clean the surface, lay a steady bead, smooth it once, and let it cure fully. Nail those basics, and you’ll get a durable, waterproof finish that lasts for years.
If you haven’t grabbed a quality sealant or caulking gun yet, check out our recommended products above to build your kit. Ready to take on more projects around the house? Explore our other DIY guides for more hands-on tips. Happy sealing!
