
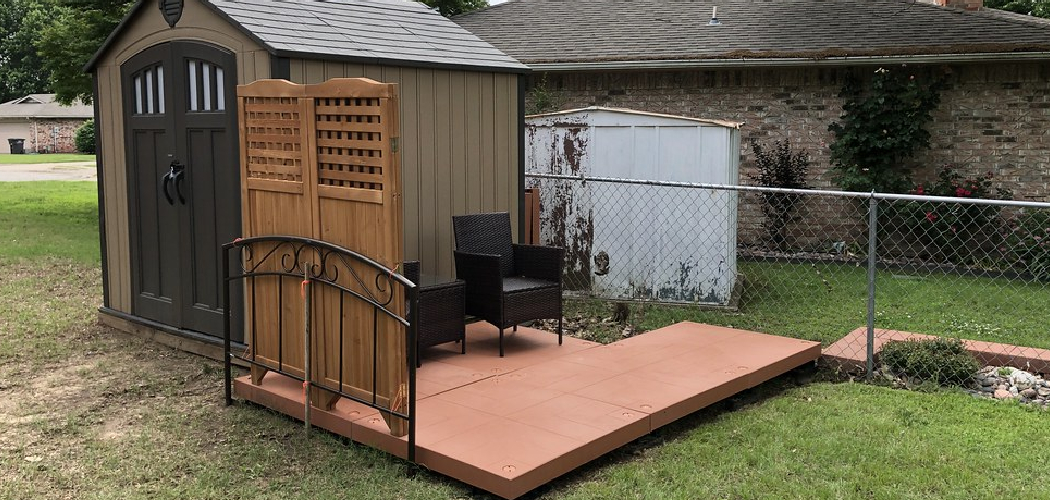
Picture this: you finally set your new shed on the concrete pad out back, step inside to admire it, and then a big gust rattles the whole thing. That sway is your shed telling you it needs to be tied down. Learning how to anchor a shed to an existing concrete slab keeps your building steady through storms, high winds, and everyday bumps.
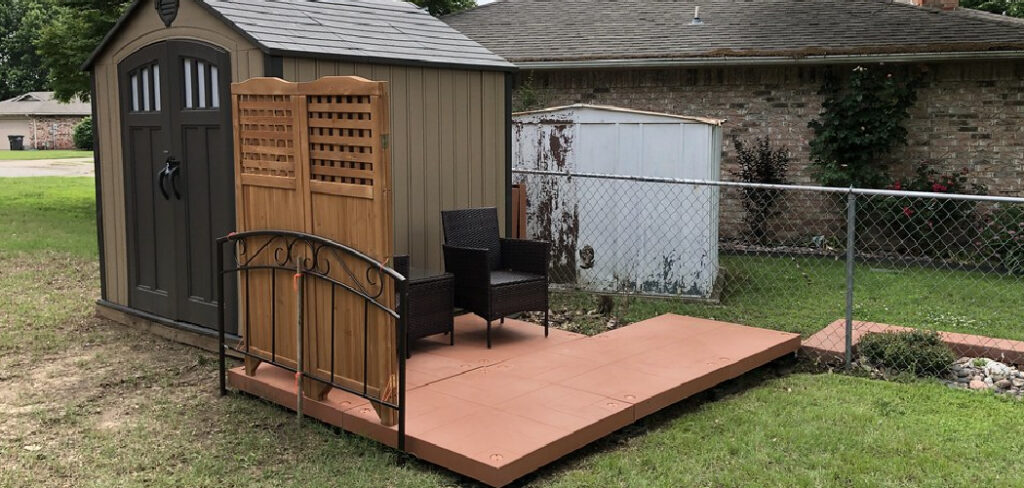
The best part? You don’t need a contractor for this. With a hammer drill, the right concrete fasteners, and about an afternoon, you can lock that shed down for good. In this guide, you’ll learn exactly which tools to grab, a clear step-by-step process, and a few pro tricks that make the job faster and safer. Let’s get your shed rock-solid.
What You’ll Need
Gather these tools and materials before you start so you’re not running to the hardware store mid-project:
- Hammer drill (a regular drill won’t cut into concrete well)
- Masonry drill bits (sized to match your anchors)
- Wedge anchors or concrete anchor bolts
- L-brackets or hurricane ties (for the shed base plate)
- Impact driver or ratchet and socket set
- Tape measure and pencil
- Shop vacuum or air blower
- Safety glasses and work gloves
- Dust mask
- Level
- Corrosion-resistant lag screws or hex bolts
- Silicone sealant or concrete caulk
- Chalk line (optional, for marking)
A quick tip: buy a couple of extra anchors. Concrete is unpredictable, and it’s nice to have spares if one hole doesn’t cooperate.
Step-by-Step Guide on How to Anchor a Shed to an Existing Concrete Slab
Take your time with these steps. A little patience up front means a shed that stays put for years.
Step 1: Inspect the Concrete Slab First
Before anything else, give your concrete slab a good once-over. Look for deep cracks, crumbling edges, or spots that feel hollow when you tap them. Anchors need solid, healthy concrete to grip properly, so weak areas won’t hold. Also check that the slab is thick enough—at least 3 to 4 inches works for most sheds. If you spot major damage, patch it and let it cure before you drill. A strong shed foundation starts with a strong base.
Step 2: Position and Level the Shed
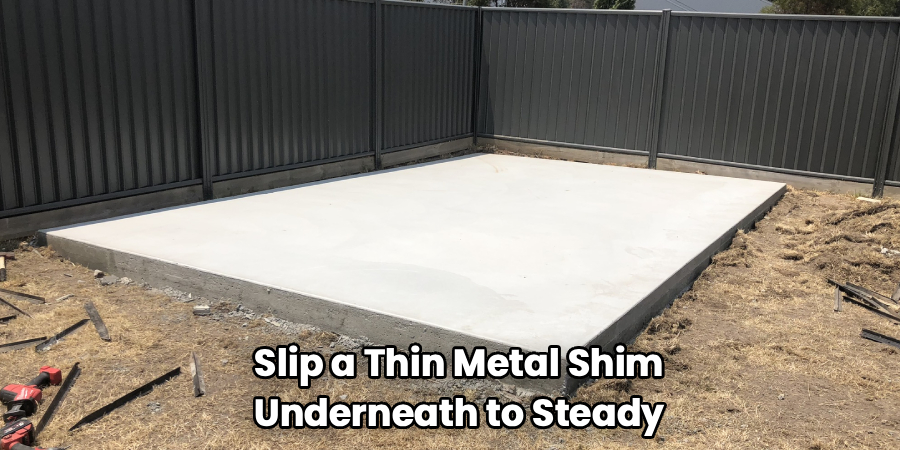
Set the shed exactly where you want it and check that the base plate sits flat against the concrete. Use a level along the walls and floor to confirm everything is square and even. If a corner rocks, slip a thin metal shim underneath to steady it. Getting this right now saves you headaches later, because you can’t easily shift the shed once it’s anchored. Double-check your measurements from the slab edges too. You want even spacing all the way around.
Step 3: Mark Your Anchor Points
Decide where each anchor will go, usually at every corner and every few feet along the walls. Hold your L-brackets or hurricane ties against the base plate and mark the bolt holes with a pencil. Keep anchors at least a few inches from the slab edge so the concrete doesn’t crack. Space them evenly for balanced holding power. A chalk line helps you keep marks straight along long walls. Snap a photo of your layout before you drill—it’s a handy reference.
Step 4: Gear Up and Load the Hammer Drill
Now the fun part. Put on your safety glasses, gloves, and dust mask, because drilling concrete kicks up a lot of fine dust. Fit your hammer drill with a masonry bit that matches your anchor diameter. Check the anchor packaging for the exact bit size—getting this wrong means loose or stuck anchors. Set the drill to hammer mode so it can pound and spin at the same time. That combination is what powers through tough concrete.
Step 5: Drill the Anchor Holes
Line the bit up on your first mark and hold the drill perfectly straight. Start slow, let the bit bite in, then apply steady pressure as it goes deeper. Drill each hole about a quarter-inch deeper than your anchor length so debris has somewhere to settle. Don’t force it—let the tool do the work to avoid cracking the slab. Pull the bit out a few times to clear dust as you go. Keep the holes vertical for the cleanest grip.
Step 6: Clean Out the Holes
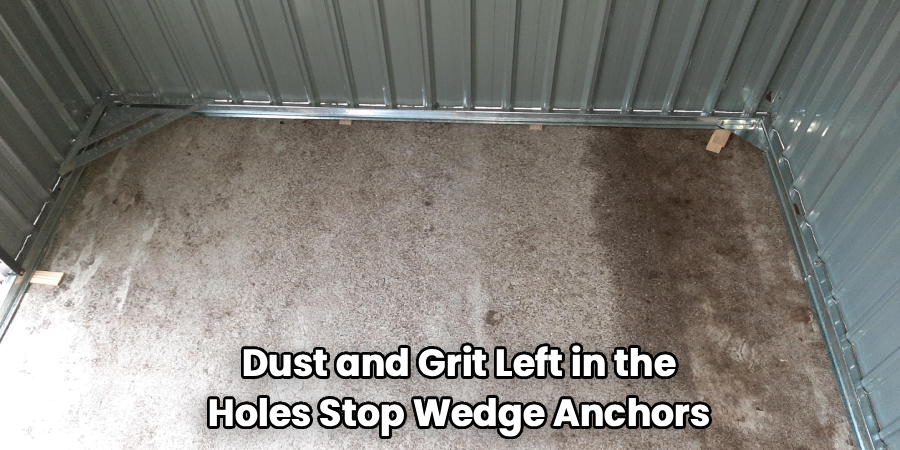
This step is easy to skip, but don’t. Dust and grit left in the holes stop wedge anchors from expanding and gripping properly. Use a shop vacuum to suck out debris, or blast the holes clean with compressed air. A stiff brush helps loosen stubborn dust deep inside. Clean holes can mean the difference between an anchor that holds tight and one that pulls loose. Take the extra minute here—your shed’s stability depends on it.
Step 7: Insert and Set the Concrete Anchors
Drop a wedge anchor into each clean hole, threaded end up. Tap it flush with a hammer until it sits snug against the concrete. If you’re using anchor bolts through brackets, line up the bracket holes first, then insert the fasteners. Slide your washers and nuts on, but don’t fully tighten yet. Wedge anchors expand and lock as you tighten, so this next step matters. Make sure every anchor stands straight before moving on.
Step 8: Tighten Everything Down
Grab your impact driver or a ratchet and socket and tighten each nut firmly. As you turn, the wedge anchor spreads inside the hole and clamps into the concrete. Snug them all down evenly rather than fully cranking one at a time. Overtightening can strip threads or crack thin slabs, so stop once the bracket sits tight with no wobble. Give each anchor a gentle push to confirm it’s locked. This is the moment your shed truly becomes one with the slab.
Step 9: Secure the Base Plate to the Brackets
With the anchors set, fasten the shed’s base plate to your brackets using corrosion-resistant lag screws or hex bolts. Pre-drill pilot holes in the wood if your shed has a timber frame to prevent splitting. Metal sheds usually have pre-punched holes that line right up. Tighten each fastener so the base plate hugs the bracket with no gaps. This connection ties the whole structure to those concrete anchors. Now every wall shares the load evenly.
Step 10: Seal and Final Check
Run a bead of silicone sealant or concrete caulk around each anchor base and along the base plate. This keeps water out and stops rust from creeping into your fasteners over time. Walk around the shed and push on the walls—there should be zero movement. Recheck each nut and bolt with your wrench for peace of mind. Sweep up the concrete dust and admire your work. Your shed is now built to weather the seasons.
Tips for Best Results
Want cleaner, stronger results every time? These insider tricks make a real difference:
- Buy anchors rated for outdoor use. Galvanized or stainless wedge anchors resist rust far better than plain steel. Cheap fasteners corrode fast outside and lose their grip.
- Match your bit to the anchor, not a guess. The right masonry bit diameter is printed on the anchor package. A hole even slightly too wide ruins the anchor’s holding power.
- Vacuum every hole twice. Leftover dust is the number one reason anchors fail. A second pass with the shop vac takes seconds and locks in a solid grip.
- Add anchors at the corners first. Corners take the most wind stress, so lock those down before the middle spans. Even spacing along the walls handles the rest.
- Keep anchors away from slab edges. Drilling too close to the edge can crack the concrete. Give yourself at least three inches of breathing room.
Frequently Asked Questions
How Many Anchors Do I Need for My Shed?
It depends on your shed’s size, but a good rule is one anchor at every corner plus one every three to four feet along the walls. Bigger sheds or windy areas call for more anchor bolts to spread the load. Always follow your shed manufacturer’s guidelines if they provide them. When in doubt, adding a couple of extra concrete fasteners never hurts.
Can I Use a Regular Drill Instead of a Hammer Drill?
You really need a hammer drill for this job. A standard drill struggles to cut through concrete and will overheat or dull your bit fast. The hammer action pounds while it spins, which is what breaks through the tough surface. If you don’t own one, most hardware stores rent them affordably for a day.
What’s the Best Anchor to Use on a Concrete Slab?
Wedge anchors are the go-to choice for most sheds because they expand and grip tightly inside the hole. They’re strong, reliable, and easy to install with basic tools. For lighter sheds, sleeve anchors also work well. Whatever you pick, choose corrosion-resistant concrete anchors so they last outdoors for years.
Is It Safe to Anchor a Shed Myself?
Absolutely, this is a very doable DIY project with the right tools and a little care. Wear safety glasses and a dust mask, since drilling concrete creates fine dust. Take your time positioning and leveling the shed before you drill anything permanent. If your slab has serious damage, call a pro to inspect it first.
How Deep Should I Drill the Anchor Holes?
Drill each hole about a quarter-inch deeper than the length of your anchor. That extra space gives dust and debris somewhere to settle so the anchor seats fully. Check the packaging for the exact embedment depth your anchors need. Going too shallow leaves the anchor loose, while proper depth locks it in tight.
Conclusion
Tying your shed down is one of those weekend projects that pays off every single storm season. Now that you know how to anchor a shed to an existing concrete slab, you can trust your building to stand firm against wind and weather. Remember the key moves: inspect the slab, drill clean holes, set your anchors straight, and tighten evenly. If you still need a reliable hammer drill or a set of quality wedge anchors, check out our picks above to make the job easier. Ready for your next project? Browse our other DIY and tool guides. Happy building!
